9
VoIP Telephone.
5.2.1 Wall
mounting
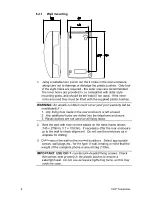
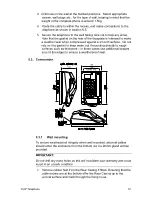
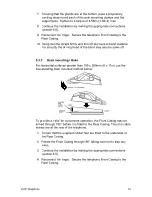
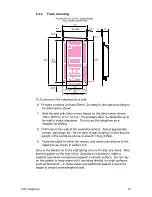
1. Using a suitable tool, punch out the 4 holes in the rear enclosure,
taking care not to damage or dislodge the plastic bushes. Only four
of the eight holes are required - the outer ones are recommended.
The inner holes are provided to be compatible with older-style
mounting posts, and should be left intact if not used. If the inner
holes are used they must be fitted with the supplied plastic bushes.
WARNING:.An unsafe condition could occur (and your warranty will be
invalidated) if :-
1. Any fixing hole made in the rear enclosure is left unused.
2. Any additional holes are drilled into the telephone enclosure.
3. Plastic bushes are not used on all fixing holes.
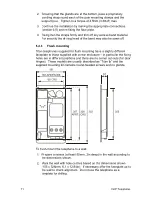
2. Mark the wall with hole centres based on the dimensions shown
(145 x 270mm, 5.7 x 10.63in). If necessary offer the rear enclosure
up to the wall to check alignment. Do not use the enclosure as a
template for drilling.
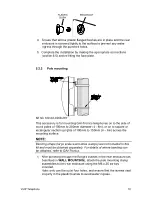
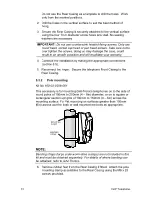
3. Drill holes in the wall on the marked positions. Select appropriate
screws, wall plugs etc., for the type of wall, bearing in mind that the
weight of the complete phone is around 5kg (11lbs).
IMPORTANT
:
USE ONLY
countersunk-headed fixing screws. Check
that screws seat properly in the plastic bushes to ensure a
watertight seal. Do not use excessive tightening force, as this may
crack the case.
Содержание Titan
Страница 29: ...29 VoIP Telephone 9 CE Declaration...
Страница 31: ...31 VoIP Telephone...


