Configuring G-SPEED Studio XL
G SPEED
STUDIO
XL
with Thunderbolt™
p. 77
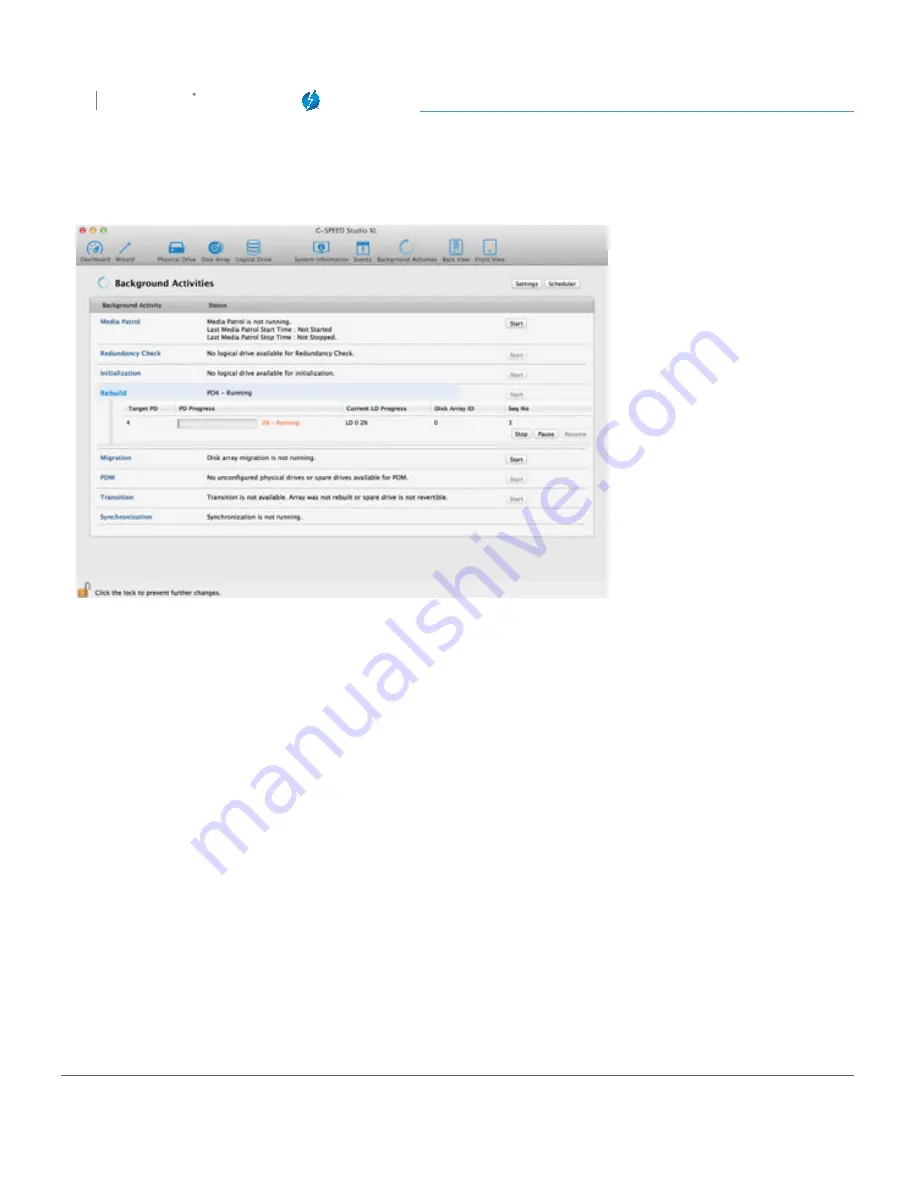
Performing a Manual Rebuild
To perform a manual rebuild:
1. Click on the
Background Activities
icon.
2. Mouse-over
Rebuild
, then click the
Start
button.
3. From the
Source Physical Drive
drop-down menu, choose a
Source
disk array and physical drive.
Arrays have an ID number. Physical drives have a sequence number.
4. From the
Target Physical Drive
drop-down menu, choose a
Target
physical drive.
5. In the Confirmation box, type the word “CONFIRM” in the field provided, then click the
Confirm
button. While the disk array is rebuilding:
• The disk array will show a green check icon and a
Rebuilding
status.
• Logical drives under the disk array will continue to show a yellow “!” icon and a
Critical
,
Rebuilding
status.
• If the buzzer is enabled, your G-SPEED Studio XL unit will emit two quick beeps every five
seconds. When the beeps stop, the rebuild will be done.
Содержание G SPEED STUDIO XL
Страница 4: ...Safety General Use Safety Precautions p 5 Backup Your Data p 6 MakeTwoBackups p 6 ...
Страница 11: ...Using Your Drive Drive Activity LED p 12 Warning LED and Alarms p 13 Disconnect the Drive p 14 ...
Страница 24: ...Configuring G SPEED Studio XL G SPEED STUDIO XL with Thunderbolt p 24 Thunderbolt daisy chain connections HDMI ...
Страница 112: ...Appendix RAID Levels Explained p 113 ...
Страница 114: ...Support Warranty Technical Support p 115 Limited Warranty p 116 Copyright p 118 ...


