Configuring G-SPEED Studio XL
G SPEED
STUDIO
XL
with Thunderbolt™
p. 32
Highlight Arrays
From the Disk Array menu, select the
Locate
button to identify the physical drives assigned to a disk
array. The LEDs on the enclosure will appear purple and flash in sync.
The bays/carriers containing drives that do not belong to the chosen disk array will not be highlighted.
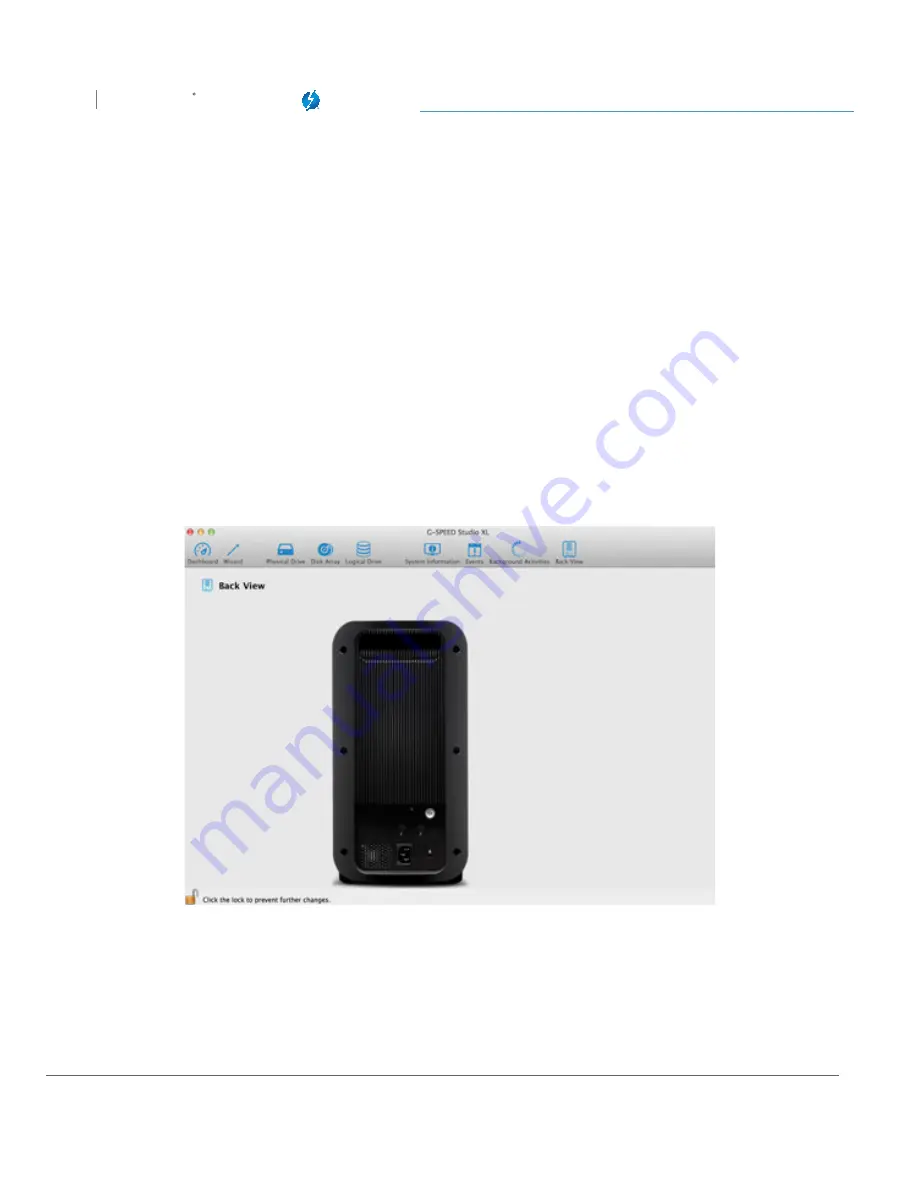
Back View
Add Back View to the Toolbar by going to the View pulldown menu and selecting Customize
Toolbar. Click and Drag “Back View” to the toolbar and press Done. Then press Back View to see a
virtual view of the back of your G-SPEED Studio XL. Move the cursor over the power supply unit
(PSU) or system fan to display component status information.
Device: Back View display menu
Double-click on the unit to activate the blue drive lights.
Содержание G SPEED STUDIO XL
Страница 4: ...Safety General Use Safety Precautions p 5 Backup Your Data p 6 MakeTwoBackups p 6 ...
Страница 11: ...Using Your Drive Drive Activity LED p 12 Warning LED and Alarms p 13 Disconnect the Drive p 14 ...
Страница 24: ...Configuring G SPEED Studio XL G SPEED STUDIO XL with Thunderbolt p 24 Thunderbolt daisy chain connections HDMI ...
Страница 112: ...Appendix RAID Levels Explained p 113 ...
Страница 114: ...Support Warranty Technical Support p 115 Limited Warranty p 116 Copyright p 118 ...


