Maintenance for Your Drive
G SPEED
STUDIO
XL
with Thunderbolt™
p. 103
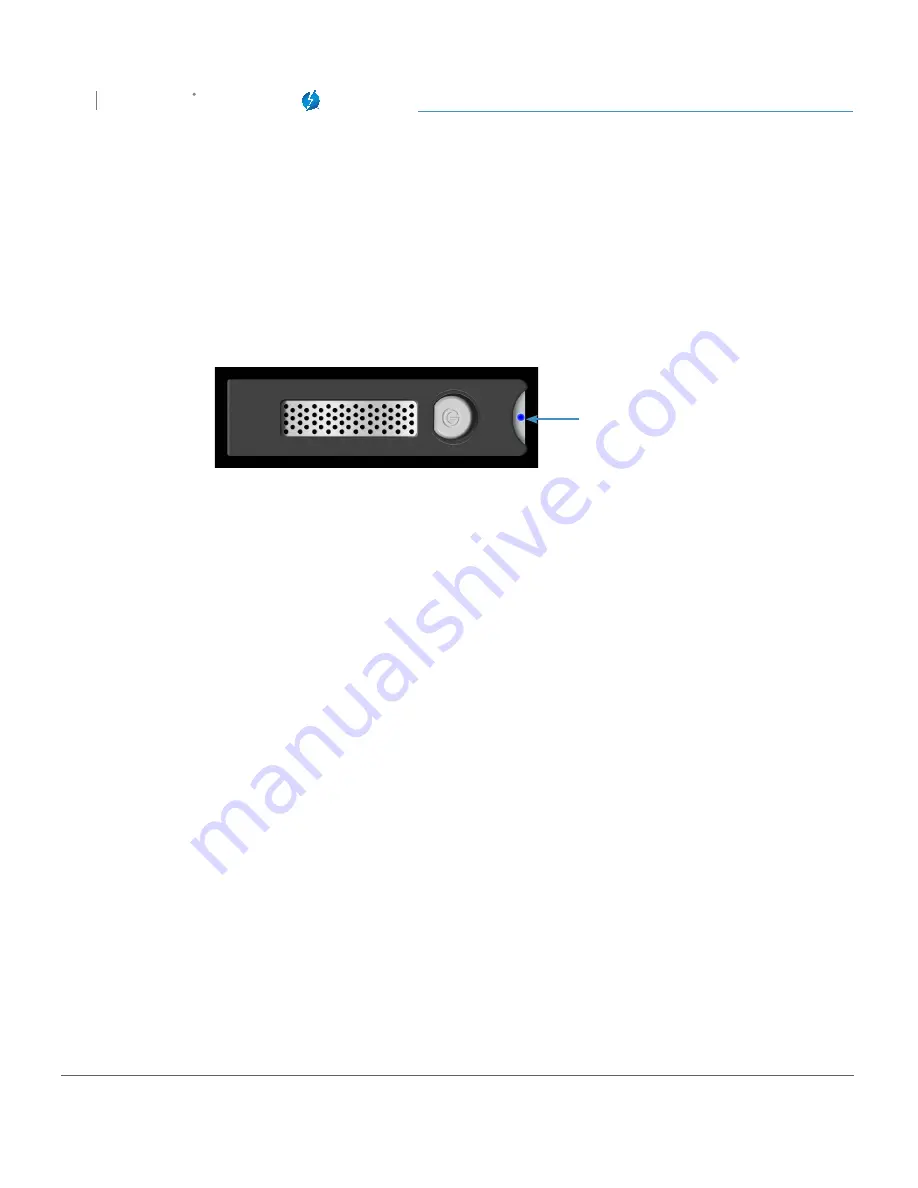
5. The failed drive’s LED will begin to blink in the G-SPEED Studio XL enclosure, making
it easy to identify which drive needs to be replaced. Be certain to remove the
correct drive, as removing the wrong drive could cause data loss.
NOTE
: It is possible for the failed drive to be completely offline. In this case, the drive’s activity LED
will be entirely turned off, indicating the failed drive.
Drive Activity LED
6. Remove the failed drive by pressing the release button and sliding the drive out of the enclosure.
7. Replace the failed drive with a new disk module and secure the module in place. Once the
drive has spun up, the G-SPEED Studio Software Utility will indicate that the array is rebuilding.
Rebuild time is approximately two hours per terabyte.
Once the rebuild is complete, G-SPEED Studio XL will be back to normal, protecting your valuable
data with optimal efficiency.
NOTE
: Replacement and/or extra G-SPEED Studio XL disk modules are available for
purchase online at:
www.g-technology.com/products/g-speed-studio-raid
Initialize Drive for Mac®
Your G-SPEED Studio XL was factory-formatted (“initialized”) for Mac OS® X. You can reinitialize either
to quickly erase the contents of the drive or to reconfigure the RAID mode. Here are the steps:
1. First, open the Disk Utility program. This application is located on your hard drive under
Applications > Utilities > Disk Utility
. The window shown below will appear.
Содержание G SPEED STUDIO XL
Страница 4: ...Safety General Use Safety Precautions p 5 Backup Your Data p 6 MakeTwoBackups p 6 ...
Страница 11: ...Using Your Drive Drive Activity LED p 12 Warning LED and Alarms p 13 Disconnect the Drive p 14 ...
Страница 24: ...Configuring G SPEED Studio XL G SPEED STUDIO XL with Thunderbolt p 24 Thunderbolt daisy chain connections HDMI ...
Страница 112: ...Appendix RAID Levels Explained p 113 ...
Страница 114: ...Support Warranty Technical Support p 115 Limited Warranty p 116 Copyright p 118 ...


