


39
EN
In
trod
uc
ti
on
C
o
n
n
e
c
tio
ns
Ba
si
c Setup
/
DV
B O
p
erations
Re
cor
d
in
g
Pl
ayb
a
ck
Ed
iti
n
g
F
u
n
ctio
n Setu
p
O
thers
5
After registering all the titles you want, select
“Dubbing Start” in the dubbing menu, then
press [ENTER
\
OK].
For AVCHD dubbing, skip to step
7
.
If you are dubbing to HDD, go to
6
-a.
If you are dubbing to Blu-ray Disc™/DVD, go to
6
-b.
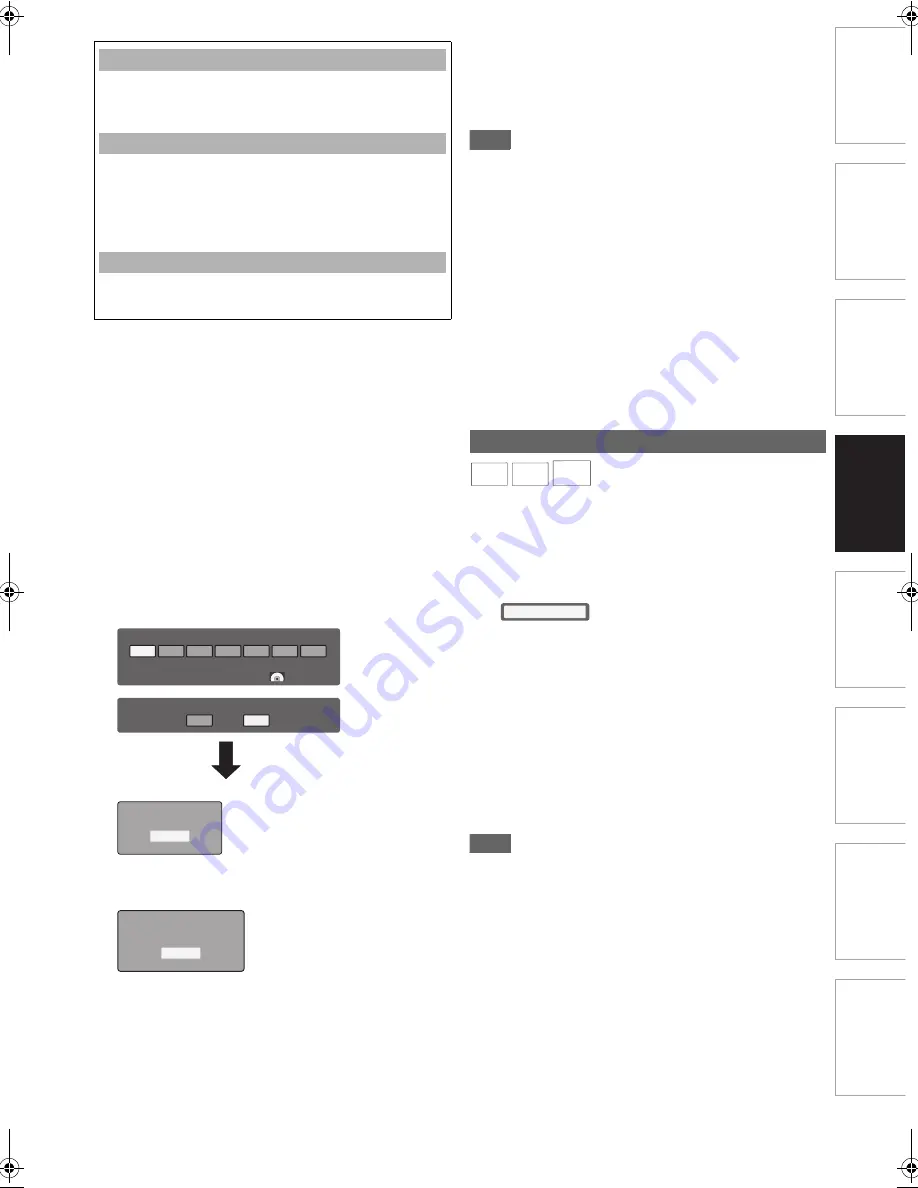
6
a. Select a desired recording mode using
[
s
\
B
], then press [ENTER
\
OK].
b. Select a desired recording mode using
[
s
\
B
], then press [
L
].
Select whether to perform “Auto Finalise
(End of Dubbing)” using [
s
\
B
], then press
[ENTER
\
OK].
e.g.) HDD
A
DVD
• Confirmation message will appear.
• If a timer recording is in standby, a warning message will
appear. Be aware the dubbing will be stopped when it
comes to 2 minutes before the timer recording.
7
Select “Yes”, then press [ENTER
\
OK].
• Dubbing will start.
• It may take awhile to prepare for the dubbing.
To stop the dubbing in progress:
Press
[STOP
C
]
.
Note
• Depending on the dubbing direction, the available recording
mode varies.
• Dubbing will be cancelled 2 minutes before starting timer
recording.
• During normal dubbing, you can watch the playback picture
of the title being dubbed (the audio cannot be changed).
During high speed dubbing, the playback picture will not
appear.
• When you dub an HDD title that has bilingual audio to video
mode DVD-RW/-R or DVD+RW/+R, select an appropriate
audio format in the “Bilingual Recording Audio” menu.
“Bilingual Recording Audio” in the “Function Setup” table on
page 64.
• If you stop the dubbing halfway, the contents will be dubbed
up to where you stop the dubbing (except for the high speed
dubbing). With high speed dubbing, nothing will be dubbed if
you stop it halfway.
1
Insert the appropriate device (SD card/USB).
2
Call up the file list. (Refer to “Guide to File List”
on page 42.)
3
While the file list is displayed, press [OPTION].
• Copy command will appear.
4
With “Copy to HDD” selected, press
[ENTER
\
OK].
5
Select the file to copy, then press [ENTER
\
OK].
• Selected file will be marked with
✔
.
6
After selecting all the files to copy, press [Blue].
• Folder list of the destination media will appear.
7
Select the folder to copy to, then press [Blue].
• Confirmation messages will appear.
8
Select “Yes”, then press [ENTER
\
OK].
• The dubbing will start.
Note
• Files contained in a disc cannot be dubbed (except for
AVCHD files).
• Up to 32 GB in the HDD is available for storing these files.
To delete a title from the dubbing list:
1
Go to the dubbing list. Select the title to delete,
then press
[ENTER
\
OK]
.
2
Select “Delete”, then press
[ENTER
\
OK]
.
To move a title in the dubbing list:
1
Go to the dubbing list. Select the title to move,
then press
[ENTER
\
OK]
.
2
Select “Move”, then press
[ENTER
\
OK]
.
3
Select a desired insert point using
[
K
\
L
]
, then
press
[ENTER
\
OK]
.
To delete all the titles in the dubbing list:
1
Select “Delete All” in the dubbing menu, then
press
[ENTER
\
OK]
.
Please select REC MODE.
High
Auto
Dubbing Titles
XP
SP
LP
EP
On
Off
SLP
12548 MB
20480 MB
Auto Finalise (End of Dubbing)
Press
[ENTER
\
OK]
.
Start Dubbing?
Yes
No
Timer Recording is in standby.
Start Dubbing?
Yes
No
DivX
®
/ MP3 / JPEG File Dubbing (Copy)
DivX
DivX
®
DivX
®
MP3
MP3
MP3
JPEG
JPEG
JPEG
Copy to HDD
E4V21ED_EN.book Page 39 Friday, June 3, 2011 2:07 PM


