59
Advanced
Features
Beep
1
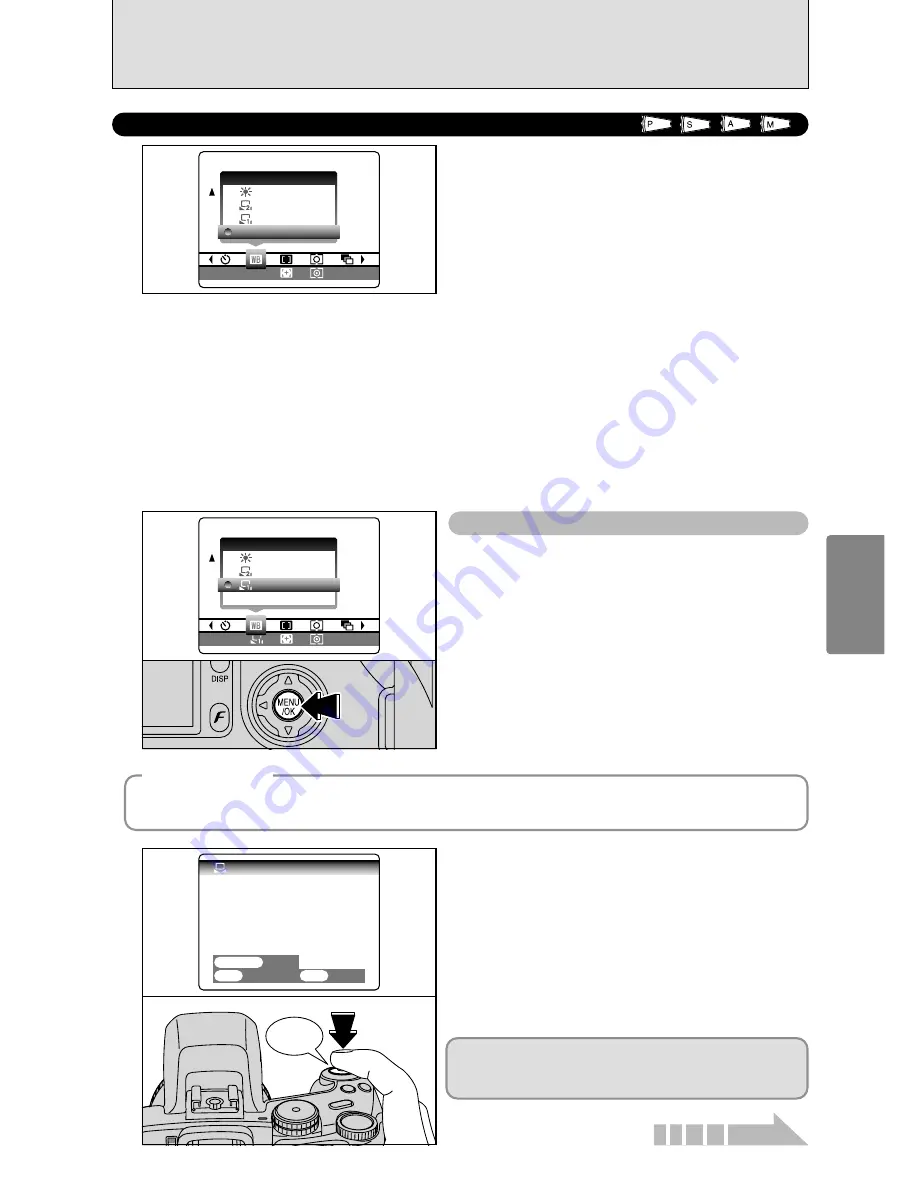
Use this setting to set the white balance for the
ambient natural or artificial lighting in images. Use
this setting to achieve special effects also.
1
Select custom white balance “
O
” or “
P
”.
2
Press the “MENU/OK” button.
A
WHITE BALANCE
Change the white balance setting to take a picture
with the white balance locked for the surroundings
and lighting.
In AUTO mode, the correct white balance may not
be got for subjects such as close-ups of people’s
faces and shots taken under a special light source.
Select the correct white balance for the light
source. See P.117 for more information on the
white balance.
AUTO: Automatic adjustment
(shooting to show the ambience of
the light source)
O
: Custom white balance type 1
P
: Custom white balance type 2
6
: Shooting outdoors in fine weather
7
: Shooting in shade
9
: Shooting under “Daylight” fluorescent
lamps
0
: Shooting under “Warm White”
fluorescent lamps
-
: Shooting under “Cool White”
fluorescent lamps
8
: Shooting in incandescent light
✽
When the flash fires, the white balance setting (excluding custom white balance) for the flash is used. Consequently,
to achieve a particular effect, the flash mode should be set to Suppressed flash (
➡
P.45).
●
!
The color tones may vary depending on the shooting conditions (light source, etc.).
Custom white balance
OFF
OFF
±1/3
1/3
WB
AUTO
AUTO
2
Under the light source to set the white balance for,
hold a piece of white paper so that it fills the screen
and press the Shutter button to set the white
balance.
CUST
CUSTOM
M WB
NOT C
NOT CHA
HANGE
NGE
NEW
W WB
CAN
ANCEL
CEL
OK
OK
BACK
BACK
SHUTTER
SHUTTER
●
!
The white balance setting does not affect the image shown
on the screen.
0
1
0
2
OFF
OFF
AUTO
AUTO
±1/3
1/3
WB
AUTO
◆
Example
◆
You can change the white balance for a photographed image by using colored paper instead of white
paper.
To use the white balance set previously, press the
“MENU/OK” button without pressing the Shutter
button.
Continued


