


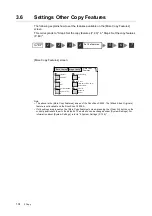


3.6 Settings Other Copy Features
109
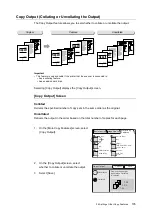
Mixed Sized Originals (Scanning Mixed-size Originals Simultaneously)
(DocuScan C4250 Only)
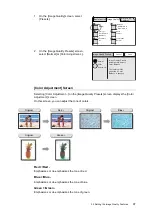
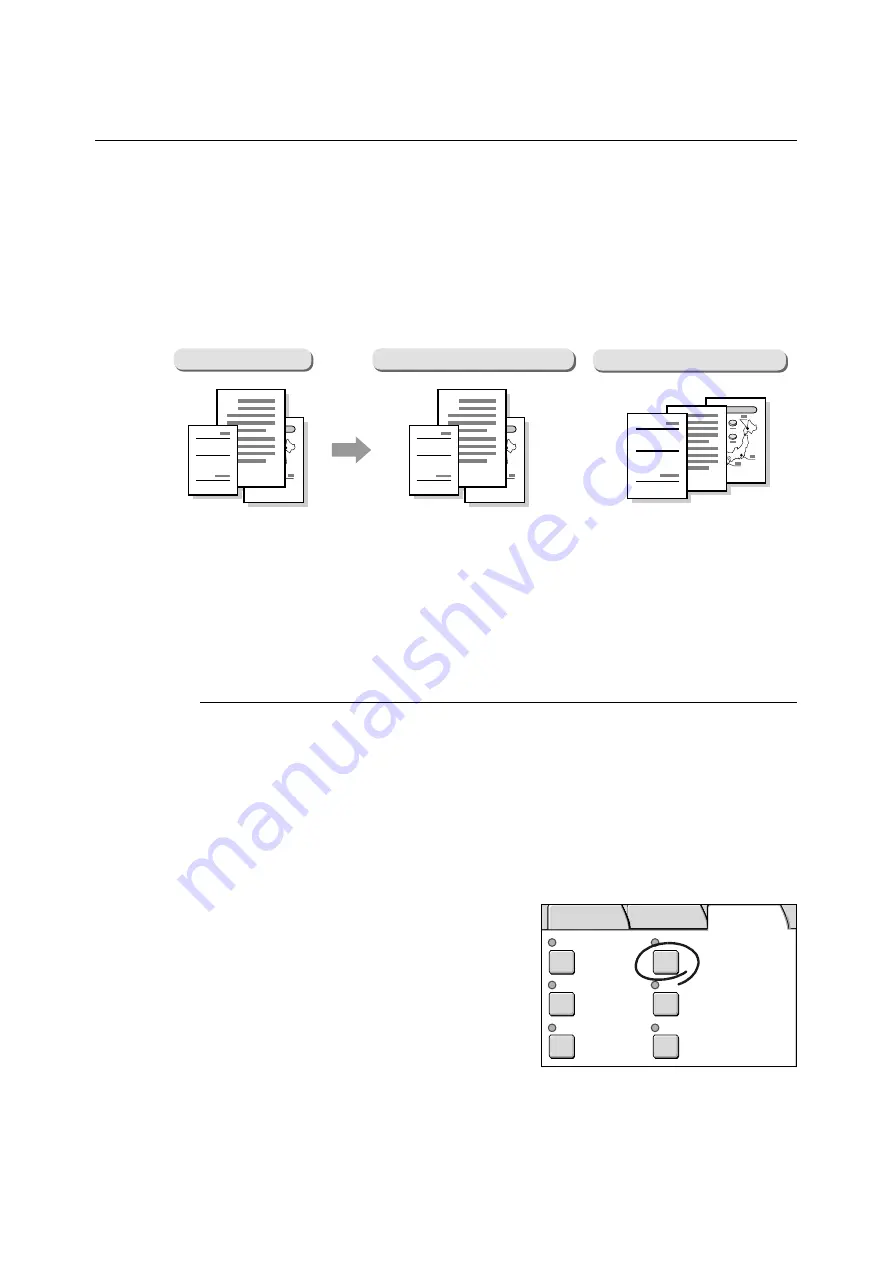
Use the Mixed Sized Originals feature to feed documents of different sizes into the
document feeder. This feature allows you to scan documents of different sizes
simultaneously and copy them on paper appropriate for each document.
This feature also allows you to copy all documents on the same size paper.
When copying documents on the same size paper, set [Mixed Sized Originals] to [On] and
configure the following settings:
• Set [Reduce/Enlarge] to [Auto %], and select the output paper size.
Important
• Always load A5 documents in LEF orientation.
Note
• If the sizes of documents cannot be detected, a screen that allows you to enter the sizes appears.
Selecting [Mixed Sized Orig.] displays the [Mixed Sized Originals] screen.
[Mixed Sized Originals] Screen
Off
Select this when copying documents of the same size.
On
Select this when copying documents of different sizes. The scanner will automatically detect
the size of each document.
1.
On the [More Copy Features], select [Mixed
Sized Orig.].
Mixed-size Originals
Copied in Same Sizes as Originals
3
A
B
2
Report
1
3
A
B
2
Report
1
Copied on Same Size Paper
3
A
B
2
Report
1
Collated
Off
T&B: 4mm/ R&L: 4mm
Center: 0mm
Auto Size
Detect
Head to Top
Off
Copy Output
Mixed Sized Orig.
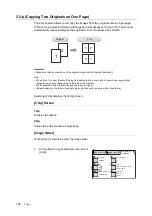
2 Up
Edge Erase
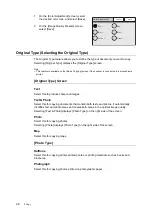
Original Orientation
Original Size
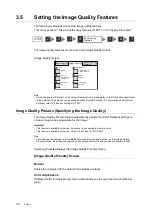
Basic Copying Image Quality
More Copy
Features
Содержание DocuScan C3200 A
Страница 1: ...DocuScan C4250 C3200 A User Guide ...
Страница 9: ...Contents 9 A 6 Glossary 236 Index 240 ...
Страница 243: ...Index 243 V Variable Size System Settings 142 W wheel 15 195 197 ...


