13
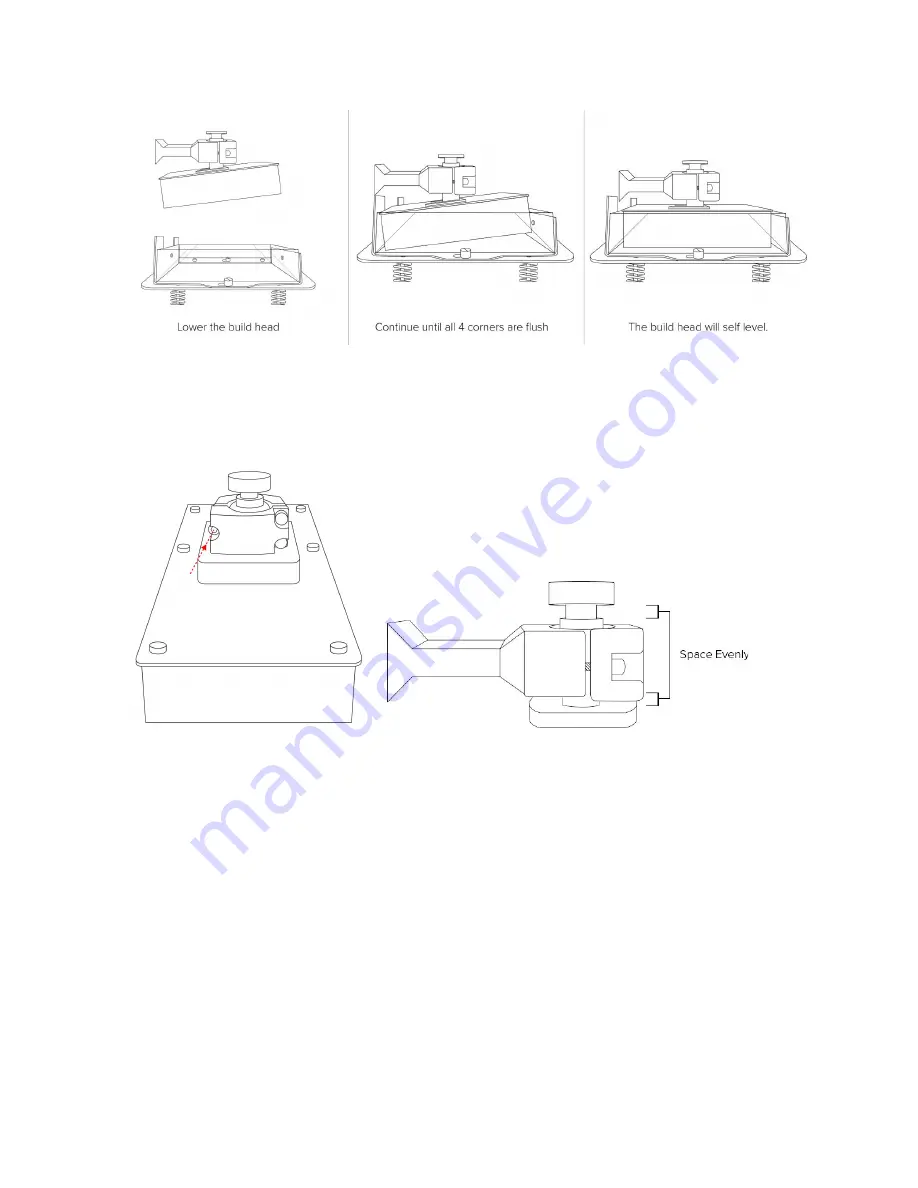
5. Continue to lower the build head until it is completely flush with the base of the
SuperVAT™. The ball joint should automatically pivot to level the SuperVAT™ and the
build head.
6. Securely tighten the hex screw to lock the build head location. Ensure that the bolt is
centered and spaced evenly on the assembly.
7. Set the motor homing with the “Set Motor Homing” button on the motor control menu.
8. Test the motor homing to verify that it returns to the same location.
9. Move printer head to the highest position utilizing touch screen motor control.
Adding Resin
● Pour resin into the SuperVat™ liner. Minimum and maximum fill lines are denoted by
the notch in the front window of the vat.
Содержание Phoenix Touch
Страница 1: ...1 Main Menu ...
Страница 8: ...8 Main Menu ...
Страница 32: ...32 Main Menu ...
Страница 42: ...42 Transport Information Not regulated for transportation Main Menu ...


