FortiGate-3000 Installation Guide Version 2.80 MR5
FortiGate-3000 Installation Guide
01-28005-0026-20041101
27
NAT/Route mode installation
This chapter describes how to install the FortiGate unit in NAT/Route mode. For
information about installing a FortiGate unit in Transparent mode, see
“Transparent
mode installation” on page 39
. For information about installing two or more FortiGate
units in HA mode, see
“High availability installation” on page 47
. For more information
about installing the FortiGate unit in NAT/Route mode, see
“Planning the FortiGate
configuration” on page 21
.
This chapter describes:
•
Preparing to configure the FortiGate unit in NAT/Route mode
•
Using the web-based manager
•
Using the front control buttons and LCD
•
Using the command line interface
•
Using the setup wizard
•
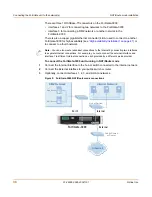
Connecting the FortiGate unit to the network(s)
•
Configuring the networks
•
Next steps
Preparing to configure the FortiGate unit in NAT/Route mode
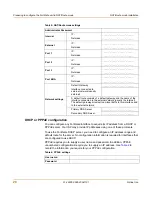
Use
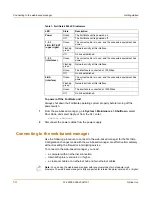
Table 5
to gather the information that you need to customize NAT/Route mode
settings.
You can configure the FortiGate unit in several ways:
• the web-based manager GUI is a complete interface for configuring most settings.
See
“Using the web-based manager” on page 29
.
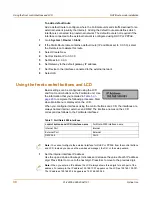
• the front control buttons and LCD provide access to the most important basic
settings
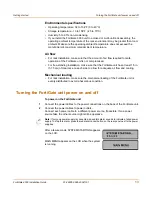
“Using the front control buttons and LCD” on page 30
.
• the command line interface (CLI) is a complete text-based interface for configuring
all settings. See
“Using the command line interface” on page 31
.
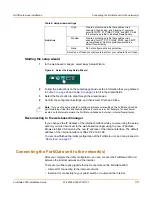
• the setup wizard provides easy, fast configuration of the most basic settings to get
the unit up and running quickly. See
“Using the setup wizard” on page 34
.
The method that you choose depends on the complexity of the configuration, access
and equipment, and the type of interface you are most comfortable using.

