User Manual X8400 sc
11
4 INSTALLING THE X8400sc ON THE EXPERIMENT
4.1 Mounting the camera
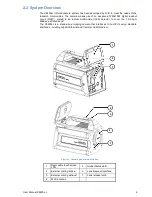
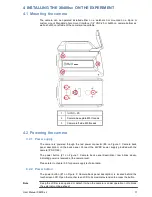
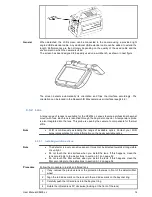
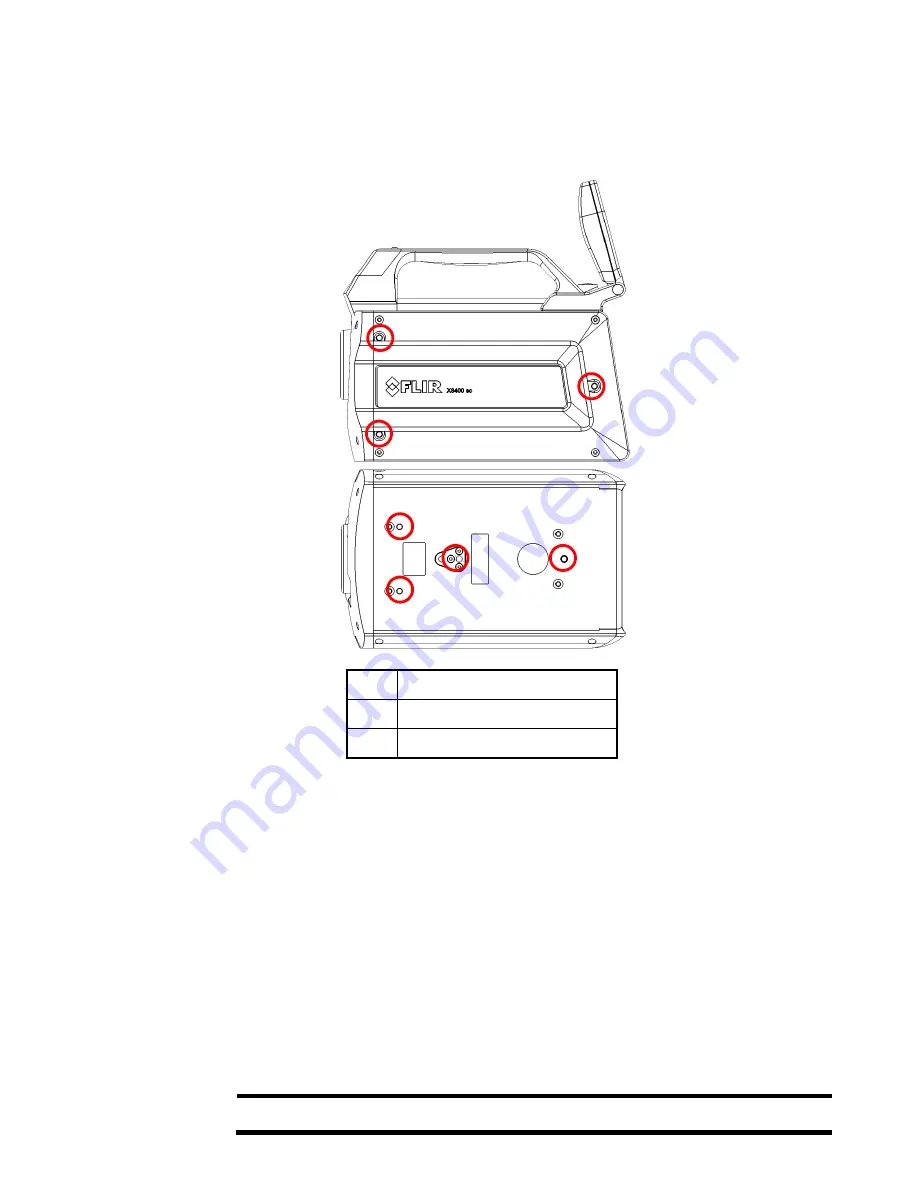
The camera can be operated installed either on a workbench or mounted on a tripod or
custom mount. Standard photo mount interface (1/4” UNC-20 or 3xM5 on camera bottom as
well as 3xM5 on left side of the camera) are available.
1
¼ UNC – 20
2
Camera base plate M5 threads
3
Camera left side M5 threads
4.2 Powering the camera
4.2.1 Power supply
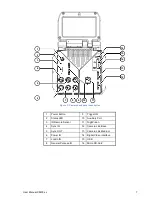
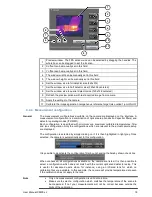
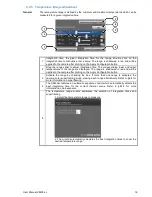
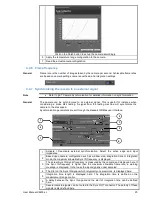
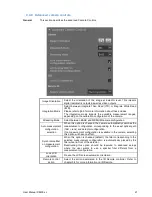
The camera is powered through the red power connector (#6 on Figure 1: Camera back
panel description) on the back panel. Connect the 24VDC power supply provided with the
camera (PN X1159).
The power button (#1 on Figure 1: Camera back panel description) now blinks slowly,
indicating power is received at the camera level.
Please refer to chapter 9.5 for power supply technical data.
4.2.2 Power button
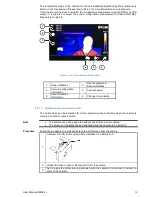
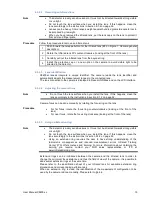
The power button (#1 on Figure 2: Camera back panel description) is located behind the
touchscreen LCD. Open the touchscreen LCD to its maximal extension to access the button.
Note
Keep the LCD screen opened or detach it when the camera is under operation not to block
the external cooling exhaust
1
2
2
2
Содержание X8400sc
Страница 1: ...User Manual X8400 sc 1 X8400sc User Manual Document Number DC085U Version C Issue Date 08 03 2013...
Страница 42: ...User Manual X8400 sc 42 4 Connect to http 192 168 64 1...
Страница 48: ...User Manual X8400 sc 48 7 3 Mechanical General Below are the mechanical interfaces...
Страница 49: ...User Manual X8400 sc 49...


