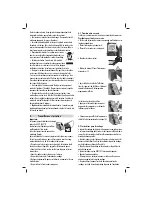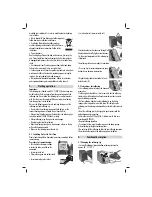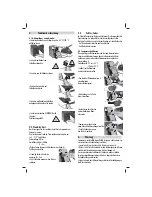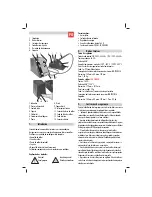
• Screw soldering tip onto the
knurled section of the soldering
iron.
• Remove soldering tip from soldering iron.
• Place desired soldering tip onto soldering
iron.
• Fit soldering tip with knurled section onto
soldering iron and check for correct fi t.
• Switch on soldering station. ATTENTION!
Soldering tip is hot! Risk
5.2 Stand by time
After a certain time, the appliance reduces the soldering temperature
to save power.
To quit stand-by, press key or cool the soldering tip by approx. 5°C / 9°F.
Default value: 5 Min.
Value range: 0 to 60 Min.
0 = Off
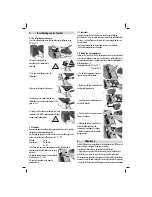
• Hold down both keys for a prolonged
period to open the standby time menu.
• Adjust standby time by pressing the keys (0 = Off).
• Wait fi ve seconds to save the value.
5.3 Error codes
In the event of an error, an error code appears on the display. The
number above the label ‘Err’ provides information about the error
present.
Codes 7 und 8 indicate faults in the heating element in the
soldering iron:
- Err7 Insert heating element and press key.
- Err8 Change heating element
5.4 Temperature calibration
If the set temperature and the actual temperature of the soldering tip
do not concur, then the temperature can be calibrated in order
to resume work at exact soldering temperatures.
Default value: 0
Value range: -70 to +50 °C
-126 to +90 °F
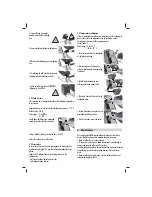
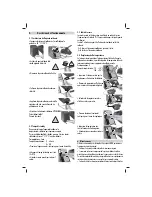
• Select reference value for calibration
at the soldering station.
• Determining actual temperature
using a digital temperature-measuring
instrument.
• Calculating deviation between
reference value and actual value.
• Press both keys briefl y to call up the
calibration menu.
• Setting temperature using the keys in
accordance with the deviation.
• Wait fi ve seconds to save the value.
6. Maintenance
Only use genuine FACOM consumables and spare parts in order to
ensure reliable function and to maintain the unit‘s warranty.
• Make sure that the tip is always tinned.
• If required, wipe the tip on a damp sponge prior to desoldering in
order to remove used solder and fl ux residue.
To obtain good electrical and thermal conductivity, occasionally remove
the soldering tip and clean the heating element shaft with a brass
brush.
• Make certain that the effectiveness of the ventilation holes is not
impaired by a build-up of dust.
+ 5 °C
- 5 °C
Содержание 1003B.E 903541
Страница 30: ...4 450 C 842 F 4 1 0 T A B 4 2 DIN 1707 E...


