Reset button
(TLP Pro 525M, 725M, and 1025M only; see
on the previous page)
— Pressing the
Reset
button allows the unit to be reset in any of three different modes and
can also be used to toggle between enabling and disabling the DHCP client (see
Reset LED
(TLP Pro 525M, 725M, and 1025M only) — Provides feedback about the reset
status when the
Reset
button is pressed (see
Mounting slots
(TLP Pro 525M, 725M, and 1025M only) — The TLP Pro 725M and 1025M
have four, one in each corner. The TLP Pro 525M has two, one in each top corner (see
Mounting the TLP Pro 525M, 725M, and 1025M
Digital input monitoring port
(TLP Pro 525M, 725M, and 1025M only) — This two-pole
captive screw port (
1
= signal and
G
= ground) monitors digital input with or without a
+5 VDC pull-up.
The table below provides information about the ports:
Digital Input, Pullup Disabled
Logic State
Notes
Logic Low
Voltage below 2.0 VDC
Logic High
Voltage above 2.8 VDC
Digital Input, Pullup Enabled
Logic State
Notes
Logic Low
Externally shorted to ground
Logic High
Open, +5V from pull-up resistor
See
on page 30, for examples of how these ports function.
LAN/PoE connector
(TLP Pro 525M, 725M, and 1025M only) — Connect the touchpanel
to a PoE power injector (not provided) using a twisted pair cable, terminated with an RJ-45
connector. Connect the power injector to the LAN through a network switch.
NOTE:
The touchpanels ship without a power injector. The power injector must be
purchased separately.
An Extron IPL Pro control processor must also be connected to the same network domain
as the TouchLink Pro touchpanel (see the
for a list of compatible models).
The network port has two LEDs. The green LED lights steadily to indicate that the
touchpanel is connected correctly to a network. The yellow LED blinks to indicate that data
is being passed to or from the touchpanel.
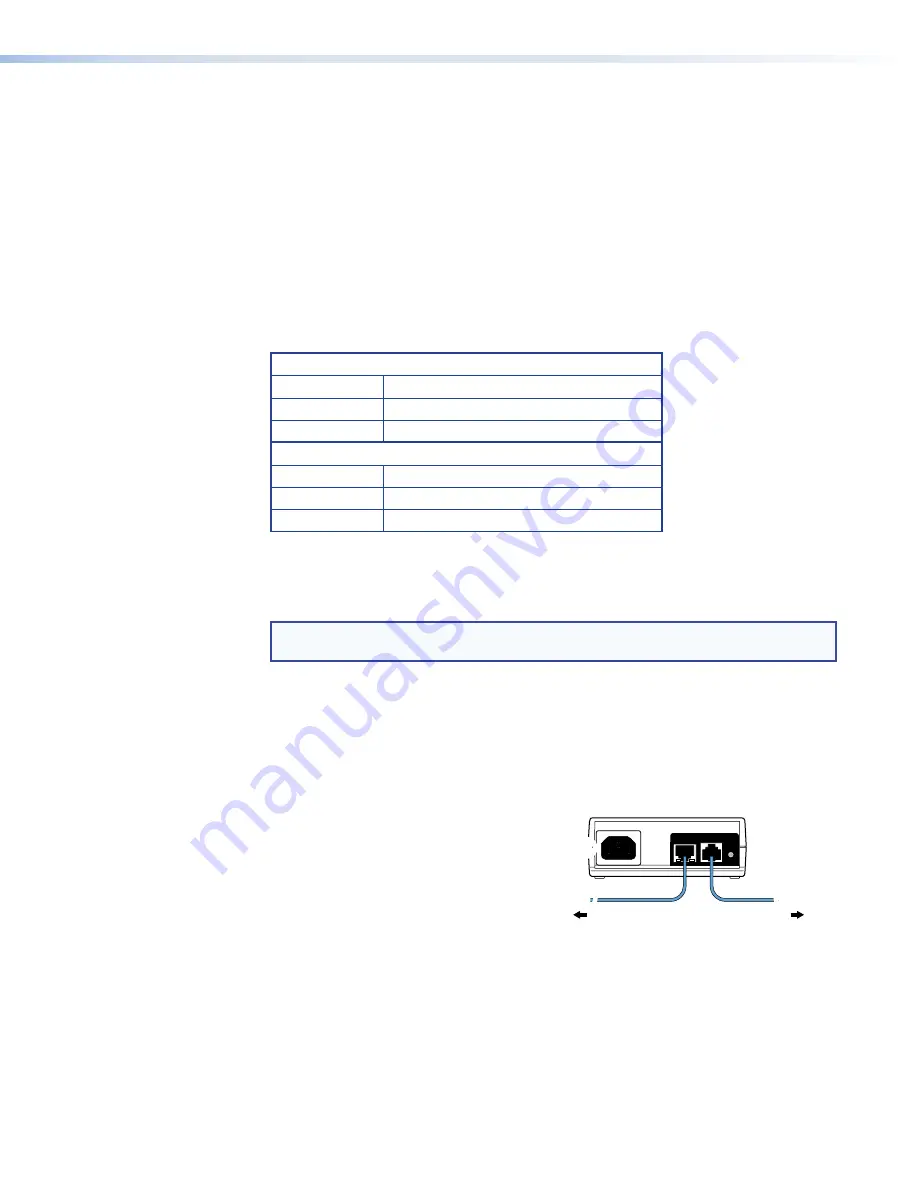
Connect a straight-through Ethernet cable from the power injector to a switch or router
(figure 4,
1
). This cable carries network information from the switch or router to the power
Reset button
Reset LED
Mounting slots
Digital input monitoring port
LAN/PoE connector
supply. Connect a second straight-through
cable (
2
) from the power injector to the
touchpanel. This cable carries the network
information and 48 VDC from the power
injector to the touchpanel. Connect the
IEC power cord to a convenient 100 VAC
to 240 VAC, 50-60 Hz power source (
3
).
Figure 4 shows the Extron XTP PI 100.
Your power injector may look different.
100-240V
~
50-60Hz
0.4A MAX
XTP
PWR
XTP PWR
To network switch
To touchpanel
1
1
2
2
3
3
Figure 4.
XTP PI 100 Power Injector
figure 4
TLP Pro 525, 725, and 1025 Series Touchpanels • Panel Features
9


