MGP Pro Series • HTML Configuration and Control
87
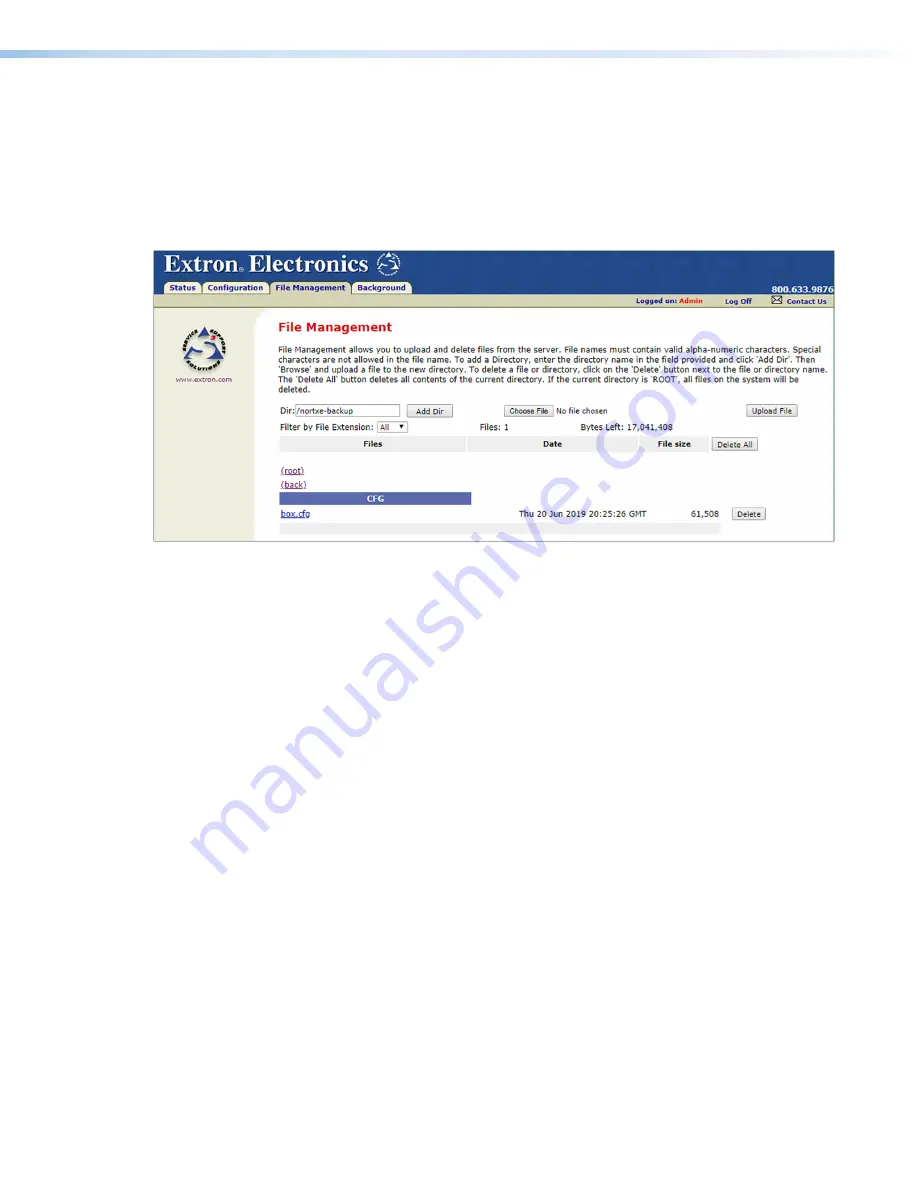
Using the File Management Page
The
File
Management
page lets you upload files to the MGP Pro from your computer or
network, and delete files from the unit. You can also upload personalized web pages via
this page. To access the
File
Management
page, select the
File
Management
tab on
the MGP Pro web page. You can use this function to load background images from your
computer or the internet to display on the output screen. All background image files must
be 24-bit bitmaps. The image files must be loaded to a folder named “nortxe-graphics.”
Figure 37.
File Management Page
Uploading Files
Names of files to be uploaded to the MGP Pro must contain only valid alphanumeric
characters and underscores. No spaces or special characters (symbols) are allowed. To
upload files from the server,
1.
Click the
Browse
button to the right of the file name field.
2.
Browse to locate the file that you want to upload, and open it. The file name and
directory path are displayed in the file name field on the
File
Management
page.
3.
Click the
Upload
File
button. The selected file name appears in the Files column
on the
File
Management
page. Files are listed separately under headings of their
extensions.
Adding a Directory
To add a directory or folder to the MGP Pro file system,
1.
Enter the directory name in the
Dir:
field, following the slash (
/
).
2.
Click the
Add
Dir
button.
3.
With the directory name displayed, perform the uploading files procedure described in
the previous section to add a file to the directory. The directory name appears at the top
of the
Files
column, preceded by a slash.
To add more files to the directory, click the directory name to open it, then use the
uploading files procedure above. To exit the directory, click
(root)
or
(back)
.
37


