background image


Safety instructions

Ambient conditions


099-005211-EW501 

23.08.2010


11


2.5


Ambient conditions 


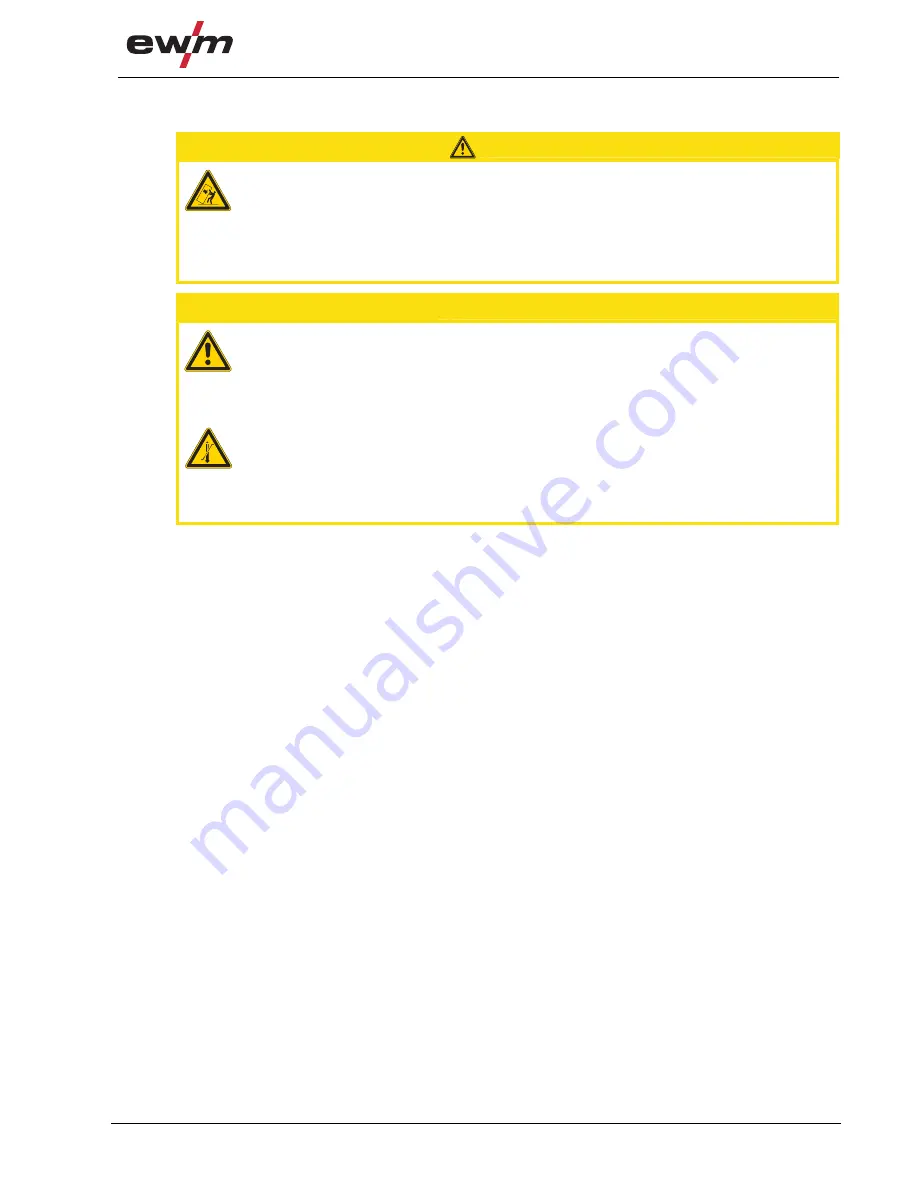
CAUTION


Installation site! 
The machine must not be operated in the open air and must only be set up and 
operated on a suitable, stable and level base! 
•  The operator must ensure that the ground is non-slip and level, and provide sufficient 

lighting for the place of work. 

•  Safe operation of the machine must be guaranteed at all times. 


  CAUTION


Equipment damage due to dirt accumulation! 
Unusually high quantities of dust, acid, corrosive gases or substances may damage the 
equipment. 
•  Avoid high volumes of smoke, vapour, oil vapour and grinding dust! 
•  Avoid ambient air containing salt (sea air)! 


Non-permissible ambient conditions! 
Insufficient ventilation results in a reduction in performance and equipment damage. 
•  Observe the ambient conditions! 
•  Keep the cooling air inlet and outlet clear! 
•  Observe the minimum distance of 0.5 m from obstacles! 


2.5.1


In operation 

Temperature range of the ambient air: 
•  -20 °C to +40 °C 

Relative air humidity: 
•  Up to 50% at 40 °C 

•  Up to 90% at 20 °C 

2.5.2


Transport and storage 

Storage in an enclosed space, temperature range of the ambient air: 
•  -25 °C to +55 °C 

Relative air humidity 
•  Up to 90% at 20 °C 

Содержание Taurus Synergic drive 200C

Страница 1: ...aurus Synergic drive 200C Taurus Synergic drive 300C Observe additional system documents 099 005211 EW501 23 08 2010 Register now For your benefit Jetzt Registrieren und Profitieren www ewm group com...

Страница 2: ...ther form of liability regardless of type shall be accepted This exclusion of liability shall be deemed accepted by the user on commissioning the equipment The manufacturer is unable to monitor whethe...

Страница 3: ...nt view 14 4 1 2 Rear view 15 4 1 3 Inside view 16 4 2 Taurus Synergic drive 300C 17 4 2 1 Front view 17 4 2 2 Rear view 18 4 2 3 Operating elements in the machine 19 4 3 Machine control Operating ele...

Страница 4: ...ser 47 6 5 Meeting the requirements of RoHS 47 7 Rectifying faults 48 7 1 Error messages power source 49 7 2 Resetting JOBs welding tasks to the factory settings 50 7 2 1 Resetting a single JOB 50 7 2...

Страница 5: ...l in the page margin CAUTION Working or operating procedures which must be closely observed to prevent possible minor personal injury The safety information includes the CAUTION keyword in its heading...

Страница 6: ...press Turn Switch 0 1 Switch off machine 0 1 Switch on machine ENTER enter the menu NAVIGATION Navigating in the menu EXIT Exit the menu Time display example wait 4s press Interruption in the menu di...

Страница 7: ...ications To avoid injury and equipment damage the unit must only be repaired or modified by specialist skilled persons The warranty becomes null and void in the event of unauthorised interference Appo...

Страница 8: ...are using safety curtains Explosion risk Apparently harmless substances in closed containers may generate excessive pressure when heated Move containers with inflammable or explosive liquids away from...

Страница 9: ...e respective country Setting up and operating the machine according to IEC 60974 9 Check at regular intervals that users are working in a safety conscious way Regular checks of the machine according t...

Страница 10: ...ble for transport by hand only The machine may not be lifted by crane or suspended CAUTION Risk of tipping There is a risk of the machine tipping over and injuring persons or being damaged itself duri...

Страница 11: ...s of dust acid corrosive gases or substances may damage the equipment Avoid high volumes of smoke vapour oil vapour and grinding dust Avoid ambient air containing salt sea air Non permissible ambient...

Страница 12: ...l for simple reliable root welding without pool support easy gap bridging 3 1 3 MIG MAG standard welding Metal arc welding using a wire electrode whereby gas from an external source surrounds the arc...

Страница 13: ...ted conversion work not specifically authorised by the manufacturer The original copy of the declaration of conformity is enclosed with the unit 3 3 3 Welding in environments with increased electrical...

Страница 14: ...indow Check wire supply 4 Wire feed unit cover lock 5 Central connection for welding torch Euro Integrated welding current shielding gas and torch trigger 6 19 pole connection socket analogue For conn...

Страница 15: ...nnection 2 Stirrup Intermediate tube package strain relief 3 Rapid action closure coupling red coolant return 4 Rapid action closure coupling blue coolant supply 5 19 pole connection socket analogue F...

Страница 16: ...ensures a high degree of safety for the welder by preventing accidental ignition of the arc Standard or Up Down torch switch This switch is used to connect an up down torch Up Down Up down torch is c...

Страница 17: ...ntrol See Machine control operating elements chapter 6 19 pole connection socket analogue For connecting analogue remote controls Changeover switch remote control on off ON Set the welding performance...

Страница 18: ...ntermediate tube package strain relief 4 19 pole connection socket analogue For connecting analogue accessory components remote control welding torch control lead etc 5 Connector plug welding current...

Страница 19: ...gas flows You can stop the process at any time by releasing the key button This ensures a high degree of safety for the welder by preventing accidental ignition of the arc Standard or Up Down torch sw...

Страница 20: ...20 22 24 m min 16 to 24 m min In increments of 2 m min 2 Ready for operation signal light Signal light on when the machine is switched on and ready for operation 3 Operating mode changeover switch Sw...

Страница 21: ...cause burns if touched Check the welding current connections every day and lock by turning in clockwise direction if necessary Risk of injury due to moving parts The wire feed units are equipped with...

Страница 22: ...witched off Comprehensive descriptions can be found in the operating instructions for the relevant accessory components Accessory components are detected automatically after the power source is switch...

Страница 23: ...st be checked regularly to ensure that the frost protection is adequate to prevent damage to the machine or the accessory components The coolant must be checked for adequate frost protection with the...

Страница 24: ...correctly fitted The strain relief takes the strain from cables plugs and sockets The length of the relief cord must be adjusted when using for the first time Check the strain relief function by pulli...

Страница 25: ...nt cable socket onto the welding current connecting plug and lock by turning to the right Connect crown nut of the shielding gas line to the G connecting nipple Insert cable plug on the control lead i...

Страница 26: ...nt cable socket onto the welding current connecting plug and lock by turning to the right Connect crown nut of the shielding gas line to the G connecting nipple Insert cable plug on the control lead i...

Страница 27: ...de type either a spiral guide or a plastic core with the appropriate interior diameter must be inserted into the welding torch Recommendation Use a spiral guide for welding hard wire electrodes steel...

Страница 28: ...logue accessory components remote control welding torch control lead etc Insert the central plug for the welding torch into the central connector and screw together with crown nut Lock connecting nipp...

Страница 29: ...g blue coolant supply 6 Rapid action closure coupling red coolant return Insert the central plug for the welding torch into the central connector and screw together with crown nut Lock connecting nipp...

Страница 30: ...ol Description 0 1 Wire spool retainer 2 Securing and braking unit 3 Allen screw Securing the wire spool retainer and adjustment of the spool brake Open the wire feed unit Loosen the hexagonal socket...

Страница 31: ...re spool no longer turns when the wire feed motor stops but without it jamming during operation The fixing of the pin reel must be checked if the hexagonal socket screw is released See chapter Fixing...

Страница 32: ...re and the material Check the roller label to verify that the rollers are suitable for the wire diameter Turn or change if necessary use V Nut rollers with for steel wires and other hard wires use U N...

Страница 33: ...be or plastic core with support tube depending on the torch equipment Extend and lay out the torch tube package Unfasten pressure units and fold out clamping units and counter pressure rollers will au...

Страница 34: ...d units are equipped with moving parts which can trap hands hair clothing or tools and thus injure persons Do not reach into rotating or moving parts or drive components Keep casing covers closed duri...

Страница 35: ...core using guide pipe Press the clamping element with the counter pressure roller back downwards and fold the wire units back up again wire electrode should be in the groove on the drive roller The c...

Страница 36: ...an be used together with this welding machine UP DOWN welding torch with one rocker for setting the wire speed or to change up to 10 weldingprograms 5 4 9 Remote control Remote controls are operated o...

Страница 37: ...interaction of the controls on the welding machine and the wire feed unit After the basic settings are made on the welding machine the operating point and other parameters can be set on the wire feed...

Страница 38: ...nstructions n x Operating mode button The signal light indicates the selected operating mode Non latched operation preselected at the wire feed unit Non latched operation Green Special non latched ope...

Страница 39: ...cross sections are adequate Fully unroll welding current cables torche tube packages and if applicable intermediate tube packages Avoid loops Use welding torches preferably water cooled that are suita...

Страница 40: ...ction socket 7 TIG welding Welding current connection for welding torch 8 Power source Insert the central plug for the welding torch into the central connector and screw together with crown nut Insert...

Страница 41: ...ing Welding current connection for welding torch 8 Power source Insert the central plug for the welding torch into the central connector and screw together with crown nut Insert the welding current pl...

Страница 42: ...it 3s until the setting has been adopted m min Welding current is set Setpoint setting 5 5 3 TIG arc ignition 5 5 3 1 Liftarc ignition a b c Figure 5 16 The arc is ignited on contact with the workpiec...

Страница 43: ...ing element Action Result Display Wire Gas Material JOB LIST 1 x Select JOB list LED Wire Gas Material is on m min Set JOB number Wait 3s until the setting has been adopted m min Welding current is se...

Страница 44: ...ou keep the button pressed 5 7 2 Setting the shielding gas quantity Welding process Recommended shielding gas quantity MAG welding Wire diameter x 11 5 l min MIG brazing Wire diameter x 11 5 l min MIG...

Страница 45: ...e of products Only insert and lock accessory components into the relevant connection socket when the machine is switched off Damage due to incorrect connection Accessory components and the power sourc...

Страница 46: ...sage safety and adjustment devices Functional test Other general condition 6 2 2 Monthly maintenance tasks Casing damage front rear and side walls Transport rollers and their securing elements Transpo...

Страница 47: ...provisions guideline 2002 96 EG of the European Parliament and the Council of January 27th 2003 used electric and electronic equipment may no longer be placed in unsorted municipal waste It must be co...

Страница 48: ...omatic cutout triggered by overloading Reset triggered fuse rear of the power source by pressing the key button a Kinked hose packages Extend and lay out the torch hose package a Wire guide core or sp...

Страница 49: ...s of the welding machine see Technical Data chapter 1 Err 3 x Welding machine excess temperature Allow the machine to cool down mains switch to 1 Err 4 x Low coolant level Top up the coolant Leak in t...

Страница 50: ...customised welding parameters that are stored will be replaced by the factory settings 7 2 1 Resetting a single JOB JOB LIST JOB LIST m min Figure 7 1 Display Setting selection Reset to factory settin...

Страница 51: ...r 3 sec 7 3 General operating problems 7 3 1 Interface for mechanised welding WARNING No function of the external shut down devices emergency stop switch If the emergency stop circuit has been realise...

Страница 52: ...V V DY N m min DY N 0 1 0 1 Figure 7 3 Display Setting selection Calibrate wire feed speed MIN Rotary dial turn wire feed speed of the wire feed unit to the minimum value Calibrate wire feed speed MA...

Страница 53: ...torch central connection Euro Protection classification IP23 Ambient temperature 20 C to 40 C Dimensions L x W x H in mm 580 x 290 x 360 Weight approx 12 5 kg Constructed to standards IEC 60974 1 5 10...

Страница 54: ...2 Wire feed rollers for steel wire Type Designation Item no FE 2DR4R 0 6 0 8 Drive rollers 37 mm steel 092 000839 00000 FE 2DR4R 0 8 1 0 Drive rollers 37 mm steel 092 000840 00000 FE 2DR4R 0 9 1 2 Dr...

Страница 55: ...00 9 4 6 drive 300C 9 4 7 Wire feed rollers for steel wire Type Designation Item no FE 2DR4R 0 6 0 8 Drive rollers 37 mm steel 092 000839 00000 FE 2DR4R 0 8 1 0 Drive rollers 37 mm steel 092 000840 00...

Страница 56: ...uminium 092 000846 00000 URUE AL 4ZR4R 1 2 1 6 Conversion kit 37mm 4 roller drive for aluminium 092 000847 00000 URUE AL 4ZR4R 2 4 3 2 Conversion kit 37mm 4 roller drive for aluminium 092 000868 00000...

Страница 57: ...ewm group com EWM HIGHTECWELDING GmbH Dr G nter Henle Stra e 8 56271 M ndersbach Deutschland Tel 49 2680 181 0 Fax 244 www ewm group com info ewm group com EWM SCHWEISSTECHNIK HANDELS GMBH In der Flor...

Отзывы: