EVGA X299 DARK (151-SX-E299)
- 40 -
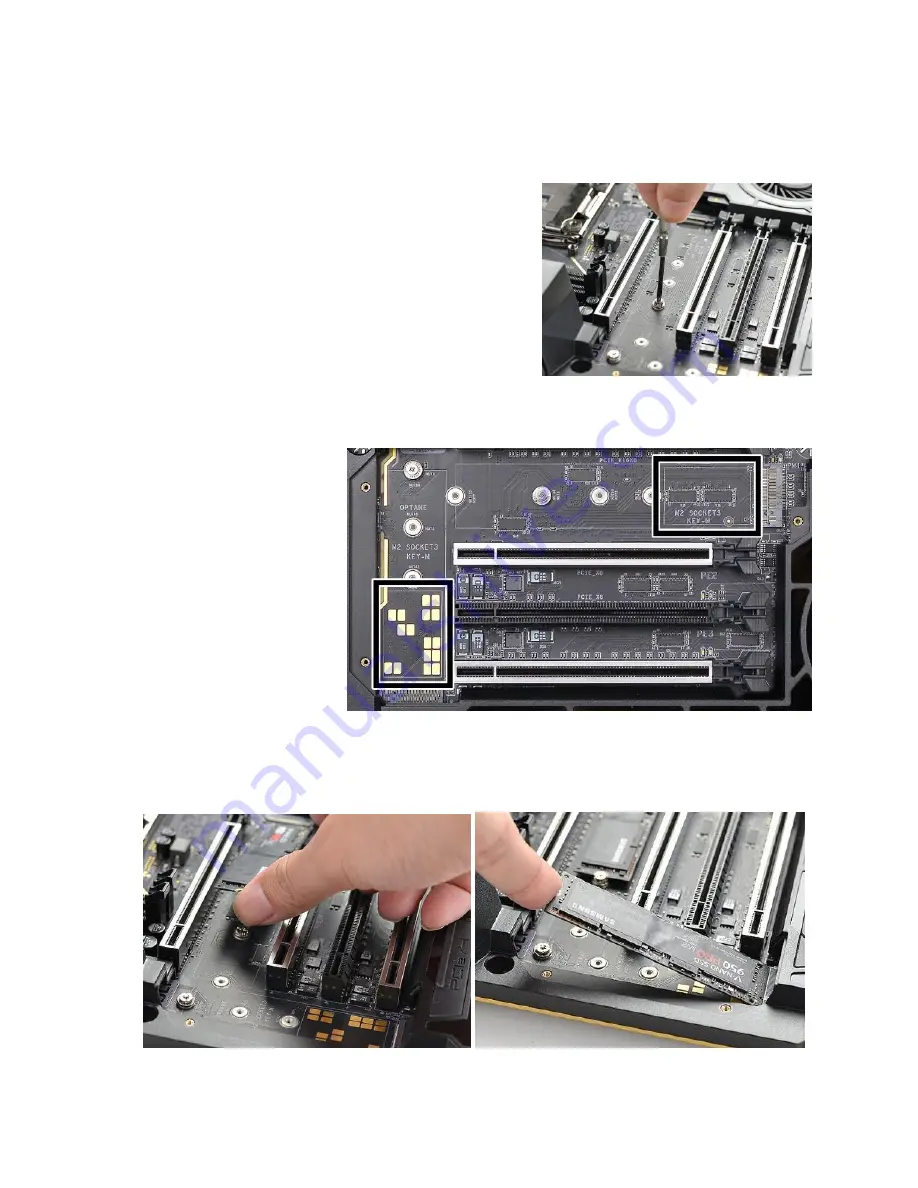
3. Before you can install an M.2 device, you must
first remove the screw that comes pre-attached to
the Socket 3’s retention standoff; this will be used
to keep the device in place. By default, the
standoff is placed at the 80mm interval for both
Socket 3 slots. If your device is longer or shorter
than 80mm, you will need to unscrew the standoff
and fasten it to the correct retention socket.
4. For each M.2 Key-M device you plan to install, add one thermal pad – included with
the X299 Dark accessories – to the outlined area below. This will assist with cooling
your M.2 Key-M device.
5. Insert either M.2 device at a slight angle of approximately 45 degrees to the board.
This will allow the contacts (colloquially called “Gold Fingers”) to seat completely into
the slot. If the device is fully seated, you should be able to release it and the device will
rest at an angle of about 30 degrees on its own, as shown in the picture below.
Содержание X299 DARK
Страница 1: ...EVGA X299 DARK 151 SX E299 1 User Guide EVGA X299 DARK Specs and Initial Installation...
Страница 9: ...EVGA X299 DARK 151 SX E299 9...
Страница 83: ...EVGA X299 DARK 151 SX E299 83...
Страница 89: ...EVGA X299 DARK 151 SX E299 89 Select the drive you wish to use for the repair and click the Rebuild button...


