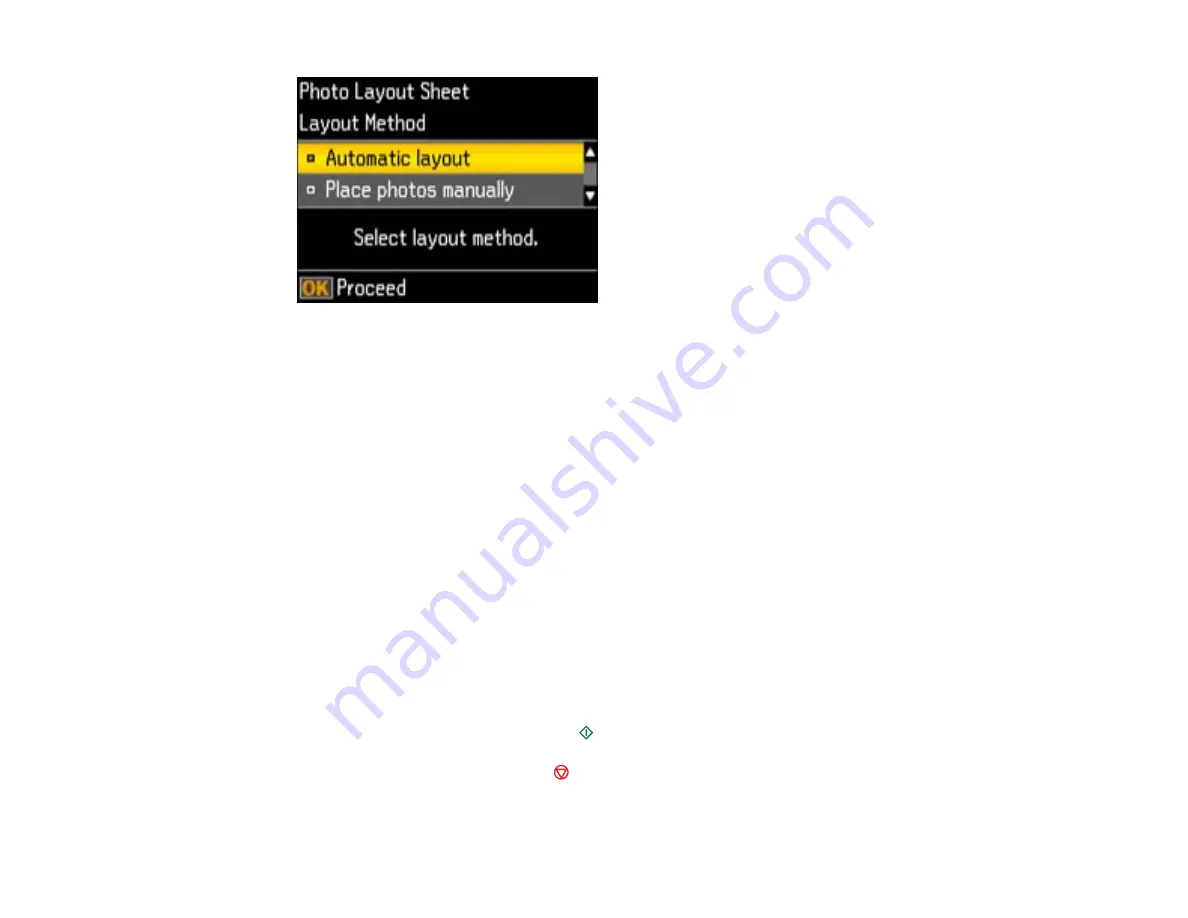
8.
If you see the screen above, do one of the following:
• To allow your product to place photos in the layout automatically, select
Automatic layout
and
press the
OK
button. Press the
+
button to select a photo to print. If you need to deselect a photo,
press the
–
button. Press the
OK
button when you are finished.
• To place photos in the layout manually, select
Place photos manually
and press the
OK
button.
Press the arrow buttons displayed to change layout options, pressing the
OK
button to confirm
each photo placement.
Note:
If the printer does not automatically advance to the next screen when you have finished
placing your photos, press the arrow buttons displayed to select
Finished
, and press the
OK
button.
9.
If you want to change the print settings for the photo layout sheet, press the up or down arrow
buttons to select
Menu
, and press the
OK
button.
10. Press the
+
or
–
buttons to select one or more copies of each photo layout sheet (up to 99).
11. Press the
OK
button.
12. To print more than one copy of the photo layout sheet, press the
+
or
–
buttons to select the number
(up to 99).
13. When you are ready to print, press the
start button.
Note:
To cancel printing, press the
stop button.
Parent topic:
143
Содержание XP-410
Страница 1: ...XP 410 User s Guide ...
Страница 2: ......
Страница 11: ...XP 410 User s Guide Welcome to the XP 410 User s Guide For a printable PDF copy of this guide click here 11 ...
Страница 46: ...3 Pull out the output tray and open the paper stopper on the end 4 Slide the edge guide left 46 ...
Страница 96: ...96 ...
Страница 102: ... Normal preview Click the Auto Locate icon to create a marquee dotted line on the preview image 102 ...
Страница 113: ...113 ...
Страница 132: ...Related tasks Selecting the Scan Mode Related topics Starting a Scan Selecting Epson Scan Settings 132 ...


