


Note:
The window appears only when you have selected
Plain Paper/Bright White Paper
as the paper
type setting, and depends on other selected print settings. To use this feature, Epson Status Monitor
must be enabled.
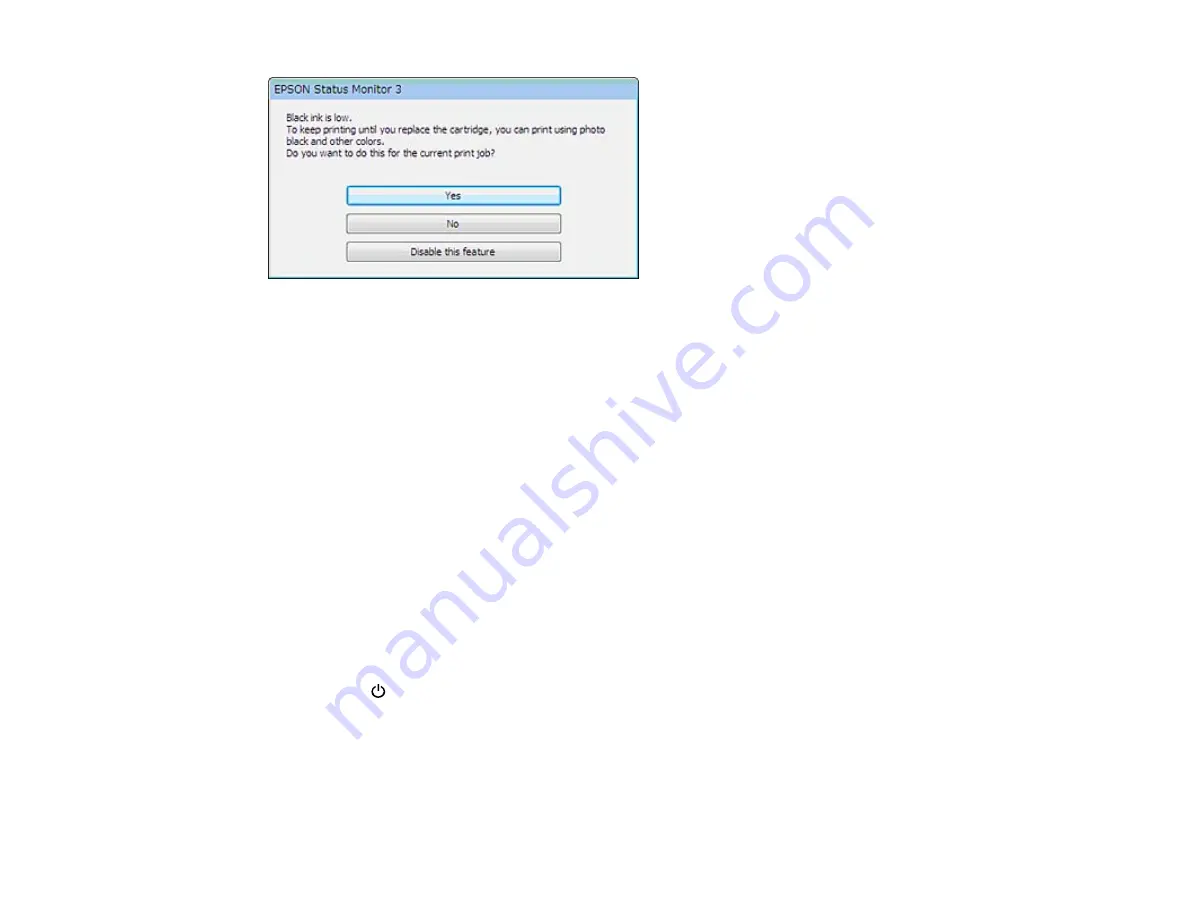
• Click
Yes
to use a mixture of color inks to create black, or
No
to continue using the remaining black ink
for the document you are printing.
• Click
Disable this feature
to continue using the remaining black ink.
Note:
If you disable this feature, it remains disabled until you reinstall the black ink cartridge.
Parent topic:
Replacing Ink Cartridges and Maintenance Boxes
Replacing the Maintenance Box
Make sure you have a new maintenance box before you begin.
Caution:
Do not reuse a maintenance box that has been removed and left uninstalled for more than a
week. Keep the maintenance box away from direct sunlight.
1.
Press the
power button to turn off the product.
2.
Remove the new maintenance box from its package.
Caution:
Do not touch the green chip on the maintenance box.
237
Содержание WorkForce WF-3520
Страница 1: ...WF 3520 WF 3530 User s Guide ...
Страница 2: ......
Страница 13: ...WF 3520 WF 3530 User s Guide Welcome to the WF 3520 WF 3530 User s Guide 13 ...
Страница 33: ...4 Slide the edge guide to your paper size 33 ...
Страница 37: ...2 Pull out the paper cassette 3 Slide the edge guides outward 37 ...
Страница 41: ...1 Close the paper stopper and output tray if necessary 2 Pull out the paper cassette 41 ...
Страница 42: ...3 Slide the edge guides outward 4 Load envelopes printable side down and flap edge right as shown 42 ...
Страница 65: ...Parent topic Copying 65 ...
Страница 103: ...Parent topic Starting a Scan Related topics Selecting Epson Scan Settings 103 ...
Страница 105: ...Note Epson Scan may start in a mode other than Home Mode when you first access it Parent topic Starting a Scan 105 ...
Страница 122: ...122 ...
Страница 149: ...1 Telephone wall jack 2 DSL filter 3 DSL modem ISDN connection one phone number 149 ...
Страница 150: ...1 ISDN wall jack 2 Terminal adapter or ISDN router ISDN connection two phone numbers 150 ...
Страница 151: ...1 ISDN wall jack 2 Terminal adapter or ISDN router 151 ...
Страница 168: ...3 Select Fax Settings for Printer Select your product if prompted You see this window 168 ...
Страница 180: ...4 Select Speed Dial Group Dial List You see this window 180 ...
Страница 182: ...3 Select your FAX product in the Printer list 4 Select Speed Dial Group Dial List You see this window 182 ...
Страница 276: ...3 Carefully remove any jammed paper 4 Remove any jammed paper from the duplexer 276 ...
Страница 277: ...5 Open the duplexer 277 ...
Страница 278: ...6 Carefully remove any jammed paper stuck inside 7 Reattach the duplexer 278 ...
Страница 281: ...6 Carefully remove any jammed pages in the direction shown 281 ...


