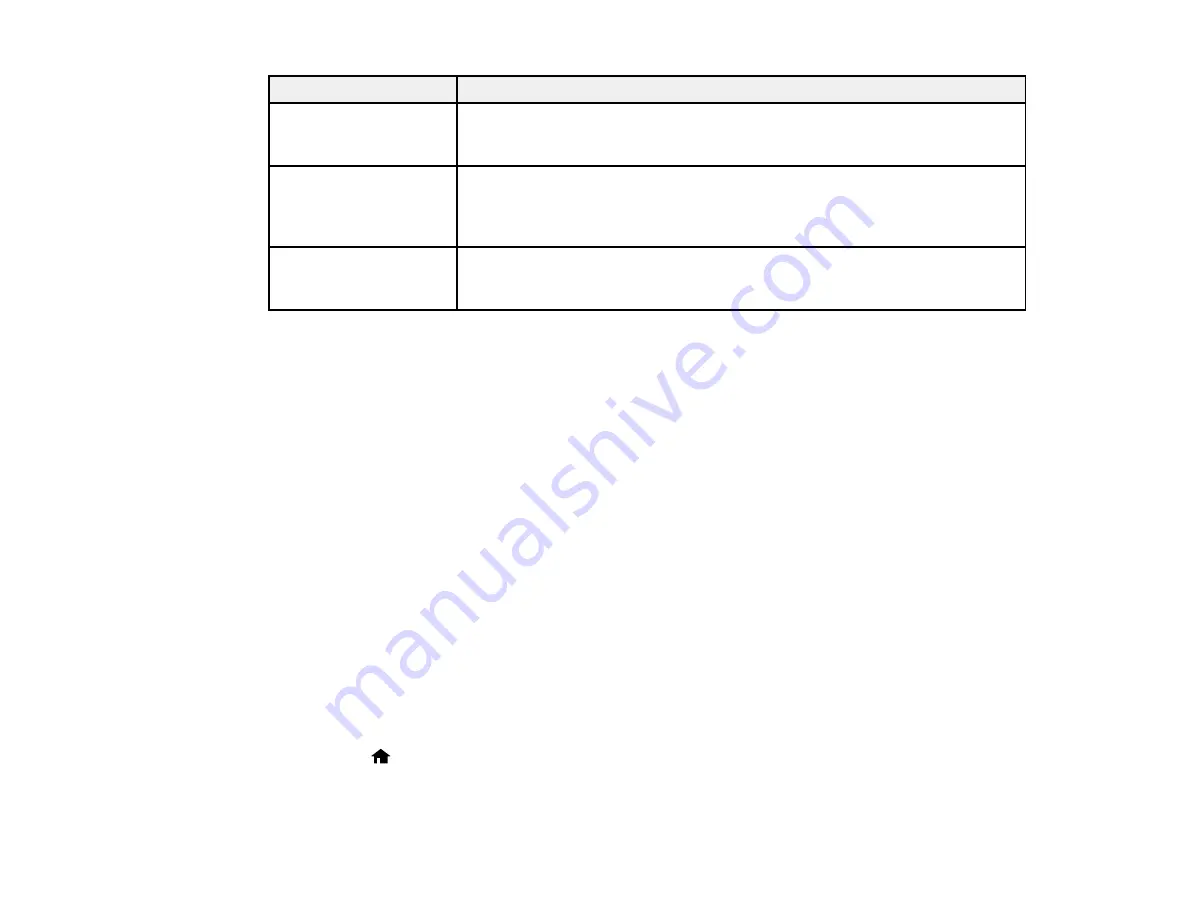
LCD screen message
Condition/solution
No dial tone detected.
Make sure the phone cable is connected correctly and the phone line works.
Try the Check Fax
If you connected the product to a PBX (Private Branch Exchange) phone line
Connection.
or Terminal Adapter, turn off the
Dial Tone Detection
setting.
Combination of IP
There is a problem with the network connection to your product.
address and subnet
mask is invalid. See
your documentation.
Recovery mode
An error has occurred during firmware updating. Connect your product using
a USB cable and try downloading the Firmware Update from Epson's support
website. If you still need help, contact Epson for support.
Note:
The ink pads in the printer collect, distribute, and contain the ink that is not used on printed pages.
During the life of your product it may reach a condition where either satisfactory print quality cannot be
maintained or the ink pads have reached the end of their usable life. The Epson Status Monitor, your
LCD, or lights on the control panel will advise you when these parts need replacing. If this happens
during the standard warranty of the product, the exchange of the product or replacement of the pads is
covered under the standard warranty. If the product is out of warranty, the pads can be replaced by any
Epson authorized service provider. The waste ink pads are not a user-serviceable part.
Parent topic:
Related tasks
Related topics
Replacing Ink Cartridges and Maintenance Boxes
Loading Paper
Running a Product Check
Running a product check helps you determine if your product is operating properly.
1.
Disconnect any interface cables connected to your product.
2.
Load plain paper in the product.
3.
Press the
home button, if necessary.
4.
Press the left or right arrow button, select
Setup
, then press
OK
.
261
Содержание WorkForce WF-3520
Страница 1: ...WF 3520 WF 3530 User s Guide ...
Страница 2: ......
Страница 13: ...WF 3520 WF 3530 User s Guide Welcome to the WF 3520 WF 3530 User s Guide 13 ...
Страница 33: ...4 Slide the edge guide to your paper size 33 ...
Страница 37: ...2 Pull out the paper cassette 3 Slide the edge guides outward 37 ...
Страница 41: ...1 Close the paper stopper and output tray if necessary 2 Pull out the paper cassette 41 ...
Страница 42: ...3 Slide the edge guides outward 4 Load envelopes printable side down and flap edge right as shown 42 ...
Страница 65: ...Parent topic Copying 65 ...
Страница 103: ...Parent topic Starting a Scan Related topics Selecting Epson Scan Settings 103 ...
Страница 105: ...Note Epson Scan may start in a mode other than Home Mode when you first access it Parent topic Starting a Scan 105 ...
Страница 122: ...122 ...
Страница 149: ...1 Telephone wall jack 2 DSL filter 3 DSL modem ISDN connection one phone number 149 ...
Страница 150: ...1 ISDN wall jack 2 Terminal adapter or ISDN router ISDN connection two phone numbers 150 ...
Страница 151: ...1 ISDN wall jack 2 Terminal adapter or ISDN router 151 ...
Страница 168: ...3 Select Fax Settings for Printer Select your product if prompted You see this window 168 ...
Страница 180: ...4 Select Speed Dial Group Dial List You see this window 180 ...
Страница 182: ...3 Select your FAX product in the Printer list 4 Select Speed Dial Group Dial List You see this window 182 ...
Страница 276: ...3 Carefully remove any jammed paper 4 Remove any jammed paper from the duplexer 276 ...
Страница 277: ...5 Open the duplexer 277 ...
Страница 278: ...6 Carefully remove any jammed paper stuck inside 7 Reattach the duplexer 278 ...
Страница 281: ...6 Carefully remove any jammed pages in the direction shown 281 ...


