4.
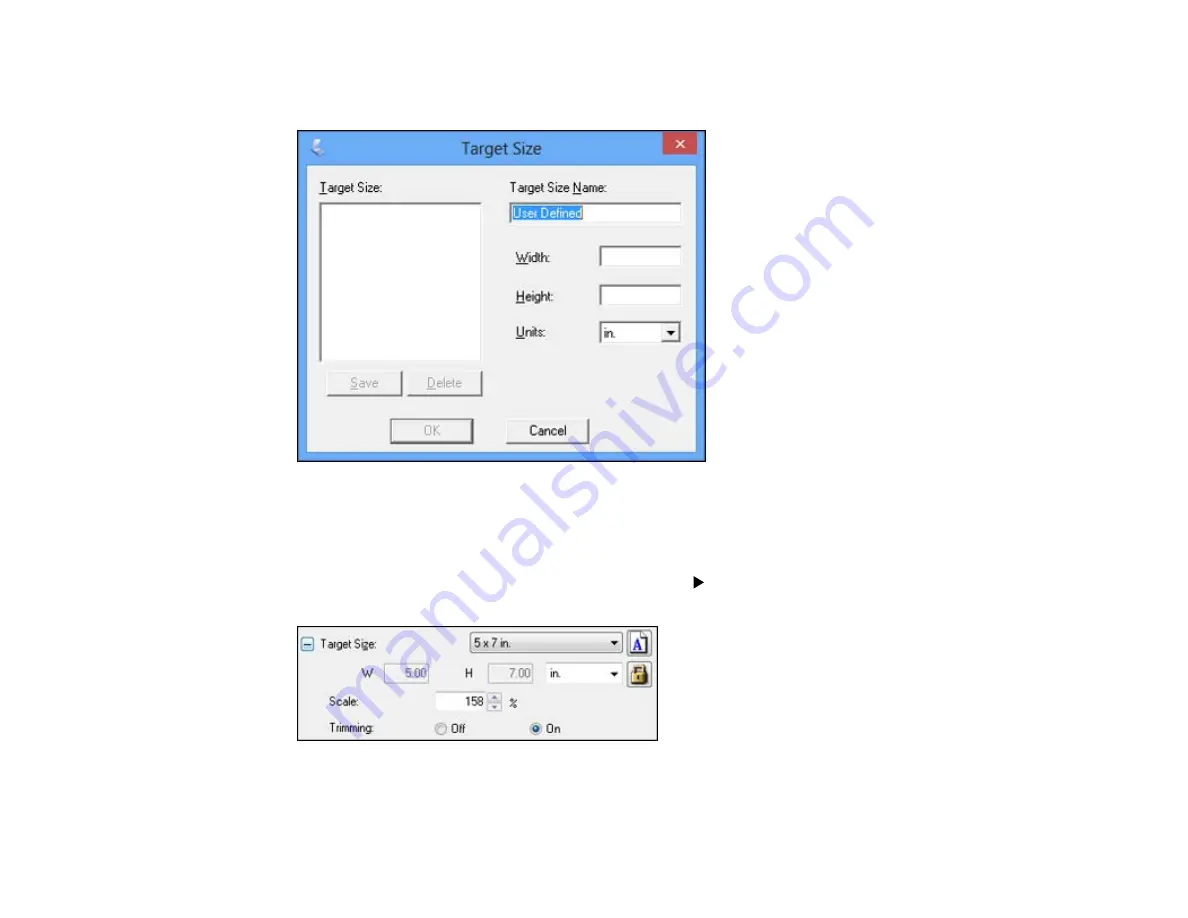
To create a scanned image size that is not available in the Target Size list, click the
Customize
option.
5.
Name the custom size, enter the size, click
Save
, and click
OK
. Then create a scan area on the
preview image.
The marquee is automatically proportioned for your custom scan size.
6.
To use additional sizing tools, click the
+
(Windows) or
(Mac OS X) icon next to the Target Size
setting and select options as desired.
•
Scale
: Reduces or enlarges your image by the percentage you enter.
132
Содержание WorkForce WF-3520
Страница 1: ...WF 3520 WF 3530 User s Guide ...
Страница 2: ......
Страница 13: ...WF 3520 WF 3530 User s Guide Welcome to the WF 3520 WF 3530 User s Guide 13 ...
Страница 33: ...4 Slide the edge guide to your paper size 33 ...
Страница 37: ...2 Pull out the paper cassette 3 Slide the edge guides outward 37 ...
Страница 41: ...1 Close the paper stopper and output tray if necessary 2 Pull out the paper cassette 41 ...
Страница 42: ...3 Slide the edge guides outward 4 Load envelopes printable side down and flap edge right as shown 42 ...
Страница 65: ...Parent topic Copying 65 ...
Страница 103: ...Parent topic Starting a Scan Related topics Selecting Epson Scan Settings 103 ...
Страница 105: ...Note Epson Scan may start in a mode other than Home Mode when you first access it Parent topic Starting a Scan 105 ...
Страница 122: ...122 ...
Страница 149: ...1 Telephone wall jack 2 DSL filter 3 DSL modem ISDN connection one phone number 149 ...
Страница 150: ...1 ISDN wall jack 2 Terminal adapter or ISDN router ISDN connection two phone numbers 150 ...
Страница 151: ...1 ISDN wall jack 2 Terminal adapter or ISDN router 151 ...
Страница 168: ...3 Select Fax Settings for Printer Select your product if prompted You see this window 168 ...
Страница 180: ...4 Select Speed Dial Group Dial List You see this window 180 ...
Страница 182: ...3 Select your FAX product in the Printer list 4 Select Speed Dial Group Dial List You see this window 182 ...
Страница 276: ...3 Carefully remove any jammed paper 4 Remove any jammed paper from the duplexer 276 ...
Страница 277: ...5 Open the duplexer 277 ...
Страница 278: ...6 Carefully remove any jammed paper stuck inside 7 Reattach the duplexer 278 ...
Страница 281: ...6 Carefully remove any jammed pages in the direction shown 281 ...


