


Setting Up the Network Ports
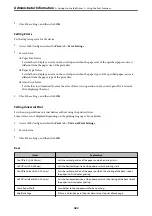
Create the print queue for network printing on the print server by using standard TCP/IP, and then set the network
port.
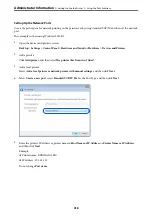
This example is when using Windows 2012 R2.
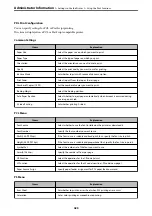
1.
Open the devices and printers screen.
Desktop
>
Settings
>
Control Panel
>
Hardware and Sound
or
Hardware
>
Devices and Printers
.
2.
Add a printer.
Click
Add printer
, and then select
The printer that I want isn't listed
.
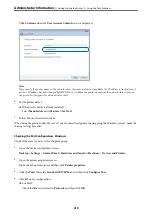
3.
Add a local printer.
Select
Add a local printer or network printer with manual settings
, and then click
Next
.
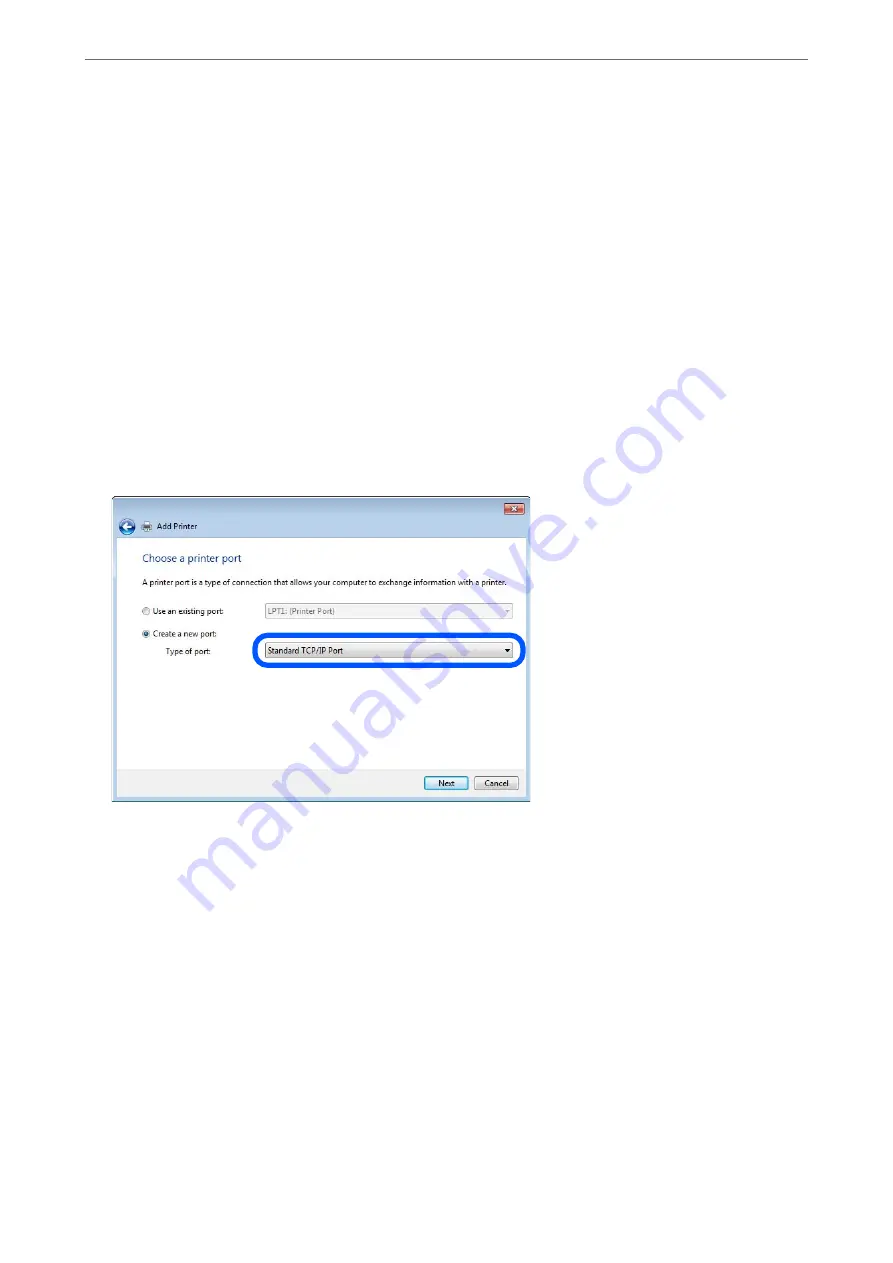
4.
Select
Create a new port
, select
Standard TCP/IP Port
as the Port Type, and then click
Next
.
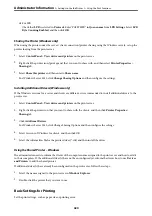
5.
Enter the printer's IP address or printer name in
Host Name or IP Address
or
Printer Name or IP Address
,
and then click
Next
.
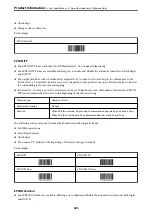
Example:
❏
Printer name : EPSONA1A2B3C
❏
IP address : 192.0.2.111
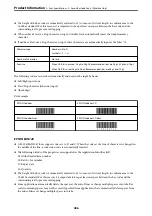
Do not change
Port name
.
>
>
418
Содержание WF-C878R Series
Страница 20: ...Part Names and Functions Front 21 Rear 25 ...
Страница 35: ...Loading Paper Paper Handling Precautions 36 Paper Size and Type Settings 37 Loading Paper 38 ...
Страница 99: ...Copying Available Copying Methods 100 Basic Menu Options for Copying 104 Advanced Menu Options for Copying 106 ...
Страница 313: ...Using Optional Items List of Optional Items 314 Printer Stand 315 Paper Cassette Unit 322 ...
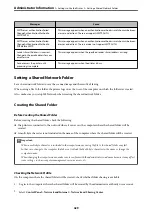
Страница 442: ...3 Click Edit Administrator Information Settings to Use the Printer Setting a Shared Network Folder 442 ...
Страница 532: ...Where to Get Help Technical Support Web Site 533 Contacting Epson Support 533 ...


