


23
Media Handling
See these sections to load and handle media on your product.
Media Handling Precautions
Loading Media
Using the Auto Take-up Reel
Viewing and Changing Media Settings
Removing Printed Media
Daily Tasks to Perform Before You Print
Saving Sets of Media Settings
Tasks You Can Perform While Printing
Printable Area and Media Size Checking
Print Start Positions
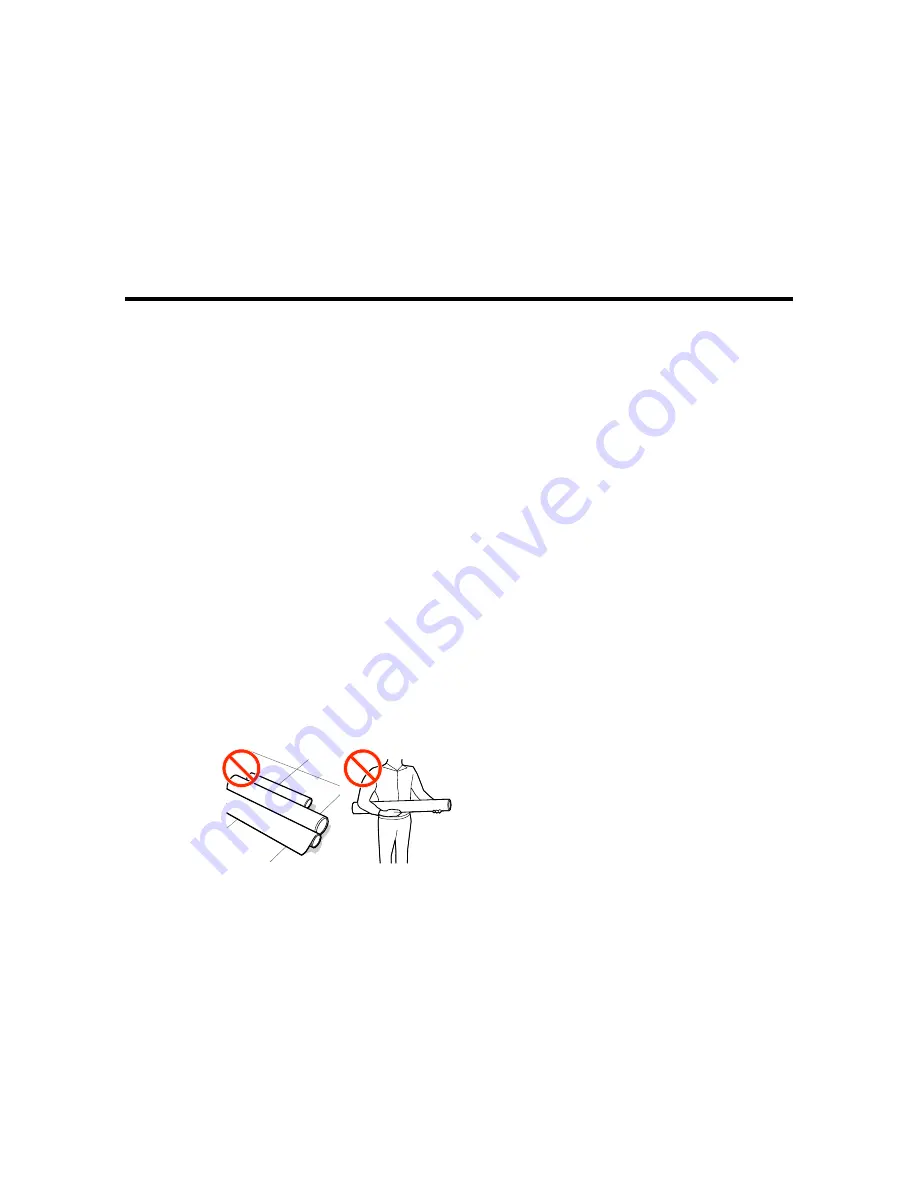
Media Handling Precautions
Follow these guidelines as you load media in your product and remove printed media.
• Be careful when you touch the heaters and media holding plates; they may be hot and could burn you.
• Take care not to trap your fingers when opening and closing the front cover.
• Do not rub your hands along the edges of the media; the sharp edges could cut you.
• Media is very heavy, so use at least two people to carry the rolls.
• Load media just before printing on it to avoid creases from the pressure rollers; creases may cause
jams or cause the media to rub against the print head.
• Do not place unwrapped media directly on the floor or press it against your clothing to avoid damaging
the media surface.
Содержание SureColor S40600
Страница 1: ...Epson SureColor S40600 S60600 S80600 User s Guide ...
Страница 2: ......
Страница 28: ...28 Printable side in 8 On the left side of the product raise the lift lever to lift the media into position ...
Страница 30: ...30 11 Push the right roll holder into the roll media then lower the lift lever ...
Страница 32: ...32 13 Fully tighten the knob on the roll holder ...
Страница 44: ...44 2 Pull the other end of the tape straight down and attach it to the roll core using adhesive tape as shown ...
Страница 45: ...45 3 Set the Auto switch to the position 4 Lower the tension bar until it lightly touches the paper tape ...
Страница 47: ...47 2 Pull the other end of the tape straight down and attach it to the roll core using adhesive tape as shown ...
Страница 48: ...48 3 Set the Auto switch to the position 4 Lower the tension bar until it lightly touches the paper tape ...
Страница 67: ...67 1 3 6 inches 92 mm Parent topic Media Handling Related references Printer Setup Menu Settings ...
Страница 98: ...98 4 Use the flat side of the cleaning stick to clean the outside of each cap ...
Страница 100: ...100 6 If a film of ink remains after cleaning with the cleaning stick use tweezers to remove it ...
Страница 101: ...101 7 Remove any lint or dust from the inside of the caps using the tip of a cleaning stick or tweezers ...
Страница 111: ...111 8 Place the new wiper unit in the printer as shown and press it down until it clicks into place ...
Страница 116: ...116 5 Remove the left media edge plate then remove the right media edge plate in the same manner ...
Страница 117: ...117 6 Align the white line on a new media edge plate with the edge of the platen ...


