


20
Handling Ink and Cleaning Cartridges
Follow these guidelines as you handle the ink and cleaning cartridges:
• Extra ink is required to charge the print head nozzles the first time the printer is used. Be sure to have
replacement cartridges ready.
• Store ink cartridges at room temperature and away from direct sunlight.
• To ensure print quality, use ink cartridges before the expiration date printed on the packaging or within
6 months of install them.
• Allow ink cartridges and cleaning cartridges that have been stored at low temperatures for an
extended period of time to return to room temperature over a period of four hours before use.
• Do not touch the IC chips on the cartridges. Doing so may prevent normal operation and printing.
• Install ink cartridges into all the slots on the printer or the printer cannot print.
• Do not leave the printer without cartridges installed in all the slots, even when the printer is not in use.
The ink in the printer may dry out, preventing it from printing as expected.
• The IC chip on each cartridge stores information, such as ink levels, to allow the cartridge to be used
after being removed and re-installed.
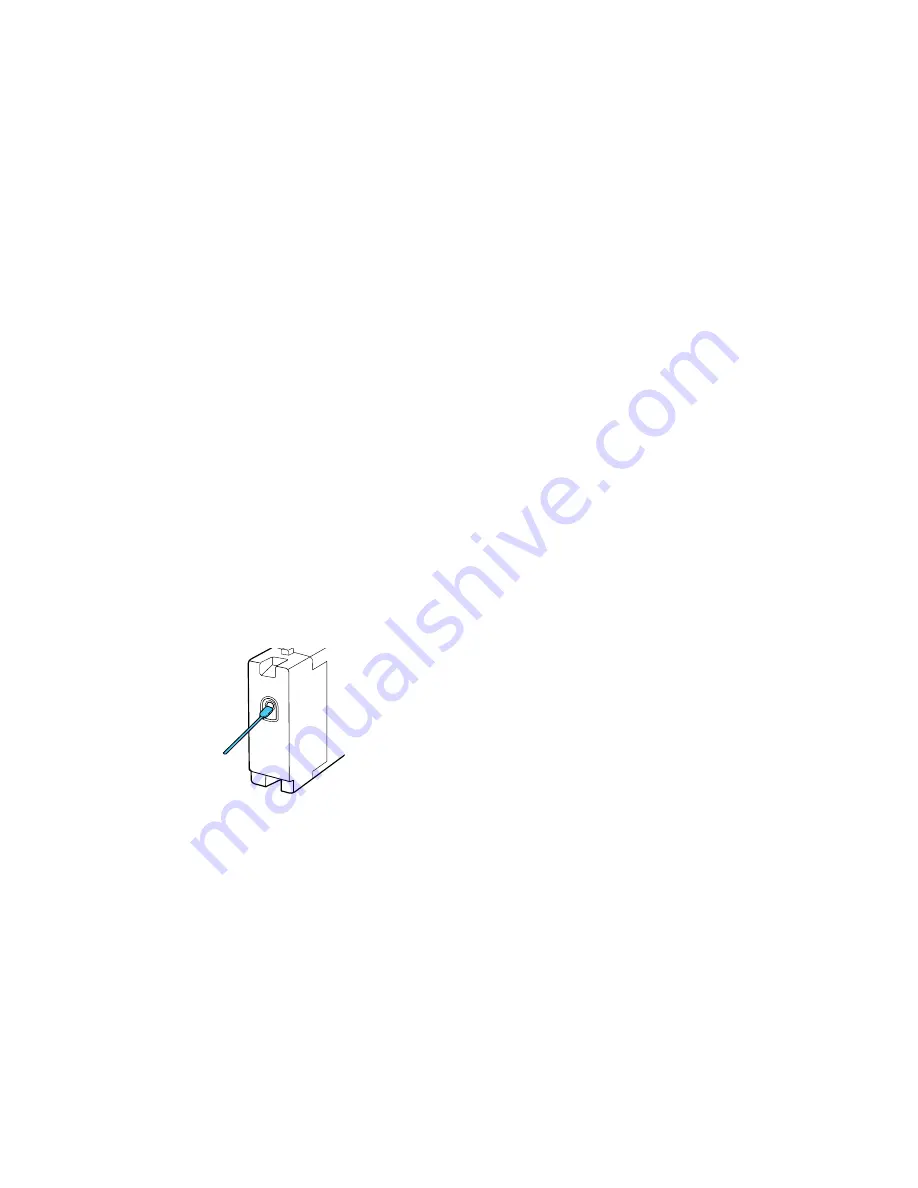
• If you remove an ink cartridge before it is empty, wipe off any ink from the ink supply port using the
cleaning stick in the maintenance kit. If ink dries on the supply port, the cartridge may leak when it is
reinstalled. Also make sure that the supply port is free of dust when storing cartridges (the port does
not need to be capped since there is a valve inside).
• Removed ink cartridges may have ink around the ink supply port, so be careful not to stain any
surfaces with ink.
• Do not dismantle or remodel ink cartridges. You may not be able to print properly.
Содержание SureColor S40600
Страница 1: ...Epson SureColor S40600 S60600 S80600 User s Guide ...
Страница 2: ......
Страница 28: ...28 Printable side in 8 On the left side of the product raise the lift lever to lift the media into position ...
Страница 30: ...30 11 Push the right roll holder into the roll media then lower the lift lever ...
Страница 32: ...32 13 Fully tighten the knob on the roll holder ...
Страница 44: ...44 2 Pull the other end of the tape straight down and attach it to the roll core using adhesive tape as shown ...
Страница 45: ...45 3 Set the Auto switch to the position 4 Lower the tension bar until it lightly touches the paper tape ...
Страница 47: ...47 2 Pull the other end of the tape straight down and attach it to the roll core using adhesive tape as shown ...
Страница 48: ...48 3 Set the Auto switch to the position 4 Lower the tension bar until it lightly touches the paper tape ...
Страница 67: ...67 1 3 6 inches 92 mm Parent topic Media Handling Related references Printer Setup Menu Settings ...
Страница 98: ...98 4 Use the flat side of the cleaning stick to clean the outside of each cap ...
Страница 100: ...100 6 If a film of ink remains after cleaning with the cleaning stick use tweezers to remove it ...
Страница 101: ...101 7 Remove any lint or dust from the inside of the caps using the tip of a cleaning stick or tweezers ...
Страница 111: ...111 8 Place the new wiper unit in the printer as shown and press it down until it clicks into place ...
Страница 116: ...116 5 Remove the left media edge plate then remove the right media edge plate in the same manner ...
Страница 117: ...117 6 Align the white line on a new media edge plate with the edge of the platen ...


