166
LCD screen message
Condition/solution
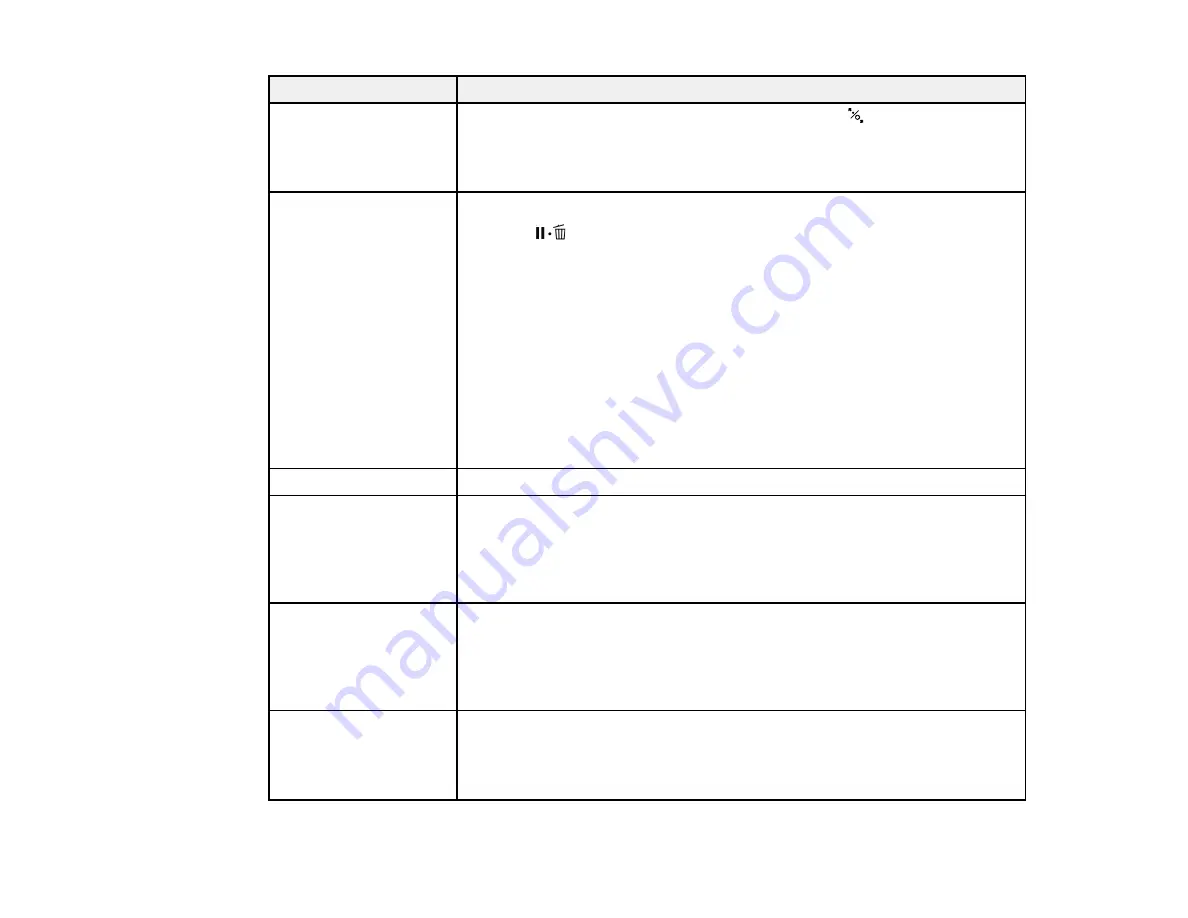
Paper Size Error
Load correct paper size.
The loaded paper is not a supported width. Press the
load paper button to
release the pressure roller, then remove the paper.
If the message still appears when you have loaded paper in a supported
width, set the
Paper Size Check
setting to
Off
.
Paper Sensor Error
Loaded paper or print
out has a problem.
The loaded paper is not detected correctly by the printer.
Press the
pause/cancel button.
If this error appears while performing an automatic head alignment, check
the following:
• Make sure you that you have not loaded transparent or colored media,
tracing paper, plain paper, Epson Enhanced Matte Posterboard, or paper
that is more than 0.04 inch (1 mm) thick.
• Make sure the printer is not exposed to direct, bright light (such as direct
sunlight) while performing an automatic print head alignment.
• Run a nozzle check and make sure the print head nozzles are not clogged.
If this error appears at any other time, make sure that the printer supports the
loaded media.
Paper Low
The roll paper is low. Make sure you have a replacement roll handy.
Paper Source Error
Cut sheet is loaded.
Remove it and change
paper source to roll
paper.
Press the
OK
button to clear the message. Remove the cut sheets from the
printer and change the source in the
Paper Type
menu.
Paper Source Error
Roll paper is loaded.
Remove it and change
paper source to cut
sheet.
Press the
OK
button to clear the message. Remove the roll paper from the
printer and change the source in the
Paper Type
menu. When
Auto Roll
Feeding
is set to
Off
, you cannot change the paper type when roll paper is
fed through the printer.
Paper Setting Error
Check the paper source
in your driver settings or
reload paper correctly.
The paper source setting in the printer driver and in the printer's
Paper Type
menu setting do not match. Check the loaded paper and settings in the driver
and printer menus.
Содержание surecolor p5000
Страница 1: ...Epson SureColor P5000 User s Guide ...
Страница 2: ......
Страница 8: ......
Страница 18: ...18 9 Platen gap setting Narrow Standard Wide Wider Widest Parent topic Printer Part Locations ...
Страница 35: ...35 9 Slide the edge guides against the paper but not too tightly ...
Страница 37: ...37 11 Replace the output tray ...
Страница 40: ...40 4 Open and extend the paper support 5 Adjust the edge guide to fit the paper width ...
Страница 69: ...69 You can also place the same print data multiple times as shown here ...
Страница 70: ...70 You can place print data in different sizes and orientations to maximize media usage as shown here ...
Страница 137: ...137 Epson Metallic Photo Paper Luster Parent topic Switch Black Ink Type Related references Available Epson Papers ...
Страница 157: ...157 2 Open the left and right ink cartridge covers 3 Open the printer cover ...
Страница 158: ...158 4 Use a Phillips head screwdriver to remove the four screws securing the front cover then remove the front cover ...


