127
6.
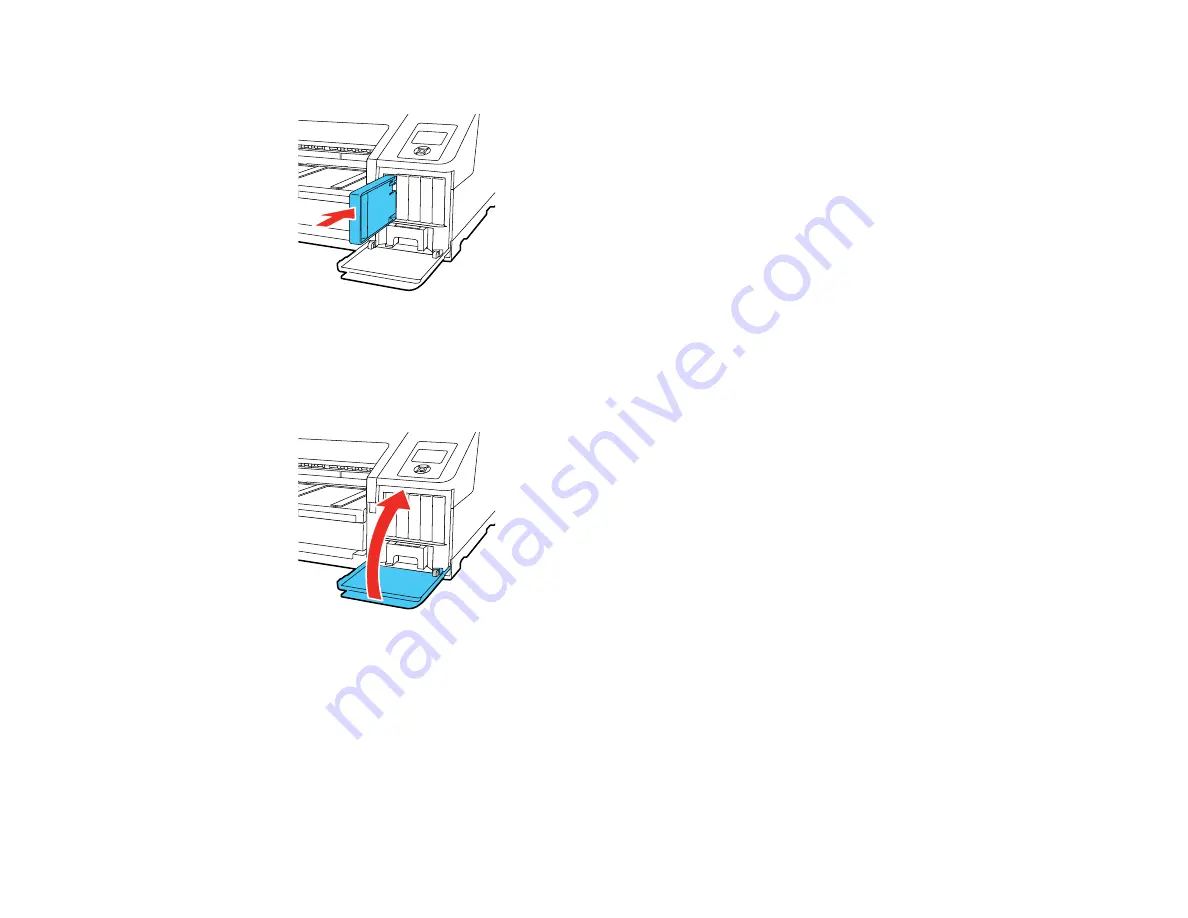
Insert the new cartridge with the arrow facing up and push it in until it clicks into place.
Caution:
Do not remove and re-insert cartridges more often than necessary. Doing so can break the
needle valve seal and allow air to enter the ink tubes, damaging the nozzles.
7.
Close the ink cartridge cover and push it in until it clicks into place.
Your product begins charging the ink delivery system.
Note:
Do not turn off the product during ink charging.
Caution:
If you remove an ink cartridge for later use, protect the ink supply area from dirt and dust and
store it in the same environment as the printer. The valve in the ink supply port is designed to contain
any excess ink, but do not touch the ink supply port or surrounding area. Always store ink cartridges with
the label facing up; do not store cartridges upside-down.
Содержание surecolor p5000
Страница 1: ...Epson SureColor P5000 User s Guide ...
Страница 2: ......
Страница 8: ......
Страница 18: ...18 9 Platen gap setting Narrow Standard Wide Wider Widest Parent topic Printer Part Locations ...
Страница 35: ...35 9 Slide the edge guides against the paper but not too tightly ...
Страница 37: ...37 11 Replace the output tray ...
Страница 40: ...40 4 Open and extend the paper support 5 Adjust the edge guide to fit the paper width ...
Страница 69: ...69 You can also place the same print data multiple times as shown here ...
Страница 70: ...70 You can place print data in different sizes and orientations to maximize media usage as shown here ...
Страница 137: ...137 Epson Metallic Photo Paper Luster Parent topic Switch Black Ink Type Related references Available Epson Papers ...
Страница 157: ...157 2 Open the left and right ink cartridge covers 3 Open the printer cover ...
Страница 158: ...158 4 Use a Phillips head screwdriver to remove the four screws securing the front cover then remove the front cover ...


