2-10
2-10
|
Handling Paper
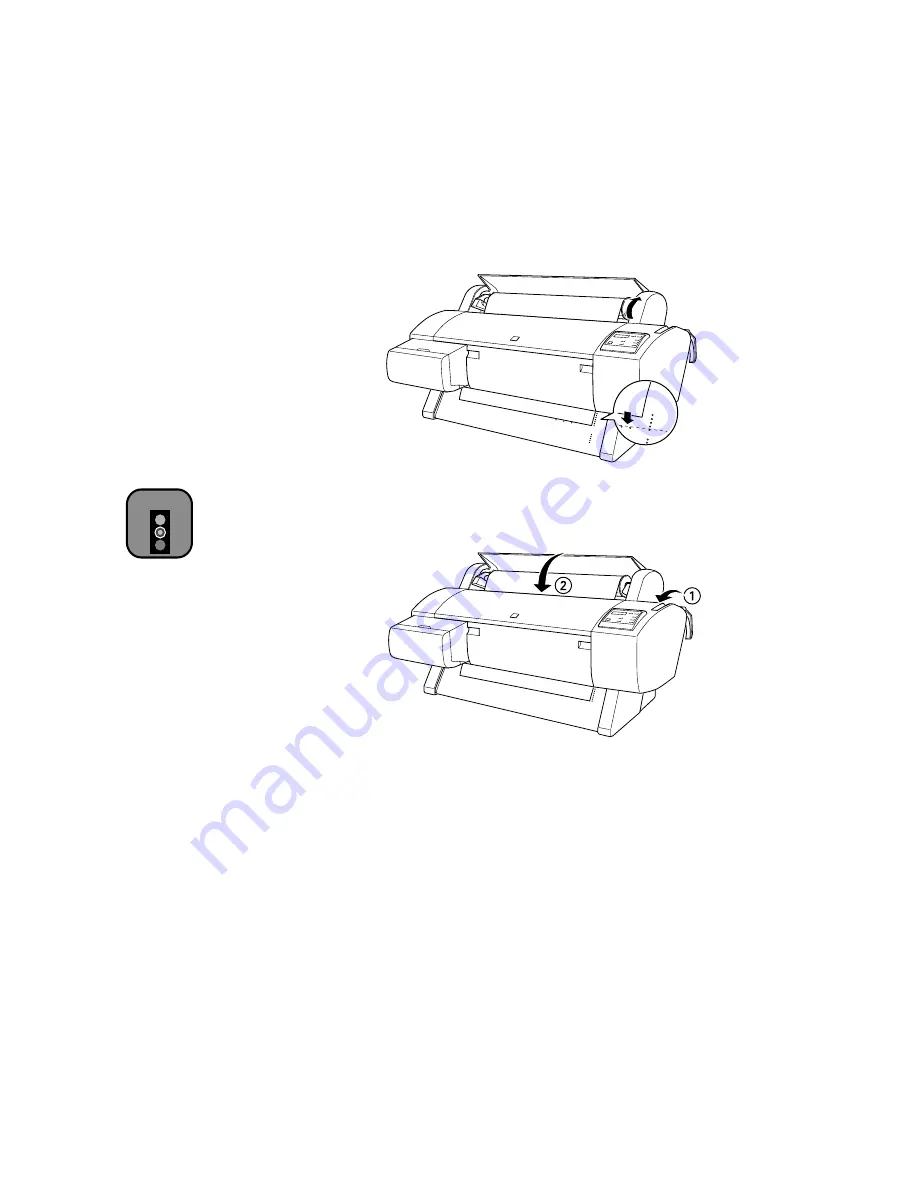
6. Holding the bottom edge of the paper, turn the roll back to remove the
slack. Then align the paper with the two rows of holes.
7. Pull the paper set lever all the way up, then close the roll paper cover.
PRESS PAUSE BUTTON
appears on the control panel display.
If you’re using Auto Cut and the edge of the paper is uneven, press
Cut/Eject
to recut the edge.
8. Press the
Pause
button. The print head moves and the paper feeds into
printing position automatically.
READY
appears on the control panel
display. (Even if you don’t press
Pause
, the paper and printer will move
into printing position automatically after 10 seconds.)
Caution
To avoid damaging the
printer, never move the
paper set lever while the
Operate
or
Pause
light is
flashing.
Содержание Stylus Pro 7000 Series
Страница 1: ...EPSON Stylus Pro 7000 P r in t e r G u id e ...
Страница 34: ...1 18 1 18 Connecting Your Printer and Installing Drivers ...
Страница 80: ...4 12 4 12 Printing with EPSON Drivers for Windows ...
Страница 126: ...7 16 7 16 Resolving Problems ...
Страница 134: ...8 8 8 8 8 8 8 8 8 8 Specifications ...
Страница 145: ... 7 7 7 7 Index 7 ...
Страница 146: ...1 roll paper cover control panel ink cartridge compartment paper set lever lower cover paper hammock ...
Страница 147: ...7 optional interface shield plate AC inlet parallelinterface connector USB interface connector paper set lever ...


