Printing a CD/DVD Without a Computer
57
6. Select your photo(s) for printing. The photos can be any size, since they’re
automatically resized to fit the disk. In 4-up and 12-up modes, you can select
multiple copies of each photo, if desired.
■
Use the
l
and
r
arrow buttons to preview your photos.
■
While a photo is displayed, use the
+
and
–
buttons to select how many
copies of it you’d like.
■
Press
OK
when done.
7. At the preview screen, press the
x
Color
button to print in color, or the
x
B&W
button to print in grayscale. Your disk is printed.
To cancel printing, press the
y
Stop
button.
8. When printing is complete, pull the tray out of the printer and let the disk dry
fully before handling it.
Adjusting the Print Position
If your printed image is not centered on the CD or DVD, you can adjust its
printing position.
1. If necessary, print a test sample using the
blank cardboard check disk included with
your RX700 or an extra CD.
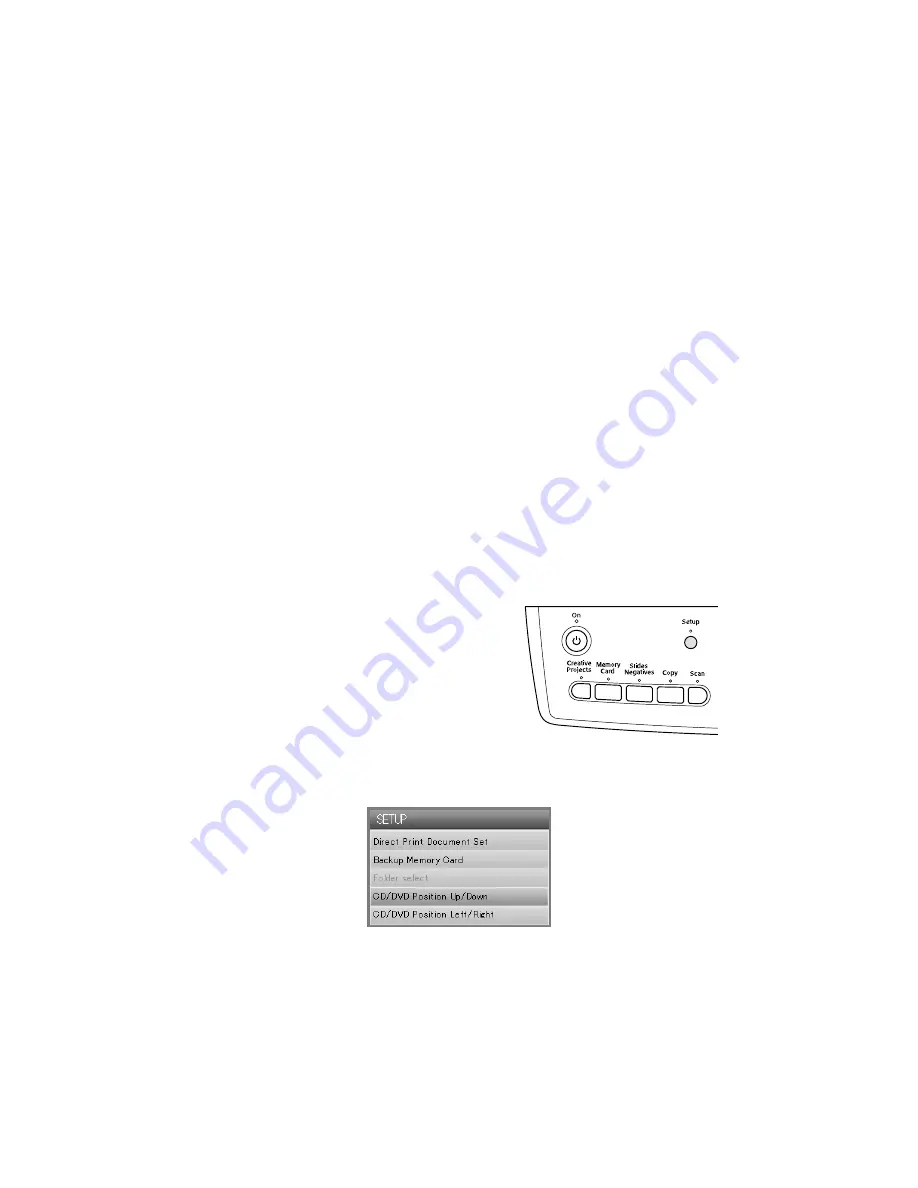
2. Press the
Setup
button.
3. If the printed image is misaligned vertically, select
CD/DVD Position Up/
Down
. If it’s misaligned horizontally, select
CD/DVD Position Left/Right
.
Содержание Stylus Photo RX700 Series
Страница 1: ...RX700 ALL IN ONE PHOTO CENTER ALL IN ONE PHOTO CENTER Basics ...
Страница 6: ...6 Contents ...
Страница 60: ...60 Printing on CDs and DVDs ...
Страница 92: ...92 Notices ...


