


222
2.
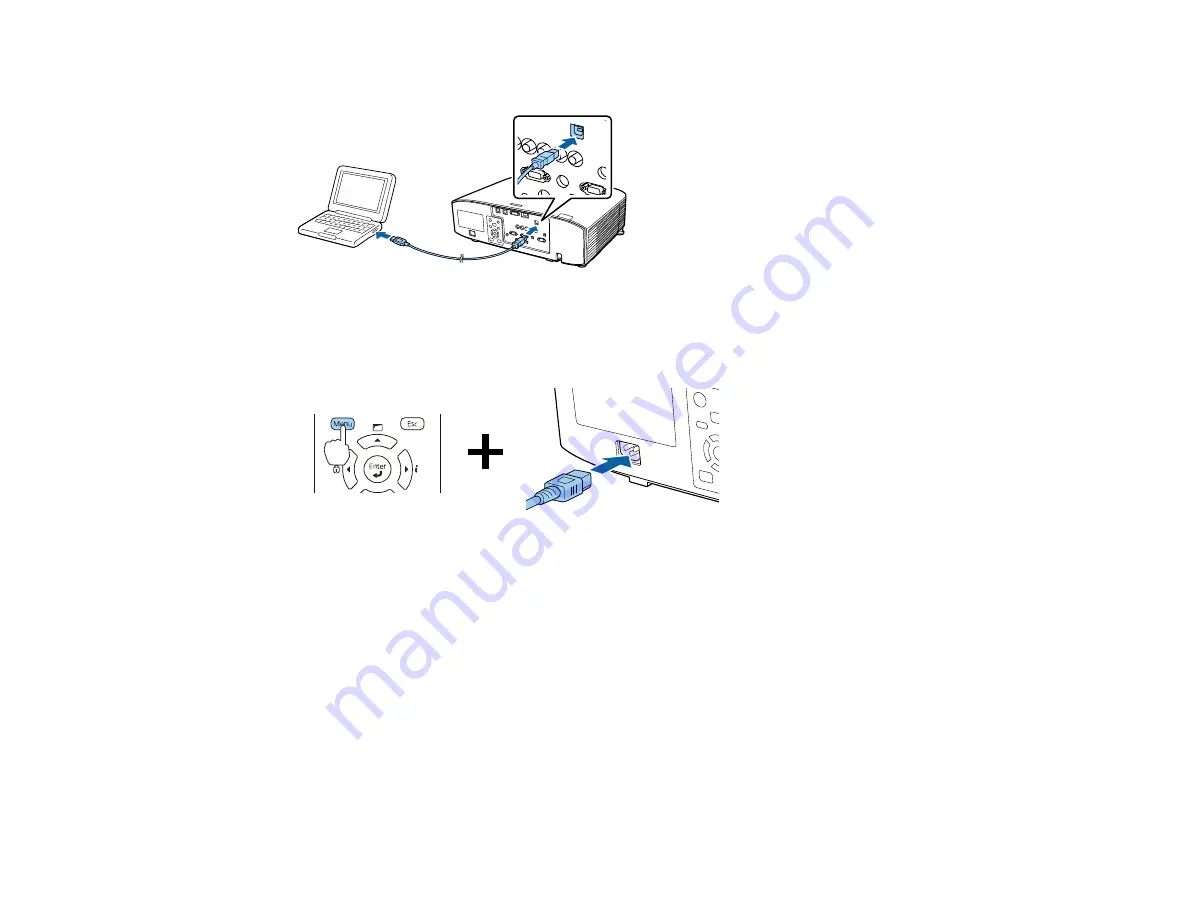
Connect a USB cable to your projector's
Service
port.
3.
Connect the other end to any available USB port on your computer.
4.
Press and hold the
Menu
button on the control panel or remote control as you connect the power
cord to the projector's power inlet.
5.
When the On/Standby and Status lights are blue, and the Laser and Temp lights are orange, release
the
Menu
button.
The projector shows up as a removable disk on your computer.
6.
Copy the
pjconfdata.bin
file from your computer to the removable disk.
Note:
Do not copy any other files to the removable disk.
7.
Once the file has copied, do one of the following:
•
Windows:
Open the
My Computer
,
Computer
,
Windows Explorer
, or
File Explorer
utility.
Right-click the name of your projector (listed as a removable disk) and select
Eject
.
•
Mac:
Drag the removable disk icon for your projector from the desktop into the trash.
Содержание Pro L1060U
Страница 1: ...Pro L1060U L1060UNL L1060W L1060WNL L1070U L1070UNL L1070W L1070WNL L1075U L1075UNL User s Guide ...
Страница 2: ......
Страница 10: ...10 A Note Concerning Responsible Use of Copyrighted Materials 315 Copyright Attribution 315 ...
Страница 29: ...29 Rear Front ceiling Rear ceiling ...
Страница 49: ...49 3 Pull the lens cover off of the projector 4 Remove the stopper if necessary ...
Страница 252: ...252 Parent topic Adjusting the Menu Settings Related tasks Running Light Source Calibration ...
Страница 261: ...261 4 Place the new air filter in the projector as shown 5 Replace the air filter cover and tighten the screws as shown ...


