


172
1.
Press the
Split
button on the remote control.
The currently selected input source moves to the left side of the screen.
2.
Press the
Menu
button.
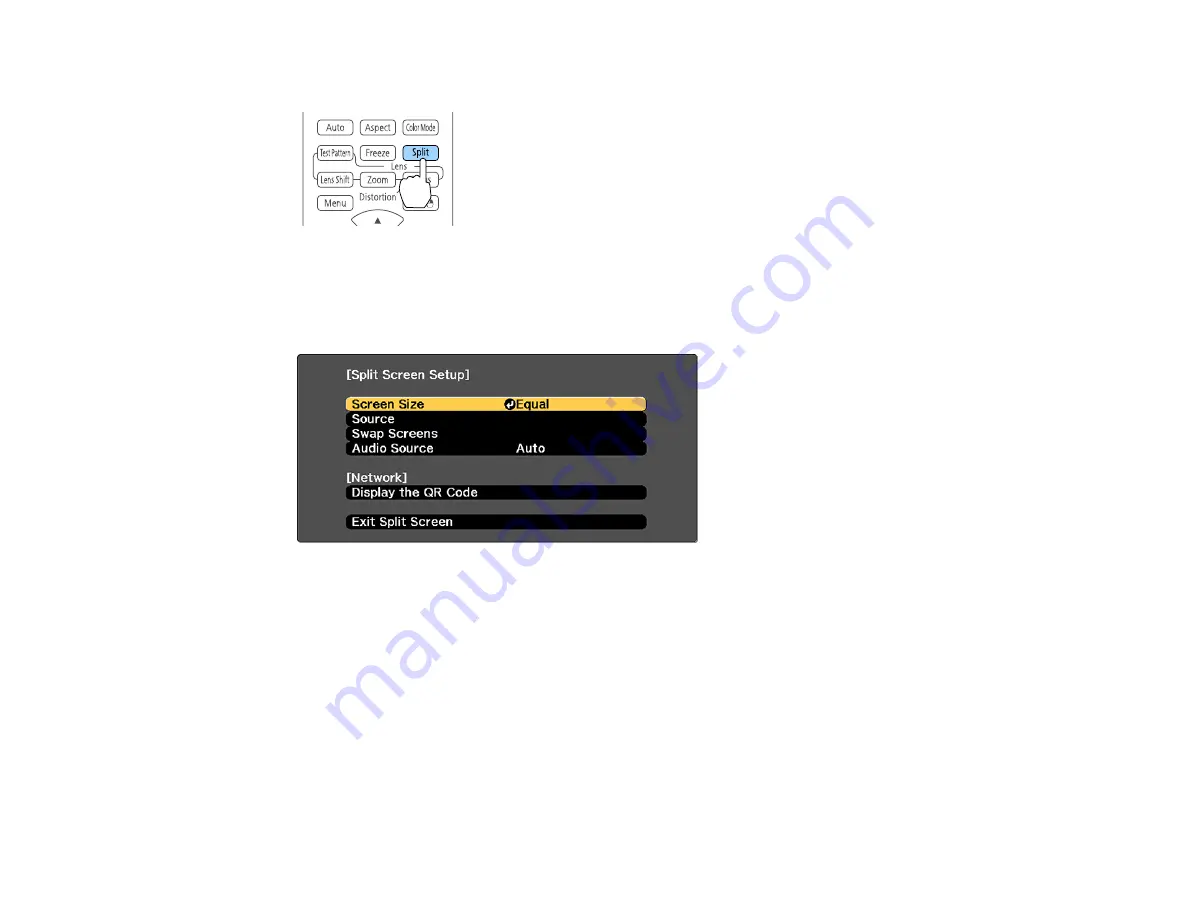
You see this screen:
3.
To select an input source for the other image, select the
Source
setting, press
Enter
, select the
input source, select
Execute
, and press
Enter
. (You can also change image sources, if necessary.)
4.
To switch the images, select the
Swap Screens
setting and press
Enter
.
5.
To change the image sizes, select the
Screen Size
setting, press
Enter
, select a sizing option,
press
Enter
, and press
Menu
to exit.
Note:
Depending on the video input signals, the images may not appear at the same size even if you
choose the
Equal
setting.
Содержание Pro L1060U
Страница 1: ...Pro L1060U L1060UNL L1060W L1060WNL L1070U L1070UNL L1070W L1070WNL L1075U L1075UNL User s Guide ...
Страница 2: ......
Страница 10: ...10 A Note Concerning Responsible Use of Copyrighted Materials 315 Copyright Attribution 315 ...
Страница 29: ...29 Rear Front ceiling Rear ceiling ...
Страница 49: ...49 3 Pull the lens cover off of the projector 4 Remove the stopper if necessary ...
Страница 252: ...252 Parent topic Adjusting the Menu Settings Related tasks Running Light Source Calibration ...
Страница 261: ...261 4 Place the new air filter in the projector as shown 5 Replace the air filter cover and tighten the screws as shown ...


