


199
6.
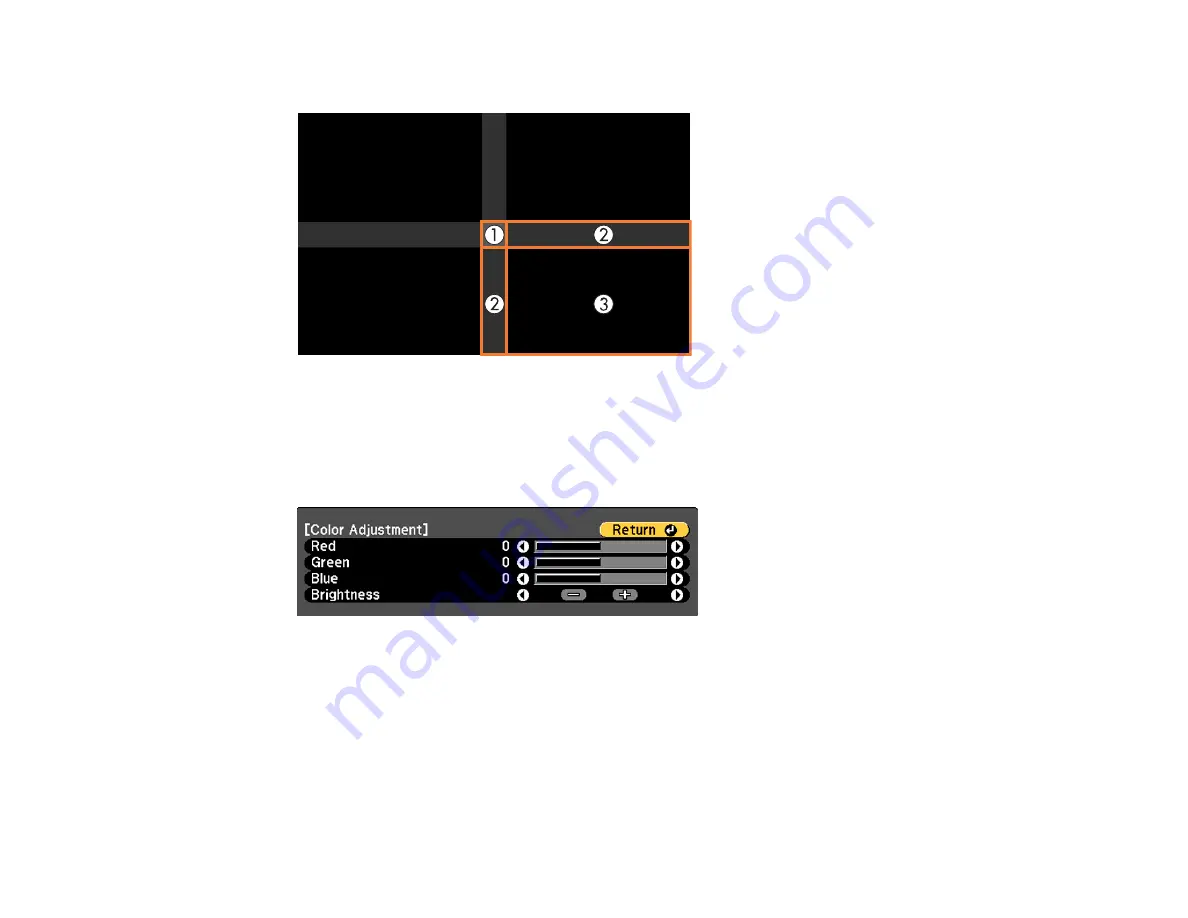
Select the area you want to adjust and press
Enter
.
Note:
The area you selected is displayed in orange. Adjust overlapping areas starting with the
brightest areas first. For example, adjust area 2 to match area 1, then adjust area 3 to match area 2.
7.
Adjust the brightness and tone of the areas that do not overlap to match the areas that overlap using
the displayed adjustment sliders.
8.
Repeat the previous two steps as needed until all areas match.
9.
If the tone of some areas do not match, you can adjust them using the
Area Correction
setting.
Continue with the next step. Otherwise, press the
Menu
button to exit.
10. Press the
Esc
button to return to the Black Level screen.
11. Select the
Area Correction
setting and press
Enter
.
12. Select the
Start Adjustments
setting and press
Enter
.
Содержание Pro L1060U
Страница 1: ...Pro L1060U L1060UNL L1060W L1060WNL L1070U L1070UNL L1070W L1070WNL L1075U L1075UNL User s Guide ...
Страница 2: ......
Страница 10: ...10 A Note Concerning Responsible Use of Copyrighted Materials 315 Copyright Attribution 315 ...
Страница 29: ...29 Rear Front ceiling Rear ceiling ...
Страница 49: ...49 3 Pull the lens cover off of the projector 4 Remove the stopper if necessary ...
Страница 252: ...252 Parent topic Adjusting the Menu Settings Related tasks Running Light Source Calibration ...
Страница 261: ...261 4 Place the new air filter in the projector as shown 5 Replace the air filter cover and tighten the screws as shown ...


