194
8.
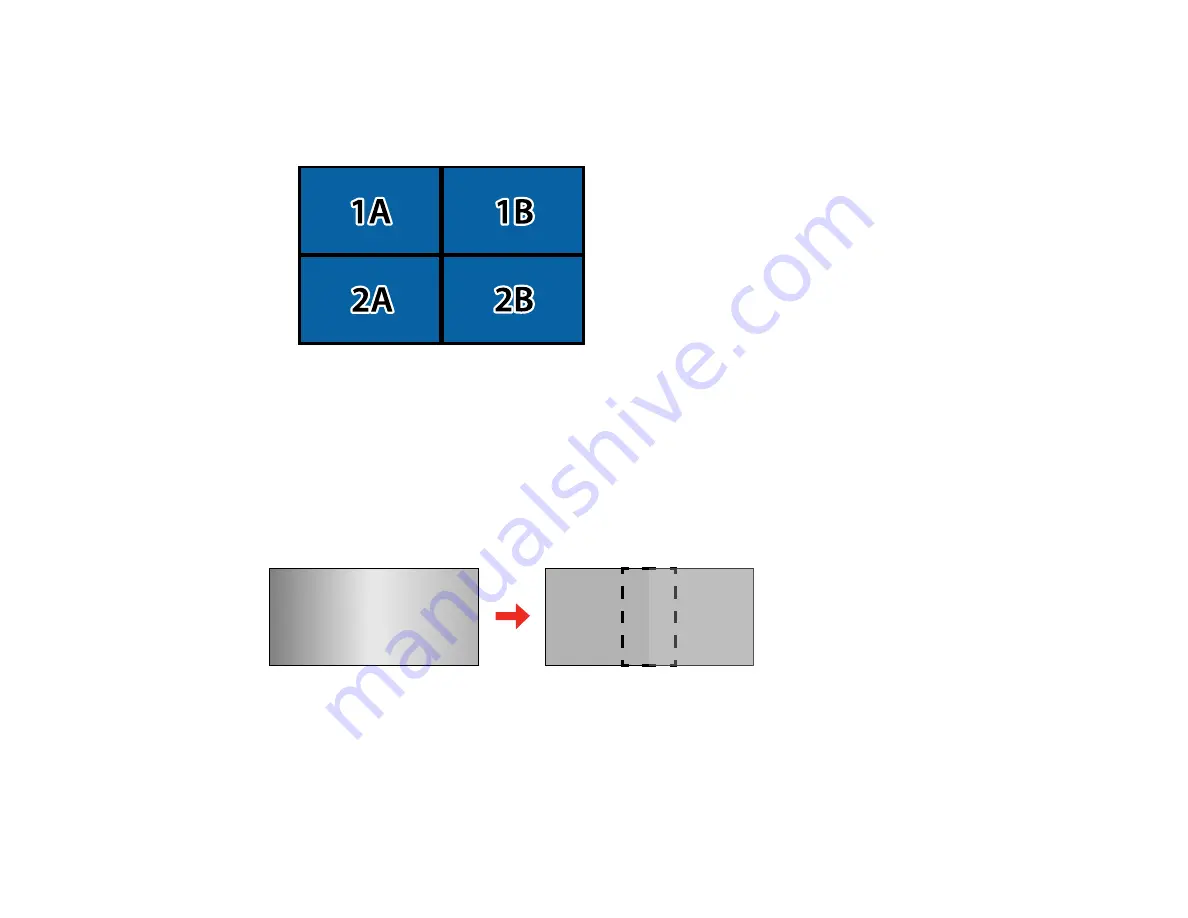
Select the position of each projected image as follows:
•
Row Order
to layout the screens from top to bottom in sequential order, starting with
1
at the top
•
Column Order
to layout the screens from left to right, starting with
A
on the left
9.
Repeat the previous step with each projector you are setting up before continuing with the next step.
10. Select the input signal to display an image.
After performing the steps here, adjust the images for any gaps and differences in color.
Parent topic:
Blending the Image Edges
You can use the projector's Edge Blending feature to create a seamless image from multiple projectors.
Note:
Before performing Edge Blending, set the
Color Mode
setting to
Multi-Projection
to make more
precise adjustments.
1.
Press the
Menu
button.
2.
Select the
Extended
menu and press
Enter
.
Содержание Pro L1060U
Страница 1: ...Pro L1060U L1060UNL L1060W L1060WNL L1070U L1070UNL L1070W L1070WNL L1075U L1075UNL User s Guide ...
Страница 2: ......
Страница 10: ...10 A Note Concerning Responsible Use of Copyrighted Materials 315 Copyright Attribution 315 ...
Страница 29: ...29 Rear Front ceiling Rear ceiling ...
Страница 49: ...49 3 Pull the lens cover off of the projector 4 Remove the stopper if necessary ...
Страница 252: ...252 Parent topic Adjusting the Menu Settings Related tasks Running Light Source Calibration ...
Страница 261: ...261 4 Place the new air filter in the projector as shown 5 Replace the air filter cover and tighten the screws as shown ...


