


122
6.
Use the arrow buttons on the projector or remote control to select the corner of the image you want
to adjust. Then press
Enter
.
7.
Press the arrow buttons to adjust the image shape as necessary.
8.
When you are finished, press
Esc
.
Parent topic:
Related references
Projector Feature Settings - Settings Menu
Related tasks
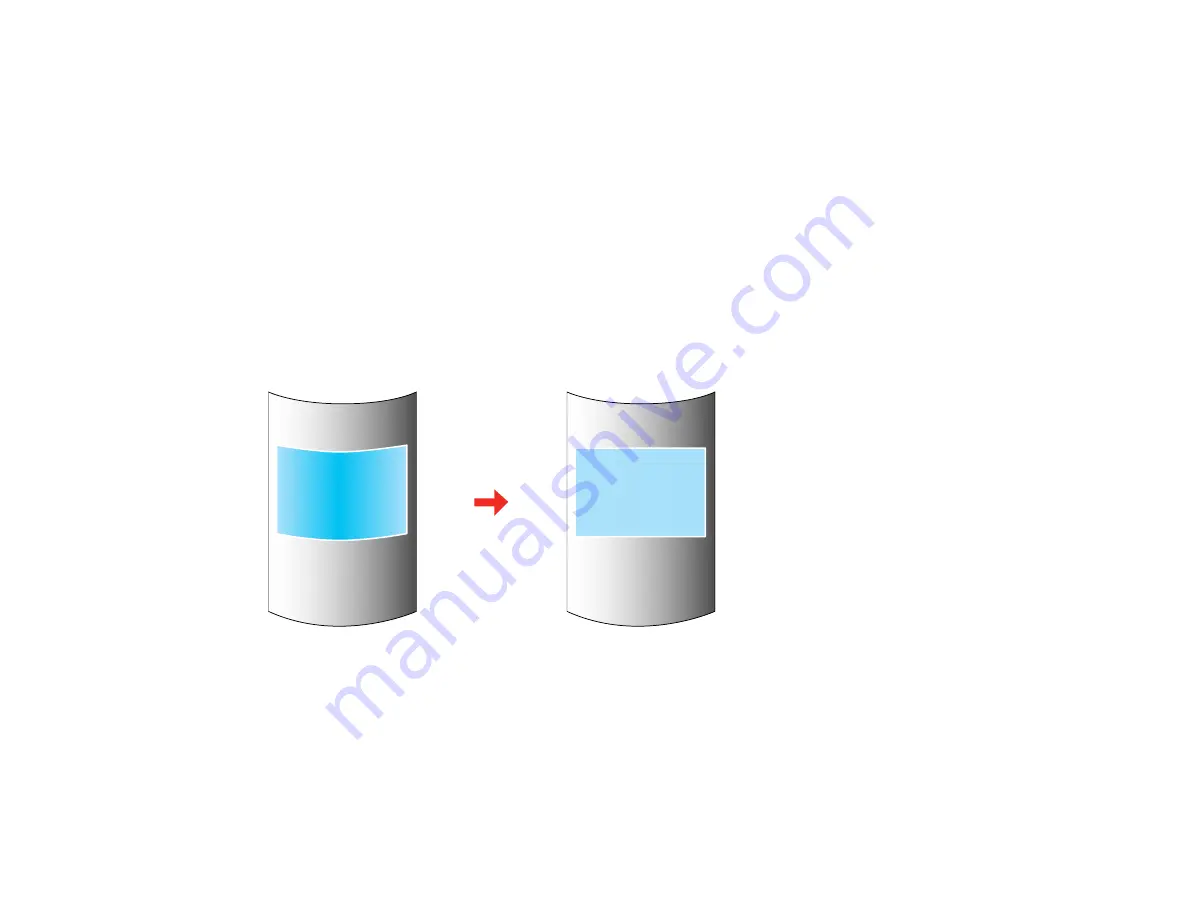
Correcting Image Shape with Curved Surface
You can use the projector's Curved Surface setting to adjust the shape of an image projected on a
curved surface.
Note:
For the best results, project from the front of the screen onto a surface with a uniform arc radius
and with the lens in the home position. The image may not be evenly focused throughout even after
performing the steps here. If you see a 4K Enhancement message, select
Yes
to disable the 4K
Enhancement feature (Pro L1060U/L1060UNL/L1070U/L1070UNL/L1075U/L1075UNL only).
1.
Turn on the projector and display an image.
Note:
You can display a pattern to aid in adjusting the projected image using the Settings menu.
Содержание Pro L1060U
Страница 1: ...Pro L1060U L1060UNL L1060W L1060WNL L1070U L1070UNL L1070W L1070WNL L1075U L1075UNL User s Guide ...
Страница 2: ......
Страница 10: ...10 A Note Concerning Responsible Use of Copyrighted Materials 315 Copyright Attribution 315 ...
Страница 29: ...29 Rear Front ceiling Rear ceiling ...
Страница 49: ...49 3 Pull the lens cover off of the projector 4 Remove the stopper if necessary ...
Страница 252: ...252 Parent topic Adjusting the Menu Settings Related tasks Running Light Source Calibration ...
Страница 261: ...261 4 Place the new air filter in the projector as shown 5 Replace the air filter cover and tighten the screws as shown ...


