


2.
Select
Print Density Check Pattern
.
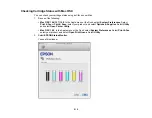
3.
Click
.
4.
Remove the disc after printing and check to see if you need to make the density darker or lighter.
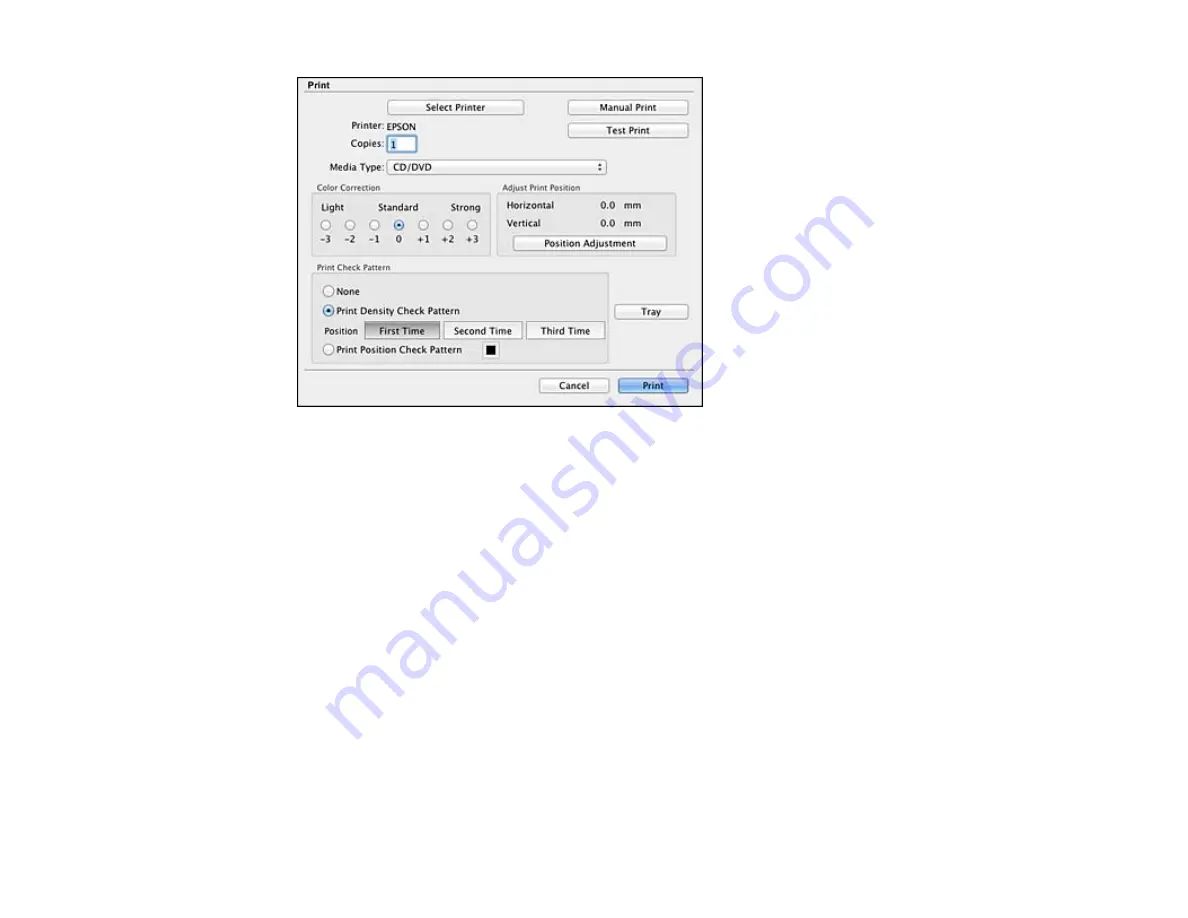
5.
Load the same disc in the product again.
6.
Select
from the File menu.
7.
Select a darker or lighter setting in the
Color Correction
box as necessary.
8.
Select
Print Density Check Pattern
and select
Second Time
.
9.
Click
to print another test pattern.
10. Examine the disc after printing to see if further adjustment is needed.
When the ink density looks good, you are ready to print on your burned CD or DVD.
Parent topic:
Printing on a CD/DVD with Mac OS X
210
Содержание Expression Photo XP-950
Страница 1: ...XP 950 User s Guide ...
Страница 2: ......
Страница 13: ...XP 950 User s Guide Welcome to the XP 950 User s Guide For a printable PDF copy of this guide click here 13 ...
Страница 120: ...120 ...
Страница 126: ... Normal preview Click the Auto Locate icon to create a marquee dotted line on the preview image 126 ...
Страница 137: ...137 ...
Страница 156: ...Placing Originals on the Scanner Glass Related topics Selecting Epson Scan Settings 156 ...
Страница 174: ...2 Press the left or right arrow button and then select Setup 3 Scroll down and select External Device Setup 174 ...
Страница 256: ...3 Remove any jammed paper from the duplexer 4 Open the duplexer and remove any jammed paper from inside it 256 ...