Replacing the Consumable Product
257
8
8
8
8
8
8
8
8
8
8
8
8
Note:
❏
Printing is still possible for a while after the
Toner Low
message
appears. However, replace the imaging cartridge at once if the print
quality deteriorates.
❏
To clear the warning, select
Clear Warning
from the control
panel’s Reset Menu.
If the printer runs out of toner, the printer displays the following
message on the LCD panel or an EPSON Status Monitor 3
window. Although printing is still possible, it is recommended
that you replace the imaging cartridge at once.
Replacing the Imaging Cartridge
Handling precautions
Always observe the following handling precautions when
replacing the imaging cartridge:
❏
When handling the imaging cartridge, always place it on a
clean smooth surface.
❏
Do not install a used imaging cartridge into the printer.
❏
If you move an imaging cartridge from a cool to a warm
environment, wait for at least one hour before installing it to
prevent damage from condensation.
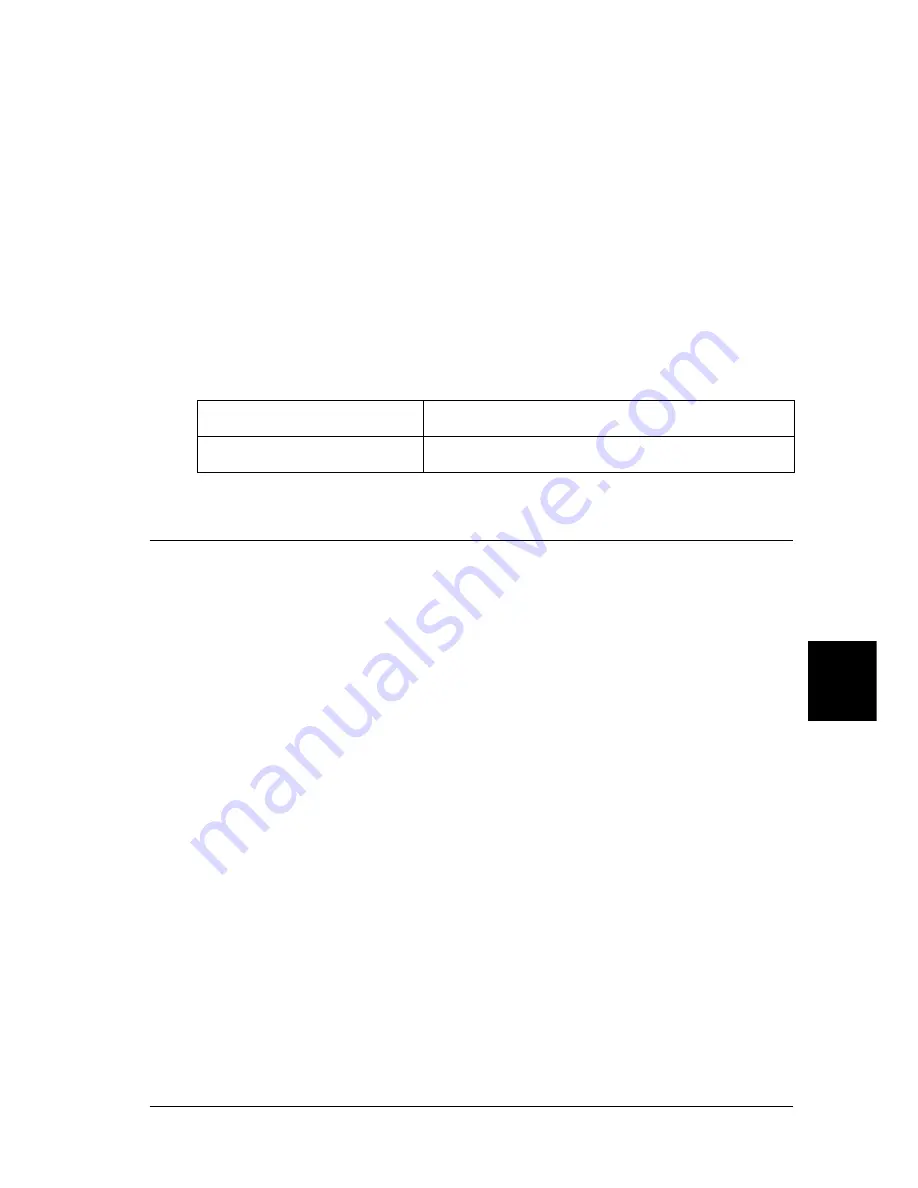
LCD Panel Message
Description
Replace Toner
The imaging cartridge is empty.
Содержание EPL-N7000
Страница 25: ...14 Getting to Know Your Printer ...
Страница 107: ...96 Using the Standard Printer Driver ...
Страница 149: ...138 Using the PostScript Printer Driver Windows ...
Страница 227: ...216 Installing Options 5 Close the front cover by pressing it firmly until it clicks into place ...
Страница 235: ...224 Installing Options Make sure to push the stopper back to the original position before closing the front cover ...
Страница 237: ...226 Installing Options 3 Unplug the connecting cable from the printer ...
Страница 245: ...234 Installing Options 4 Loosen the two screws located on the top right edge of the printer ...
Страница 251: ...240 Installing Options At the bottom of the right cover At the top of the right cover ...
Страница 261: ...250 Installing Options At the bottom of the right cover At the top of the right cover ...
Страница 296: ...Troubleshooting 285 9 9 9 9 9 9 9 9 9 9 9 9 1 Slide the lock lever to the right and then open the front cover ...
Страница 297: ...286 Troubleshooting 2 Pull out the stopper of the front cover to secure the cover ...
Страница 303: ...292 Troubleshooting 8 Replace the black cover ...
Страница 305: ...294 Troubleshooting 10 Push the stopper of the front cover back to its original position ...
Страница 307: ...296 Troubleshooting 1 Move the main unit of the 4 Bin Mailbox toward the rear of the printer until it stops ...
Страница 308: ...Troubleshooting 297 9 9 9 9 9 9 9 9 9 9 9 9 2 Slide the lock lever to the right and then open the front cover ...
Страница 347: ...336 Troubleshooting Select the icon for your printer and then click Properties on the File menu ...
Страница 348: ...Troubleshooting 337 9 9 9 9 9 9 9 9 9 9 9 9 2 Click the Details tab ...
Страница 375: ...364 Troubleshooting ...
Страница 471: ...460 Working with Fonts ...
Страница 482: ...Postscript Font Samples 473 E E E E E E E E E E E E Appendix E Postscript Font Samples ...
Страница 483: ...474 Postscript Font Samples ...
Страница 489: ...480 Glossary ...
Страница 496: ...Index 487 ...


