Setting Up Your Printer on a Network
59
4
4
4
4
4
4
4
4
4
4
4
4
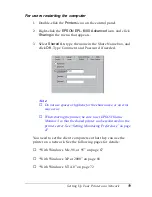
For users restarting the computer
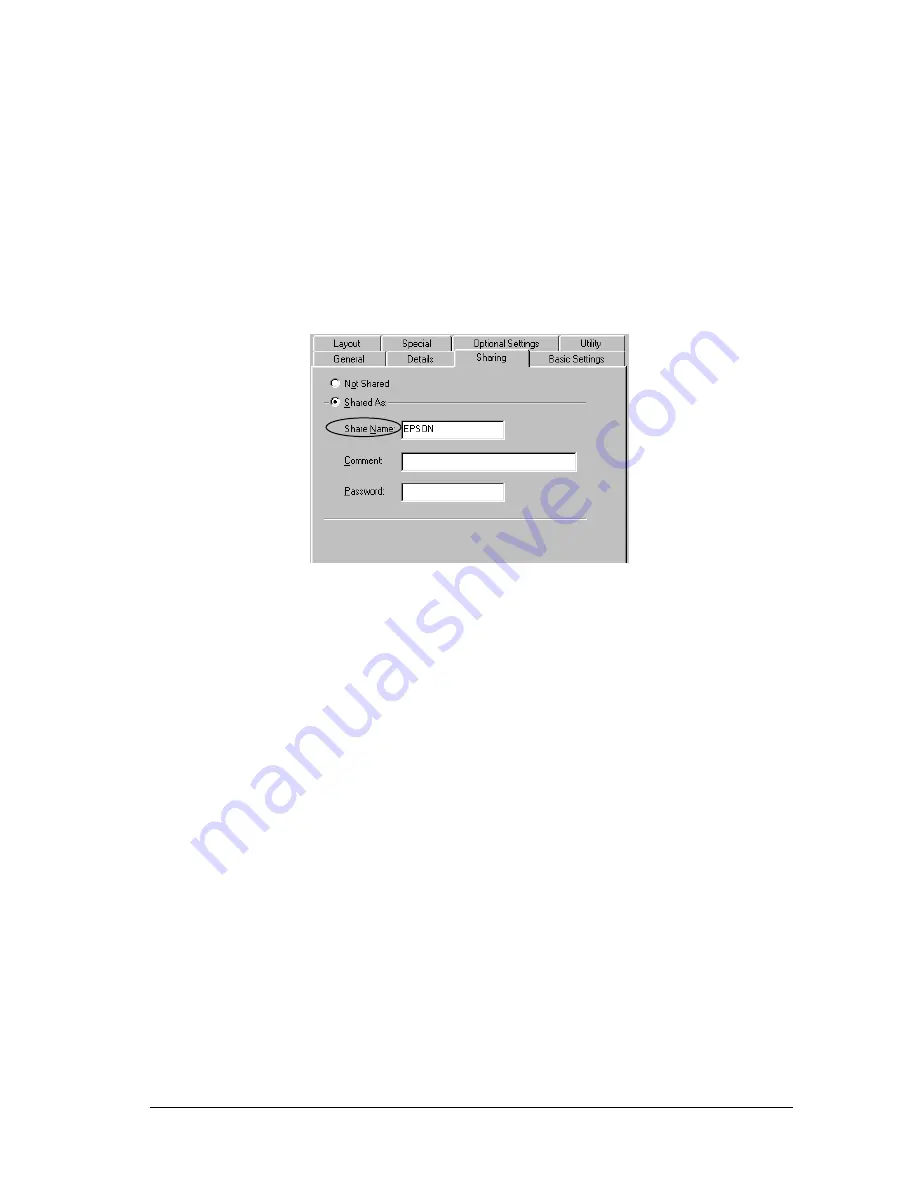
1. Double-click the
Printers
icon on the control panel.
2. Right-click the
EPSON EPL-6100 Advanced
icon, and click
Sharing
in the menu that appears.
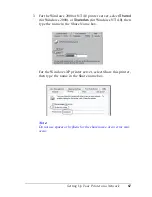
3. Select
Shared As
, type the name in the Share Name box, and
click
OK
. Type Comment and Password if needed.
Note:
❏
Do not use spaces or hyphens for the share name, or an error
may occur.
❏
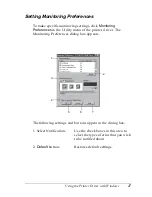
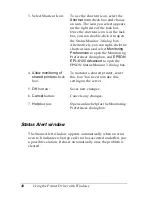
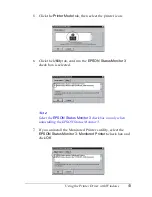
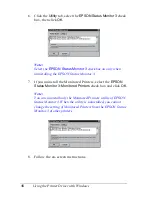
When sharing the printer, be sure to set EPSON Status
Monitor 3 so that the shared printer can be monitored on the
printer server. See “Setting Monitoring Preferences” on page
47.
You need to set the client computers so that they can use the
printer on a network. See the following pages for details:
❏
“With Windows Me, 98, or 95” on page 67
❏
“With Windows XP or 2000” on page 68
❏
“With Windows NT 4.0” on page 72
Содержание EPL-6100
Страница 2: ...ii ...
Страница 4: ...iv ...
Страница 34: ...24 Paper Handling ...
Страница 86: ...76 Setting Up Your Printer on a Network ...
Страница 116: ...14 Installing and Removing Options 6 Set the side cover back into place ...
Страница 126: ...24 Installing and Removing Options 6 Set the side cover back into place 7 Fasten the side cover with the two screws ...
Страница 128: ...26 Installing and Removing Options 2 Press the latch on the left side of the printer then raise the printer cover ...
Страница 174: ...72 Using the Remote Control Panel Utility ...
Страница 186: ...84 Replacing Consumable Products 9 Reinstall the developer cartridge ...
Страница 188: ...86 Replacing Consumable Products ...
Страница 218: ...116 Troubleshooting 1 Remove the paper tray from the 500 Sheet Lower Paper Cassette Unit A4 ...
Страница 262: ...160 Working with Fonts Print Sample EPSON Codabar EPSON Codabar CD EPSON Codabar Num EPSON Codabar CD Num ...


