


44
4.
Click
Select Scanner
and select your scanner from the scanner list, if necessary.
5.
If you want to use a scan job, click one of the job icons in the
Job
section of the window to complete
and send your scan with one click.
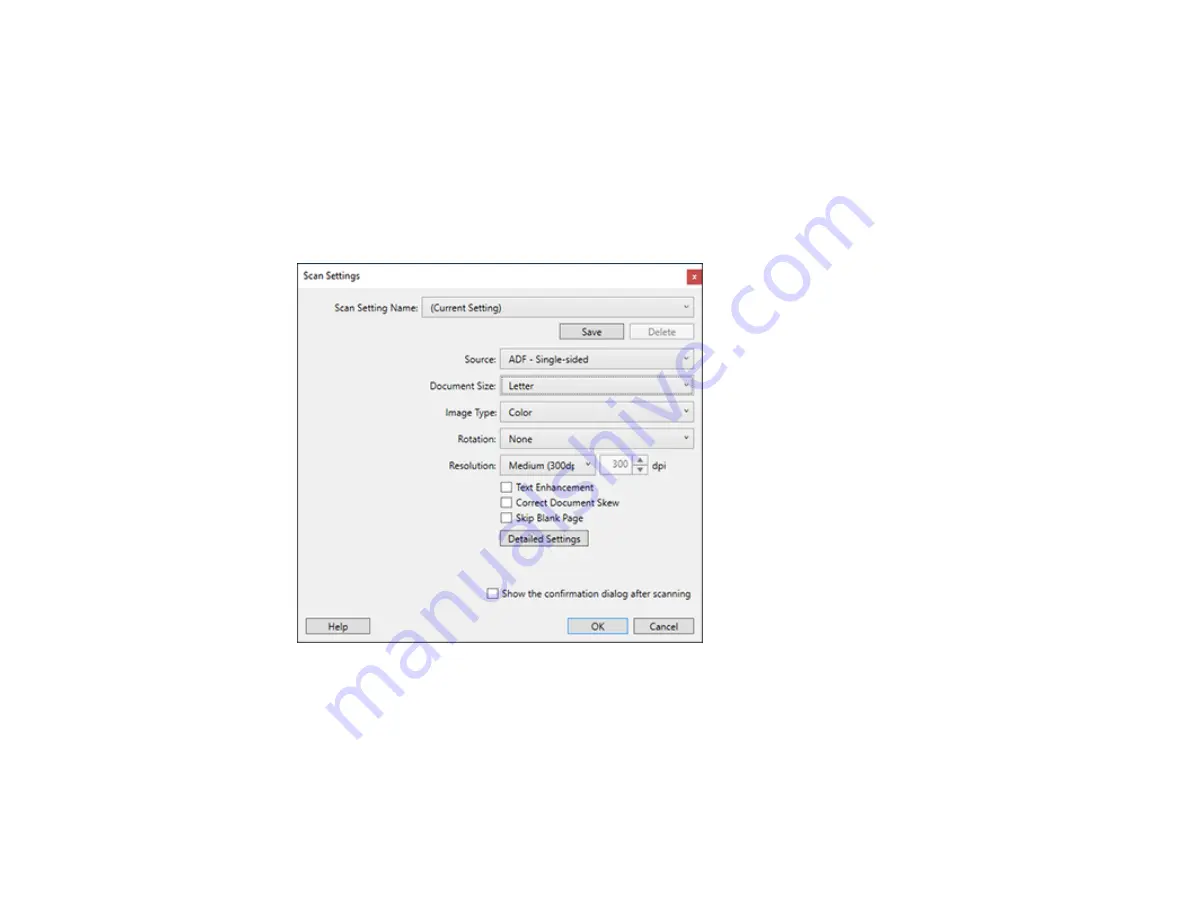
6.
If you want to select scan settings for a particular destination, click the
Scan Settings
button, select
any displayed settings you want to use, and click
OK
.
Note:
See the help information in Document Capture Pro for details. If you do not see the
Scan
Settings
button, click the
<
symbol in the
Scan and...
bar.
7.
Click one of the destination icons in the
Scan and...
section of the window. Your product starts
scanning and you see the settings window.
8.
Select any destination settings as necessary and click
OK
.
Note:
See the help information in Document Capture Pro for details.
Содержание DS-1630
Страница 1: ...DS 1630 User s Guide ...
Страница 2: ......
Страница 6: ......
Страница 9: ...9 2 ADF cover 3 Input tray 4 Edge guides 5 Stopper 6 Output tray 7 Control panel 1 Document mat ...
Страница 21: ...21 1 Open the scanner cover Caution Be careful not to open the scanner cover more than 70 or you may damage it ...
Страница 23: ...23 Note Move your original about 0 1 inch 2 5 mm away from the edges as shown to avoid cropping ...
Страница 36: ...36 You see an Epson Scan 2 window like this ...
Страница 38: ...38 You see an Epson Scan 2 window like this ...
Страница 49: ...49 You see this window ...
Страница 58: ...58 4 Click the Scan Settings button then click Detailed Settings You see an Epson Scan 2 window like this ...
Страница 74: ...74 You see a window like this ...
Страница 80: ...80 4 Open the ADF ...
Страница 81: ...81 5 Press the tabs on the document mat and remove the mat ...
Страница 89: ...89 3 If you cannot remove the originals make sure the ADF cover is open and raise the ADF ...
Страница 90: ...90 4 Press the tabs on the document mat and remove the mat ...


