51
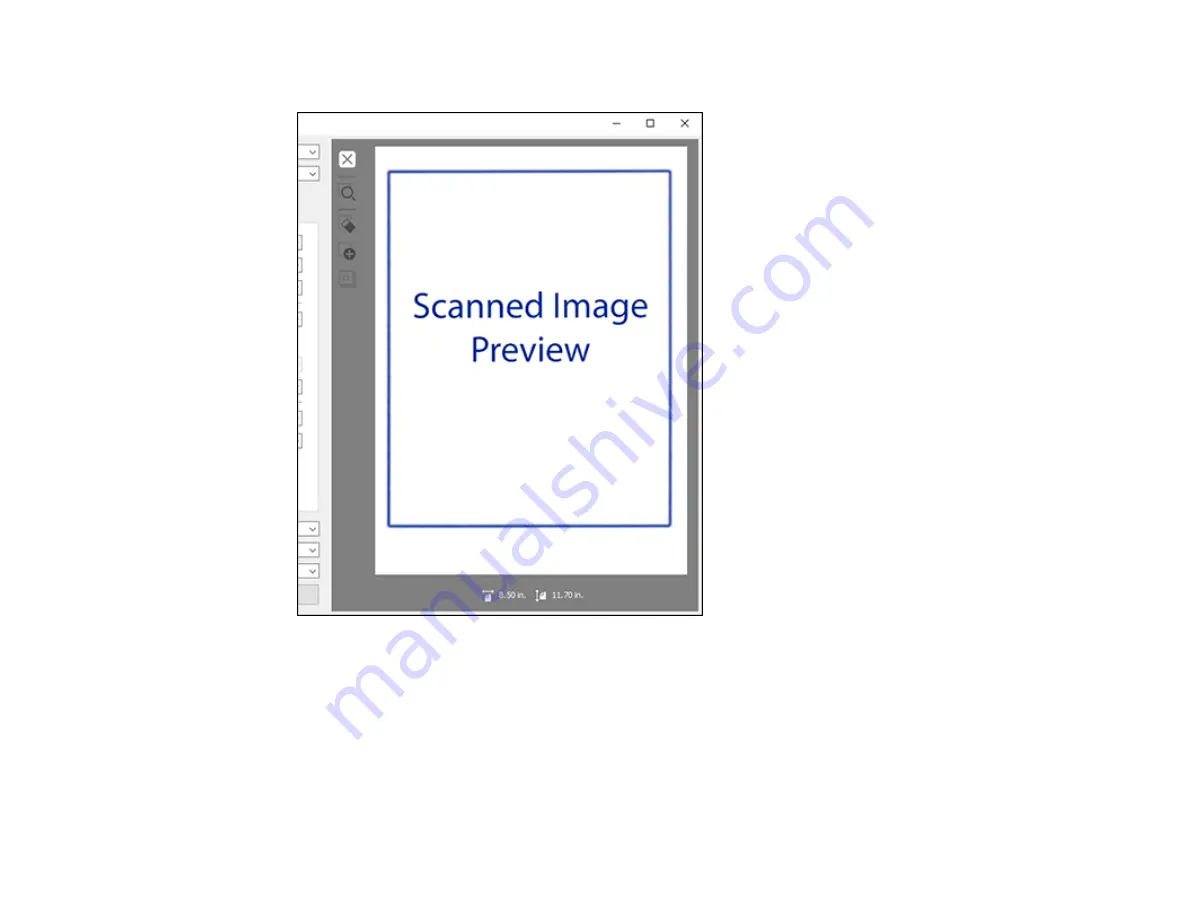
Epson Scan 2 previews your original and displays the results in the Epson Scan 2 window.
Note:
If your originals were scanned from the ADF, reload your originals.
11. Select the format in which you want to save your scanned file as the
Image Format
setting. If
necessary, select
Options
and select any desired format options.
12. Select
Settings
to modify the file name settings. Enter the file name for your scanned file in the
File
Name
field.
13. Select the location in which you want to save your scanned file as the
Folder
setting. If necessary,
select
Select
to choose an alternate folder or create a new folder.
Содержание DS-1630
Страница 1: ...DS 1630 User s Guide ...
Страница 2: ......
Страница 6: ......
Страница 9: ...9 2 ADF cover 3 Input tray 4 Edge guides 5 Stopper 6 Output tray 7 Control panel 1 Document mat ...
Страница 21: ...21 1 Open the scanner cover Caution Be careful not to open the scanner cover more than 70 or you may damage it ...
Страница 23: ...23 Note Move your original about 0 1 inch 2 5 mm away from the edges as shown to avoid cropping ...
Страница 36: ...36 You see an Epson Scan 2 window like this ...
Страница 38: ...38 You see an Epson Scan 2 window like this ...
Страница 49: ...49 You see this window ...
Страница 58: ...58 4 Click the Scan Settings button then click Detailed Settings You see an Epson Scan 2 window like this ...
Страница 74: ...74 You see a window like this ...
Страница 80: ...80 4 Open the ADF ...
Страница 81: ...81 5 Press the tabs on the document mat and remove the mat ...
Страница 89: ...89 3 If you cannot remove the originals make sure the ADF cover is open and raise the ADF ...
Страница 90: ...90 4 Press the tabs on the document mat and remove the mat ...