


47
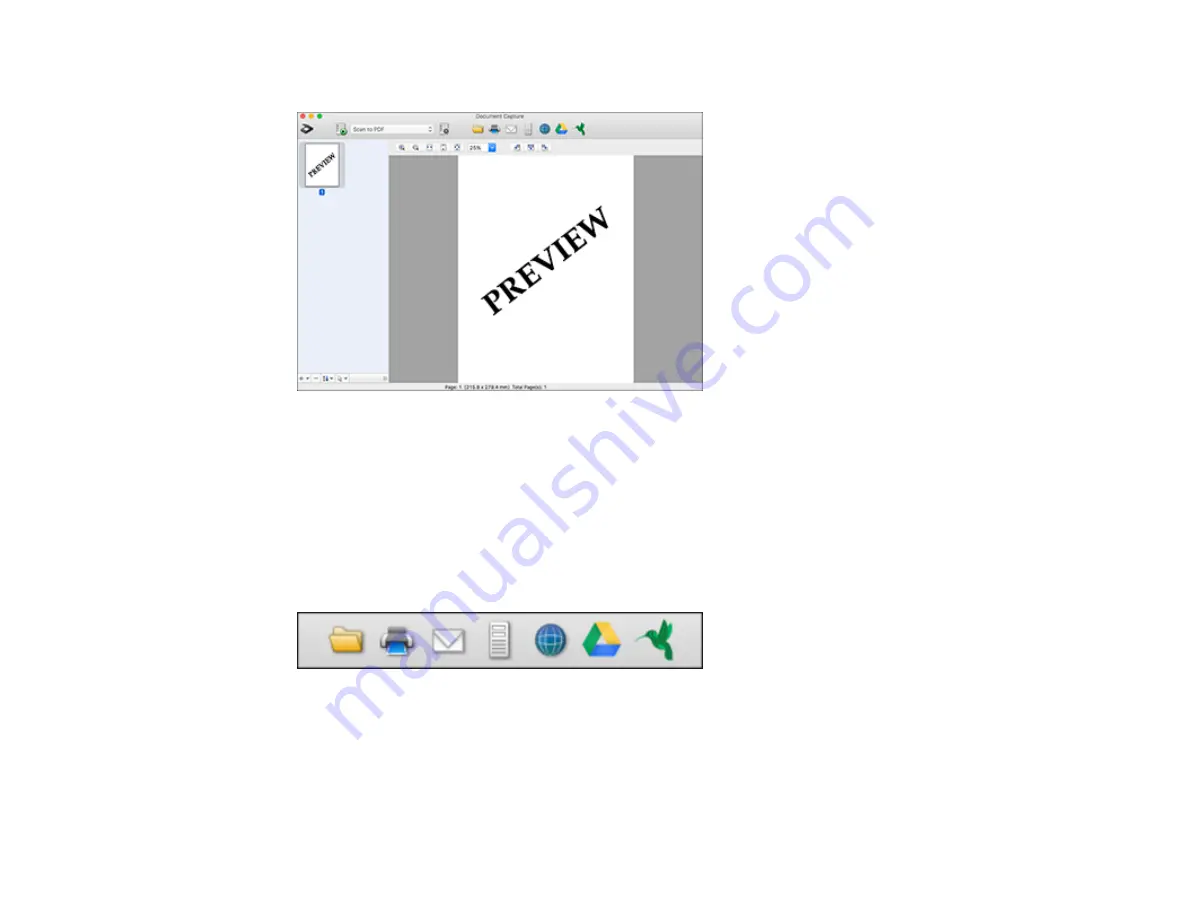
You see a preview of your scan in the Document Capture window.
Note:
You may have to close the Epson Scan 2 window to view your scan in the Document Capture
window.
8.
If you would like to scan additional originals and add them to the current captured images, click the +
icon, select
Acquire from Scanner
, and repeat the previous steps.
9.
Check the scanned images and edit them as necessary.
10. Click one of the Destination icons to choose where to send your scanned files. (If you cannot see all
of the icons below, click the arrow next to the icons.)
11. Depending on the destination you chose, click
OK
or
Send
to complete the operation.
Parent topic:
Related concepts
Содержание DS-1630
Страница 1: ...DS 1630 User s Guide ...
Страница 2: ......
Страница 6: ......
Страница 9: ...9 2 ADF cover 3 Input tray 4 Edge guides 5 Stopper 6 Output tray 7 Control panel 1 Document mat ...
Страница 21: ...21 1 Open the scanner cover Caution Be careful not to open the scanner cover more than 70 or you may damage it ...
Страница 23: ...23 Note Move your original about 0 1 inch 2 5 mm away from the edges as shown to avoid cropping ...
Страница 36: ...36 You see an Epson Scan 2 window like this ...
Страница 38: ...38 You see an Epson Scan 2 window like this ...
Страница 49: ...49 You see this window ...
Страница 58: ...58 4 Click the Scan Settings button then click Detailed Settings You see an Epson Scan 2 window like this ...
Страница 74: ...74 You see a window like this ...
Страница 80: ...80 4 Open the ADF ...
Страница 81: ...81 5 Press the tabs on the document mat and remove the mat ...
Страница 89: ...89 3 If you cannot remove the originals make sure the ADF cover is open and raise the ADF ...
Страница 90: ...90 4 Press the tabs on the document mat and remove the mat ...


