Faxing a Document
17
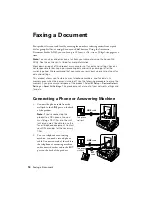
In Auto Answer mode, if the incoming call is a fax and you pick up the phone or the
answering machine answers, the product automatically begins receiving the fax. If the
other party is a caller, the phone can be used as normal or a message can be left on the
answering machine.
Note:
Any phone or answering machine must be connected to the
EXT.
port for your
product to detect an incoming fax call when the phone is picked up. Epson cannot
guarantee compatibility with VoIP, cable phone systems, or fiberoptic digital services
such as FiOS™.
Setting Up Fax Features
Before sending or receiving faxes, you should create a fax header and select the number of
rings before the fax answers.
Note:
To select other settings or use the Epson FAX Utility, see the online
User’s Guide
.
Entering Fax Header Information
You should enter your name and phone number in the fax header before sending faxes so
that recipients can identify the origin of the fax.
Note:
If you leave your product unplugged for a long period of time, the date and time
settings may get lost. See the online
User’s Guide
for instructions on resetting them.
Entering Your Sender Name
1.
Press the
Fax
button, then press
x
Menu
.
2.
Press
u
or
d
to select
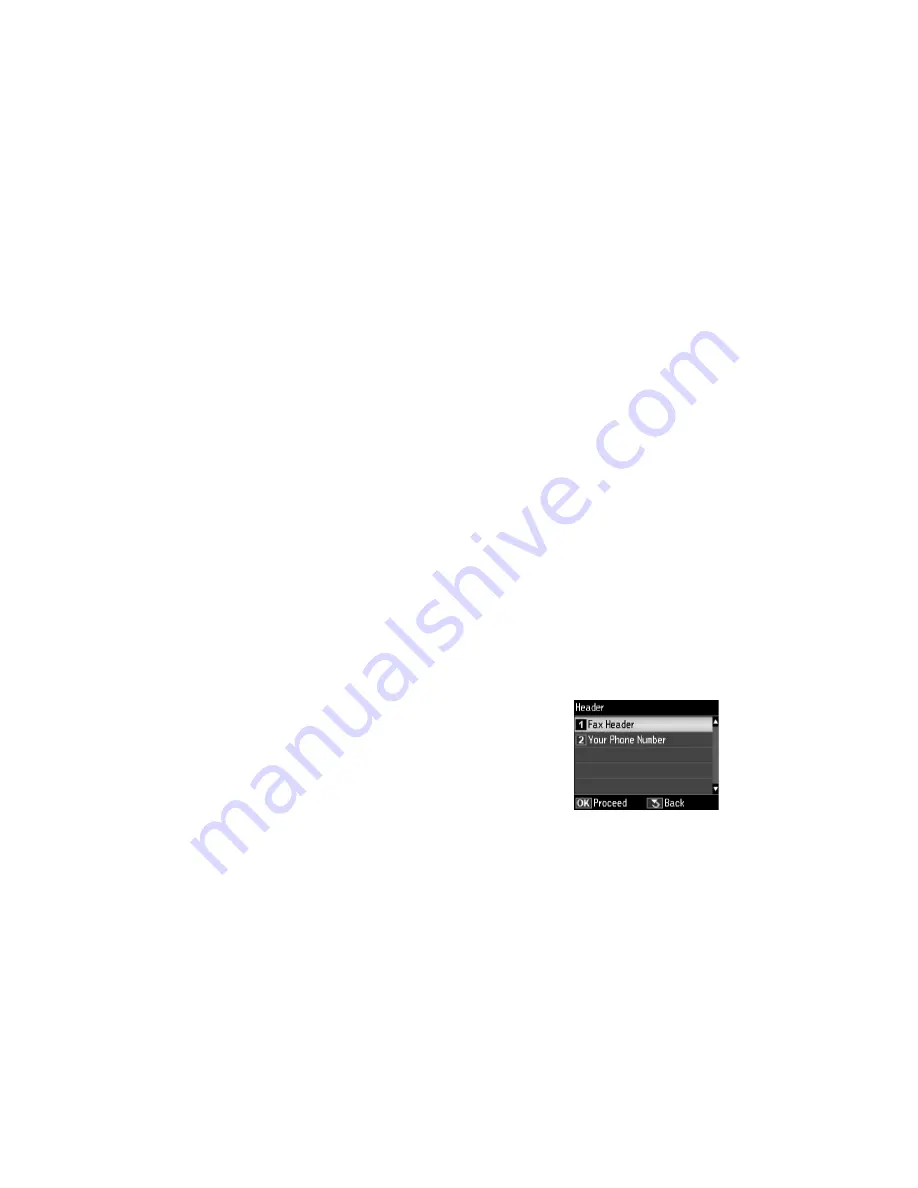
Header
, then press
OK
.
3.
Press
OK
to select
Fax Header
.
4.
Use the keypad to enter your sender name (see “Using the
Keypad to Enter Numbers and Characters” on page 18).
You can enter up to 40 digits.
5.
When you’re done, use the arrow buttons to select
Done
, then press
OK
to return to
the Header screen.

