Epson Artisan 700/Epson Stylus Photo PX700W/TX700W
Revision C
DISASSEMBLY/ASSEMBLY
Disassembly Procedures
156
Confidential
12.
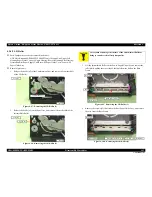
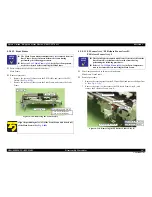
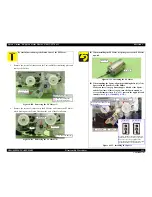
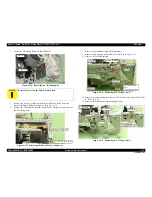
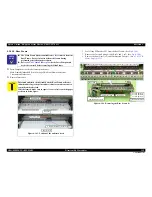
Remove the E-ring and remove the PG Lever L.
Figure 4-134. Removing the Carriage Unit (3)
13.
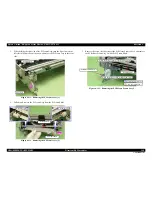
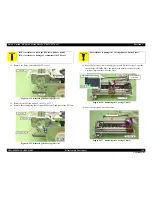
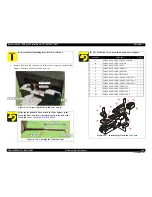
Removing the Torsion Spring L. (See
Fig. 4-135
.)
14.
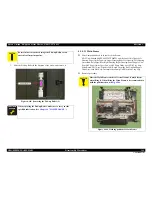
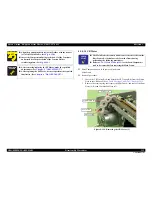
Remove the securing ring that secures the PG Cam L and remove the PG Cam
L.
Figure 4-135. Removing the Carriage Unit (4)
15.
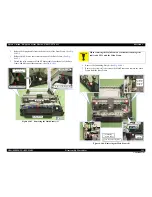
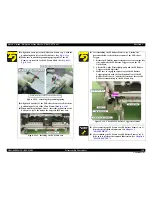
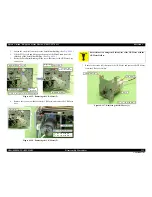
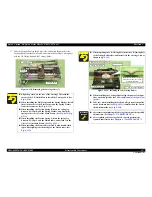
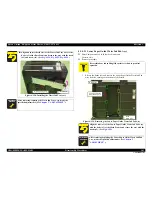
Move the Carriage Unit to the 80 digit side, and lift the Carriage Unit at the
cutout of the CR Guide Plate, and remove the point A on the rear of the
Carriage Unit from the CR Guide Plate.
Figure 4-136. Removing the Carriage Unit (5)
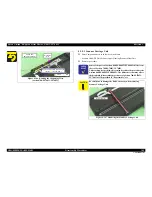
16.
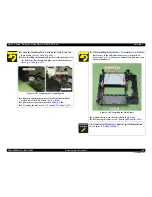
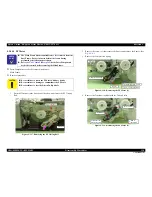
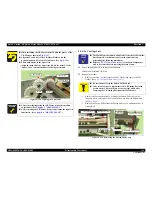
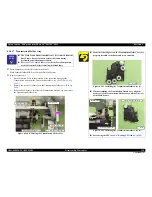
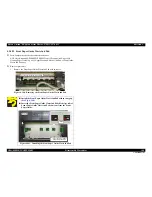
Move the Carriage Unit to the center.
Figure 4-137. Removing the Carriage Unit (6)
C A U T I O N
Be careful not to touch the PF Scale with bare hands.
Be careful not to damage or contaminate the PF Scale.
Left side
E-ring
PG Lever L
Rib
Securing ring
PG Cam L
Torsion Spring L
Left side
C A U T I O N
Be careful not to damage the Carriage Shaft with the Frame.
Carriage Shaft
Cutout of the CR
Guide Plate
Side of the Carriage Unit
Point A
Carriage Unit
CR Guide Plate
Carriage Unit
Содержание Artisan 700 Series
Страница 7: ...Confidential C H A P T E R 1 PRODUCTDESCRIPTION ...
Страница 42: ...Confidential C H A P T E R 2 OPERATINGPRINCIPLES ...
Страница 48: ...Confidential C H A P T E R 3 TROUBLESHOOTING ...
Страница 189: ...Confidential C H A P T E R 5 ADJUSTMENT ...
Страница 225: ...Confidential C H A P T E R 6 MAINTENANCE ...

