EPSON Stylus COLOR 900/900N
Chapter 4 Disassembly and Assembly
109
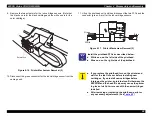
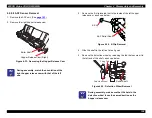
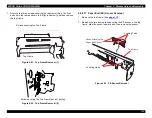
6. Disconnect the connector from the ASF sensor.
7. Insert a small flathead screwdriver into one of the spaces indicated
by the arrows below, and then move the handle of the screwdriver
outward (away from the sensor) to release the hook securing the
sensor to the frame. Remove the sensor.
Figure 4-36. ASF Sensor Removal
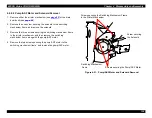
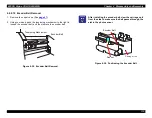
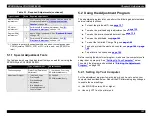
4.2.8.9 Carriage Home Position (CRHP) Sensor Removal
1. Remove the upper case. (See
2. Grasp the rear part of the sensor with your fingers, rock it from side
to side to loosen the hooks shown below, and then pull the sensor
up and out.
Figure 4-37. CRHP Sensor Removal
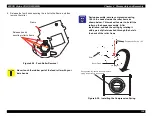
C H E C K
P O I N T
After reassembling the ASF unit, try pulling the
detection wheel off the shaft. If it’s loose, press it on
more securely.
A S F F r a m e ( L e f t S i d e v i e w )
A S F H P S e n s o r
ASF Frame
Insert screwdriver
here
CRHP Sensor
Push the hooks.
Hooks
Содержание 900N
Страница 1: ...EPSONStylusCOLOR900 900N Color ink jet printer TM SC900 N 6 59 0 18 ...
Страница 8: ... 37 5 PRODUCTDESCRIPTION ...
Страница 37: ... 37 5 OPERATINGPRINCIPLES ...
Страница 67: ... 37 5 TROUBLESHOOTING ...
Страница 89: ... 37 5 DISASSEMBLYANDASSEMBLY ...
Страница 121: ... 37 5 ADJUSTMENTS ...
Страница 156: ... 37 5 MAINTENANCE ...
Страница 169: ... 37 5 APPENDIX ...
Страница 178: ...EPSON Stylus COLOR 900 900N Chapter 7 Appendix 175 7 3 Component Layout Figure 7 2 C265 Main Board Component side ...
Страница 179: ...EPSON Stylus COLOR 900 900N Chapter 7 Appendix 176 Figure 7 3 C265 Main Board Soldering side ...
Страница 180: ...EPSON Stylus COLOR 900 900N Chapter 7 Appendix 177 Figure 7 4 C265 PSB Board Figure 7 5 C265 PSE Board ...
Страница 181: ...EPSON Stylus COLOR 900 900N Chapter 7 Appendix 178 Figure 7 6 C265 PNL Board ...
Страница 195: ...06 03 01 02 for S E ASIA 03 03 05 03 04 EPSON STYLUS COLOR 900 No 7 10056 Rev 01 ...
Страница 197: ......
Страница 198: ......
Страница 199: ......
Страница 200: ......
Страница 201: ......


