4-3
Service Mode
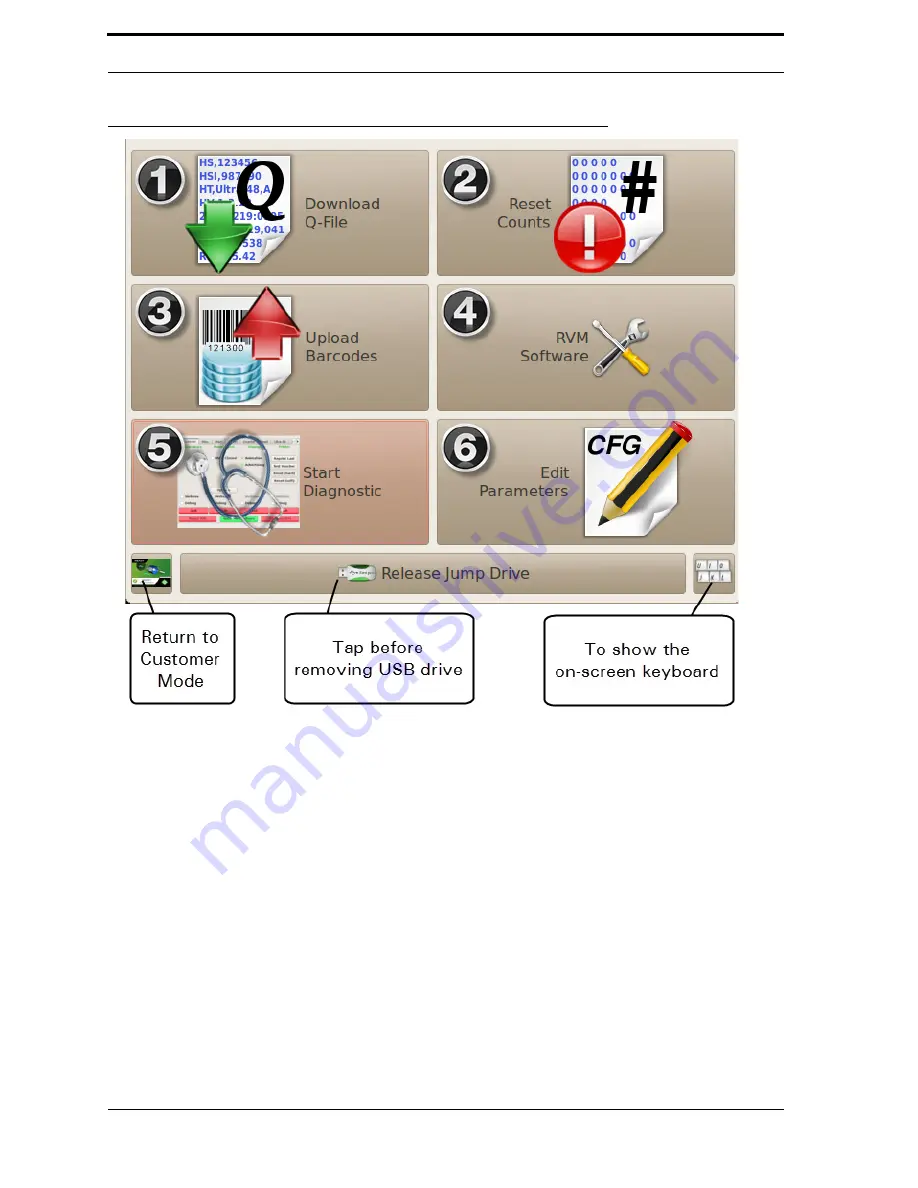
FIGURE 4-2.
Technician Interface (Default)
4.3.2. Using the Technician Interface
Figure 4-2 shows the default Technician Interface screen. It gives quick access to routine service tasks on
the
RVM
.
Each number in Figure 4-2 corresponds to the list below:
1.
Download Q-File
. This option saves the Q-File to your jump drive. When you
tap this button, you see the dialog box pictured in Figure 4-3. Tap the on-screen
keyboard button to enter the reading from the mechanical counter, and then tap
Содержание U48DFF
Страница 1: ...ULTRA Series Service Manual May 6 2014...
Страница 2: ......
Страница 16: ...Chapter 1 Introduction Safety 1 8 FIGURE 1 9 Pinch Point Label Locations Rear Access Panel Pinch Point Labels...
Страница 18: ...Chapter 2 Specifications 2 2 FIGURE 2 2 ULTRA 48 Configuration...
Страница 27: ...3 5 Sensor Tunnel FIGURE 3 4 Sensor Tunnel Left Side View FIGURE 3 5 Sensor Tunnel Right Side View...
Страница 40: ...Chapter 3 Hardware Components 3 18 FIGURE 3 17 MC1 Board Layout FIGURE 3 18 MC5 Board Layout...
Страница 41: ...3 19 RVM Controller Box FIGURE 3 19 MD5 Board Layout...
Страница 52: ...Chapter 4 RVM Software 4 6 FIGURE 4 6 Service Mode Time Out Screen...
Страница 68: ...Chapter 4 RVM Software 4 22 FIGURE 4 18 Software Processes Overview...
Страница 69: ...4 23 Software Theory of Operation FIGURE 4 19 Circuit Board Locations...


