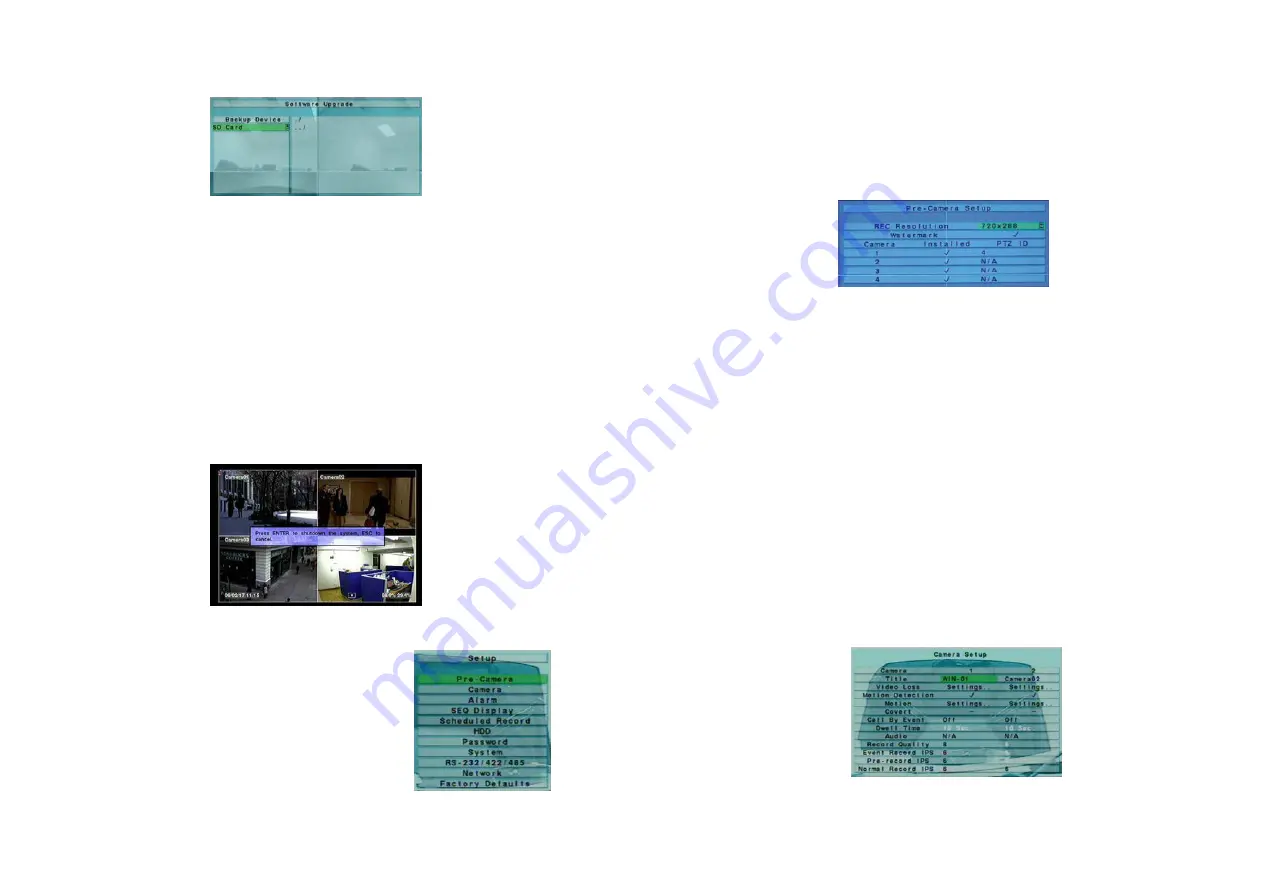
- 15 -
5.5 Software Upgrade (Administrator)
In Menu display, press
▲
▼
to change the highlighted option to Software Upgrade, and then press
ENTER
to call up Software
Upgrade display as shown.
The operations are as
follows:
▲▼
◄►
Press these buttons to select the items.
ESC
Press this button to escape from this screen, and return to Menu display.
The following
is a brief description for each item and its specific operations:
Backup Device – press
ENTER
to call up Backup Device dialog (if there’s no backup device connected).
Disk Storage – to select the disk storage to upgrade. Press
+/-
buttons to select the available storage.
Upgrade File – press
ENTER
to start the upgrade process when the highlighted file is a correct upgrade file. A confirmation
dialog will be shown on the screen, press
ENTER
to confirm to upgrade the system software.
Note : After the software is upgraded, the system will restart immediately. The split window display will be shown after
restart, please wait a moment.
5.6 System Shutdown (Administrator)
In Menu display, press
▲
▼
to change the highlighted option to Shutdown, and then press
ENTER
to shutdown the system. A
confirmation dialog will be shown on the screen, press
ENTER
to confirm the shutdown. The system will save all the files and all
the states, and then display a power-off message in the rolling screen message area. The user may power off the system safely when
the power-off message is shown.
6. Setup (Administrator)
In Menu display, press
▲
▼
to change the highlighted option to Setup, and then press
ENTER
to call up Setup Menu display as shown. (To enter Setup Menu display of the
system, please login as Administrator first.)
The user’s operations are described
as follows:
▲
▼
Press these buttons to change the highlighted item.
ENTER
Press this button to enter the setup of the highlighted option. For the details of
each option, please refer to the following sections.
ESC
Press this button to escape from Setup Menu display, and return to Menu display.
If the user wants to reset all the settings to factory default values, he/she may press
▲▼
to change the highlighted option to
Factory Defaults, and then press
ENTER
. A confirmation dialog will be shown, press
ENTER
again
to make the changes,
ESC
to
quit
it.
- 16 -
6.1 Pre-Camera Setup
In Setup Menu display, press
▲▼
to change the highlighted option to Pre-Camera, and then press
ENTER
to call up Pre-Camera
Setup display as shown.
There are up to 4 cameras which can be connected to the system. The Pre-Camera Setup allows the administrator to define some
fundamental attributes for all the installed cameras.
The general operations are as
follows:
▲▼
◄►
Press these buttons to select the items.
Numeric
Press these buttons to select the camera.
ESC
Press this button to escape from this screen, and return to Setup Menu display. If the contents have been modified, a Save
dialog will be shown to ask the user to save the changes, press
ENTER
to exit and save,
ESC
to exit without saving.
The following
is a brief description for each item and its specific operations:
REC Resolution – the record resolution for all the cameras in the system. For NTSC, it can be 720x480, 720x240, or 360x240;
for PAL, 720x576, 720x288, or 360x288. Press
+/-
buttons to select the resolution.
Installed – whether this camera is installed or not. If installed, the following items will be
adjustable
. Press
ENTER
or
+/-
to
check/uncheck this item. The default setting is “
ˇˇˇˇ
” - checked.
Watermark Press
ENTER
buttons to change the value
PTZ ID – the PTZ ID of this camera if it’s a PTZ camera. The PTZ ID has to be consistent with the setting of this camera.
Please refer to the manual of the camera for the ID setting. Press
+/-
buttons to change the value (N/A or 0-255). The default
setting is “N/A” – Not Available, which means that it’s not a PTZ camera.
6.2 Camera Setup
In Setup Menu display, press
▲▼
to change the highlighted option to Camera, and then press
ENTER
to call up Camera Setup
display as shown.
The Camera Setup allows the administrator to define the attributes for each camera. There are up to 4 cameras which can be
connected to the system.


