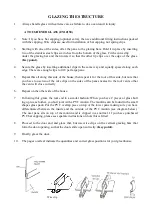
bolts of the eave gusset plates at this stage.
(Key point).
9. The cills/built in base for the partition can now be attached to the facing bolt slot of the partition
corner bar (in the same way you did in the original door end assembly). N.B If you have a dwarf
wall model you will need to trim off with a hacksaw the first 2” of the overlapping part of the cill to
facilitate a snug fit.
10. Thread the glazing beading into the channels of the glazing bars and trim to suit as previously
done.
11. You can now attach the vertical glazing bars in the same way as for the door end assembly.
12. Now follow the same procedure as earlier for the door end assembly.
13. The partition door is slightly lower than the front doors, but is built, fitted and glazed in the
same way.
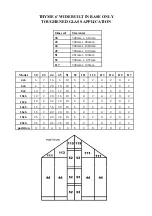
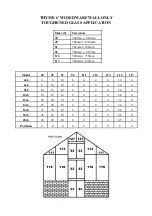
14. To glaze the partition, follow the glazing plan for the partition on the same page as the standard
greenhouse.
Содержание 6'3" WIDE THYME
Страница 1: ......
Страница 2: ......
Страница 3: ......
Страница 11: ...REAR END ASSEMBLY dotted line indicates corner bracket base leg going into ground ...
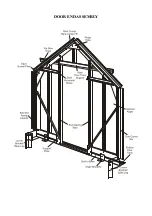
Страница 16: ...DOOR END ASSEMBLY ...
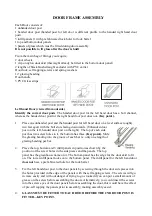
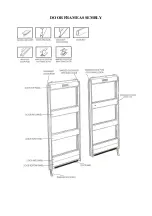
Страница 19: ...DOOR FRAME ASSEMBLY ...
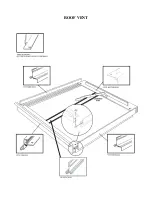
Страница 21: ...ROOF VENT ...
Страница 33: ...THYME 6 GLAZING PLAN BUILT IN BASE ONLY ...
Страница 35: ...THYME 6 GLAZING PLAN DWARF WALL ONLY ...
Страница 36: ...ELITE 1601 ...

