11
GRILL BURNER
This burner makes the stainless steel
wire net red hot, which, generating infra
red rays, permits grilling.
To turn on the grill burner:
1) Press thoroughly and turn clockwise
the oven gas thermostat knob to set
symbol
.
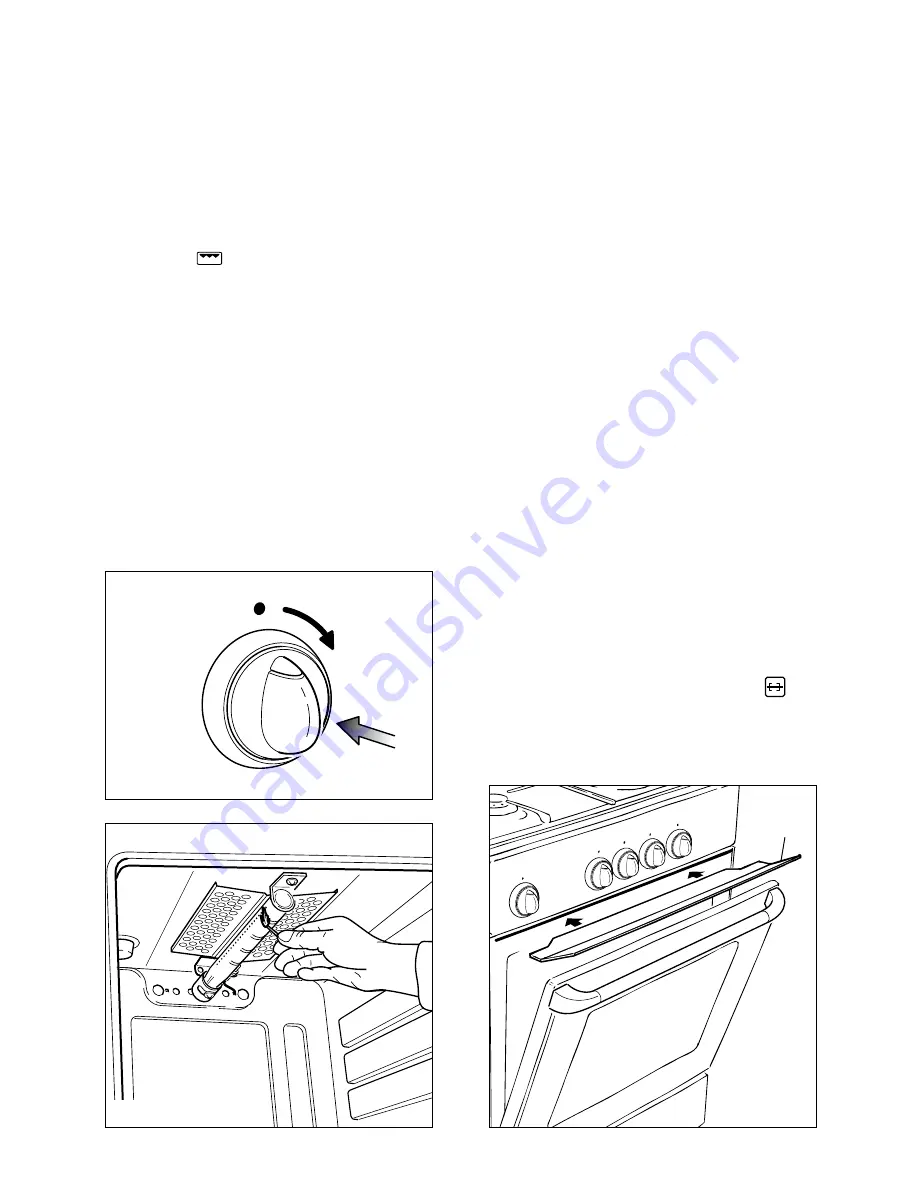
2) Put a flame to the right and left side
of the burner for 2-3 seconds after
the thermostat has been opened (fig.
4.6).
3) Wait about ten seconds after the
burner lighting before releasing the
knob (time of priming of the valve).
Should the flame of the burner estin-
guish for any reason, the safety valve
will cut off automatically the gas flow to
the tap. To re-start operation, take the
knob to “off” position and repeat opera-
tions 1-2-3 as above explained.
Fig. 4.5
Fig. 4.6
ROTISSERIE
Except for some models, the ovens are
equipped with a rotisserie for cooking on
the spit using the grill (fig. 4.9).
This device is made up of:
– an electrical motor mounted on the rear
part of the oven
– a stainless steel rod, equipped with a
detachable athermic grip and 2 record-
able forks
– a rod support to be inserted into the
central rack holders of the oven.
The rotisserie motor is operated by the
switch indicated by the symbol
on
the control panel (fig. 4.9).
Fig. 4.7
A
USE OF THE GRILL
Very important: the grill must always
be used with the oven door slightly
open (Fig. 4.7).
Mount shield “A” which serves to protect
the control panel from the heat.
Turn on the grill, as explained in the pre-
ceding paragraphs and let the oven pre-
heat for about 5 minutes with the door
slightly open.
Introduce the food to be cooked, posi-
tioning the rack as close to the grill as
possible.
Содержание EC 530
Страница 35: ...35 Identification label...


