Installation & User Guide
i-BOX Installation And User Guide_V4.2.6
Page 31 of 57
None. The group
"All"
automatically adds all the doors including those added by the device wizard. If the group
“
None”
is selected, the cardholder will not have access to any of the doors.
Card Type
The card type is by default greyed out. If under System Settings, General Settings the Multiple Card Format is
enabled, then this field can be used if you require cards from other systems to work as well. A card type is the
name given to the card format and facility code combined. It is recommended that you use the
Card Format
Wizard
if you wish to add new card types.
Card Status
This field overrides all settings, if the card is set to: Destroyed, Inactive, Lost, Stolen or Suspended. The card will
not have access unless set to Active. It is recommended that you use this field if a card is for instance stolen
instead of deleting the whole cardholder record. By using this method, you can always see at a later stage why
the card was inactive.
Pin code
1 to 6 numbers – the default setting is 4.
This field is required if PIN Settings (found on the Access Point screen) is enabled and a keypad or reader with
keypad is used. If a reader with PIN is selected, the card is presented to the reader first followed by entry of the
PIN code.
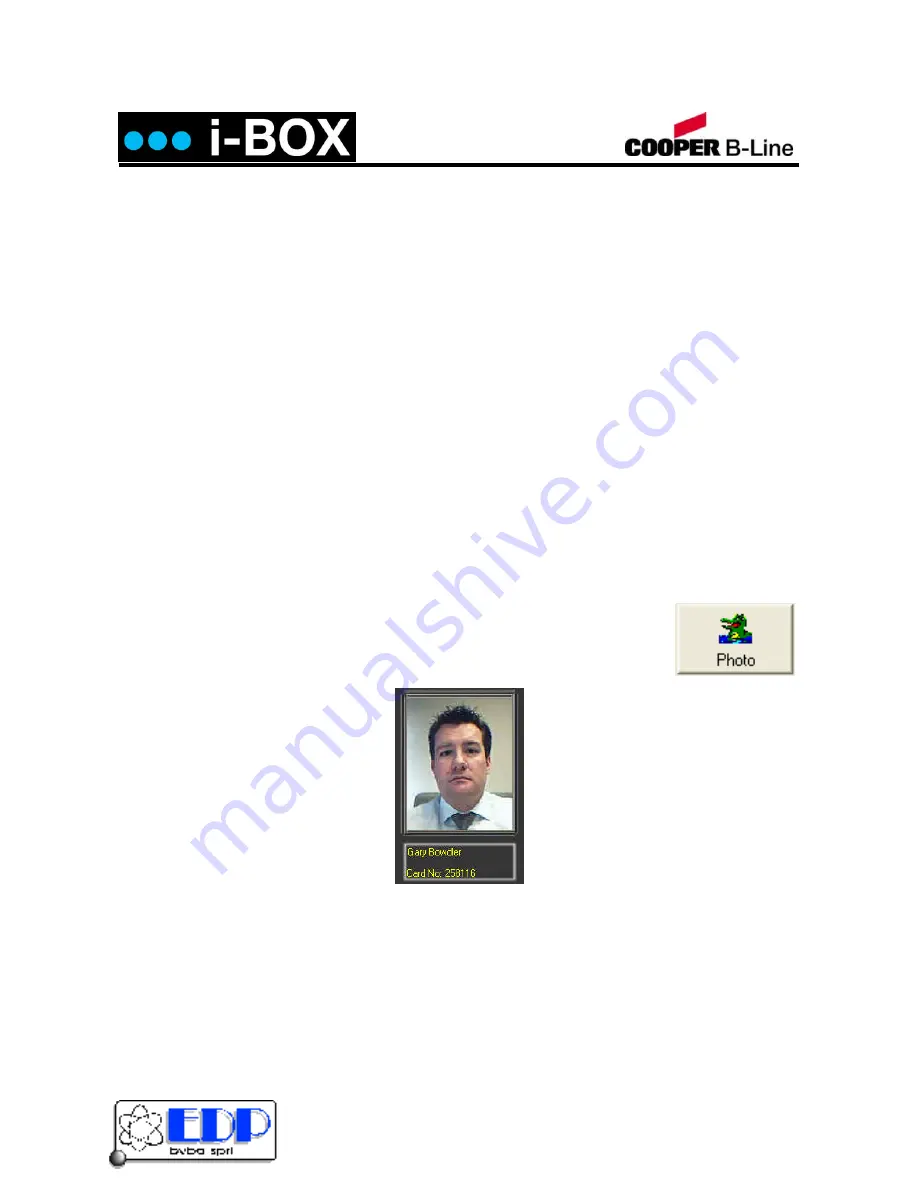
Photo
A digital photo can be added in the following formats – JPEG, GIF and BMP. To add a
cardholder photograph, click on the Photo button and select the file using the browser. If
the controller is used online then every time a cardholder presents a card, the transaction
including the photo will show on the Main Screen.
Kalkenstraat 91-93 B-8800 Roeselare (Roulers) - Belgium
Tel. +32(0)51/25.06.10 Fax +32(0)51/24.02.57
Email: [email protected] website: www.rack19.be or www.eldeco.be or www.eldeco-edp.eu


