35
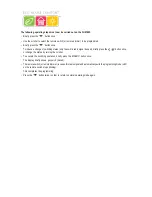
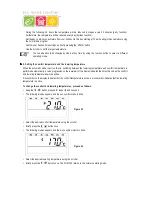
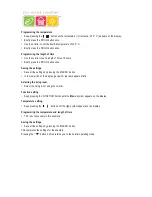
• Repeat the steps described above to program the second comfort temperature time and the second lowering
temperature time. If a switching time is not necessary, turn the scroller as far as possible to the right until bars appear.
• All settings should be confirmed individually by pressing the ‘PROG’ button. After programming the second lowering
temperature time, the normal operating mode is active again.
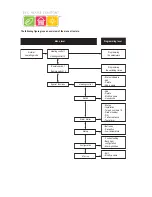
The curve progression on the lower display line follows the current changes so that you can see the effects on the day
profile directly.
Ö
Please note that the temperature at the end of the previous day is not displayed. For example: If the previous
day ended with a comfort temperature, then this heating phase is continued the next day. However, this is
not displayed during programming.
X
X
X
X
X
4. Switching between comfort and lowering temperature
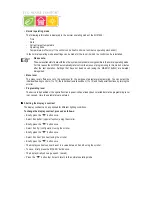
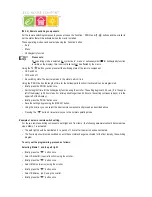
If a room is used at different times than set in the time program, you can change the temperature using the scroller, as
described above. However, it is also possible to switch directly between the comfort and lowering temperature by
pressing the ‘
’ button briefly.
Ö
This change will then be overwritten by the next programmed temperature change.
X
X
X
X
X
5. Heating pause
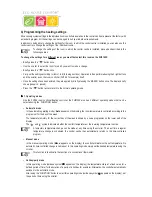
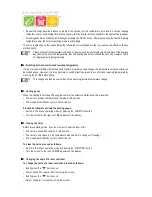
When the heating is switched off during the summer the actuator’s batteries can be preserved:
• The valve is opened completely and remains in this position.
• The weekly decalcification cycle is still carried out.
Proceed as follows to activate the heating pause:
• Switch to the ‘Manu’ operating mode by pressing the ‘FUNKTION’ button.
• Turn the scroller to the right until ‘
On
’ appears on the display.
X
X
X
X
X
6. Closing the valve
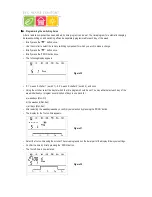
Select this operating mode, if you do not want to heat the room at all.
• The valve is closed and remains in this position.
• The valve is only opened, if the temperature drops below 5°C (danger of freezing).
• The weekly decalcification cycle is still carried out.
To close the valve, proceed as follows:
• Switch to the ‘Manu’ operating mode by pressing the ‘FUNKTION’ button.
• Turn the scroller to the left until ‘
OFF
’ appears on the display.
X
X
X
X
X
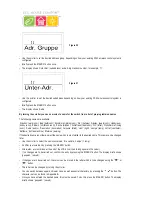
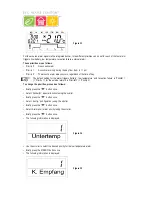
7. Changing the name of a room controller
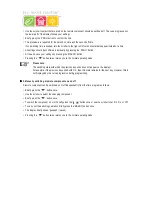
To change the name of a room controller, proceed as follows:
• Briefly press the ‘
x
’ button once.
• Select ‘Sonderfkt.’ (special function) using the scroller.
• Briefly press the ‘
x
’ button once.
• Select ‘H-Regler’ (H controller) using the scroller.
FHT 8W Heat Demand Relay
Installation and User Guide
Product Code EHC-FH06
1


