26
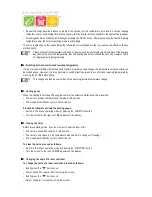
• Afterwards, the FHZ1000 is in the ‘Schalter’ (switch) menu and the display shows ‘Hinzufügen’ (add).
• Repeat the steps described previously until you have registered all the remote switching components.
• If no further remote switching components are to be registered, press the ‘
w
’ button three times briefly, one after
the other.
Afterwards, the FHZ1000 is in the normal operating mode again
Ö
So that the remote switching components can respond to the remote commands from the control centre,
these must be associated with them. See item
X
X
X
X
X
8.
X
X
X
X
X
7. Deleting remote switching components
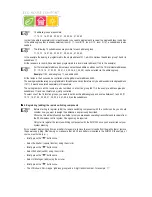
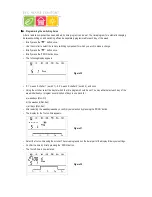
To delete a remote switching component, proceed as follows:
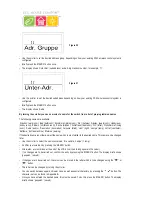
• Briefly press the ‘
x
’ button once.
• Select ‘Sonderfkt.’ (special function) using the scroller.
• Briefly press the ‘
x
’ button once.
• Select ‘Schalter’ (switch) using the scroller.
• Briefly press the ‘
x
’ button once.
• Select ‘Löschen’ (delete) using the scroller.
• Briefly press the ‘
x
’ button once.
By turning the scroller, you can now ‘browse’ through a list of the available remote switching components.
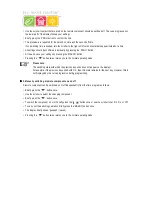
• Use the scroller to select the component to be deleted.
• Briefly press the ‘MAKRO’ button once.
• The display briefly shows ‘gelöscht’ (deleted).
• Pressing the ‘
w
’ button three times takes you back to the normal operating mode again.
X
X
X
X
X
8. Programming (associating) the remote switches or remote dimmers
After the remote switching components have been added as described under item 6 above, the remote switches or
remote dimmers must now be programmed to their address/addresses, so that the switching processes can be carried
out.
For this, the remote switching component must first be set to the programming mode. If a valid radio signal is received
from the FS20 wireless control system in this mode, the remote switch or remote dimmer subsequently responds to this
signal and is programmed to it.
Ö
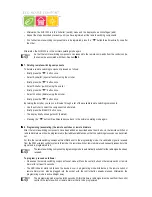
The remote switching component’s programming mode is automatically exited after the radio signal has been
received.
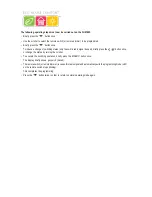
To program, proceed as follows:
• Please see the remote switching component’s user manual. Press the control button on the remote switch or remote
dimmer for at least 15 seconds.
• The LED indicator starts to blink and the device is now in programming mode. Alternatively, the remote switch or
remote dimmer can also be plugged into the socket with the control button already pressed. Afterwards, the
programming mode is active straight away.
Ö
The programming mode is active for 60 seconds. Within this time, a radio signal must be sent from the control
centre to the remote switch or remote dimmer that is to be programmed.
FHT 8W Heat Demand Relay
Installation and User Guide
Product Code EHC-FH06
1


