CPX230NWB ALARM CONTROL UNIT – USER MANUAL
31 / 42
EN
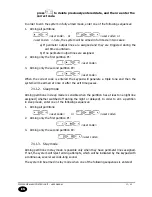
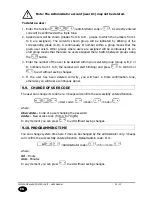
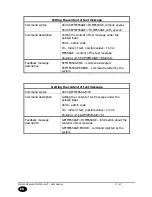
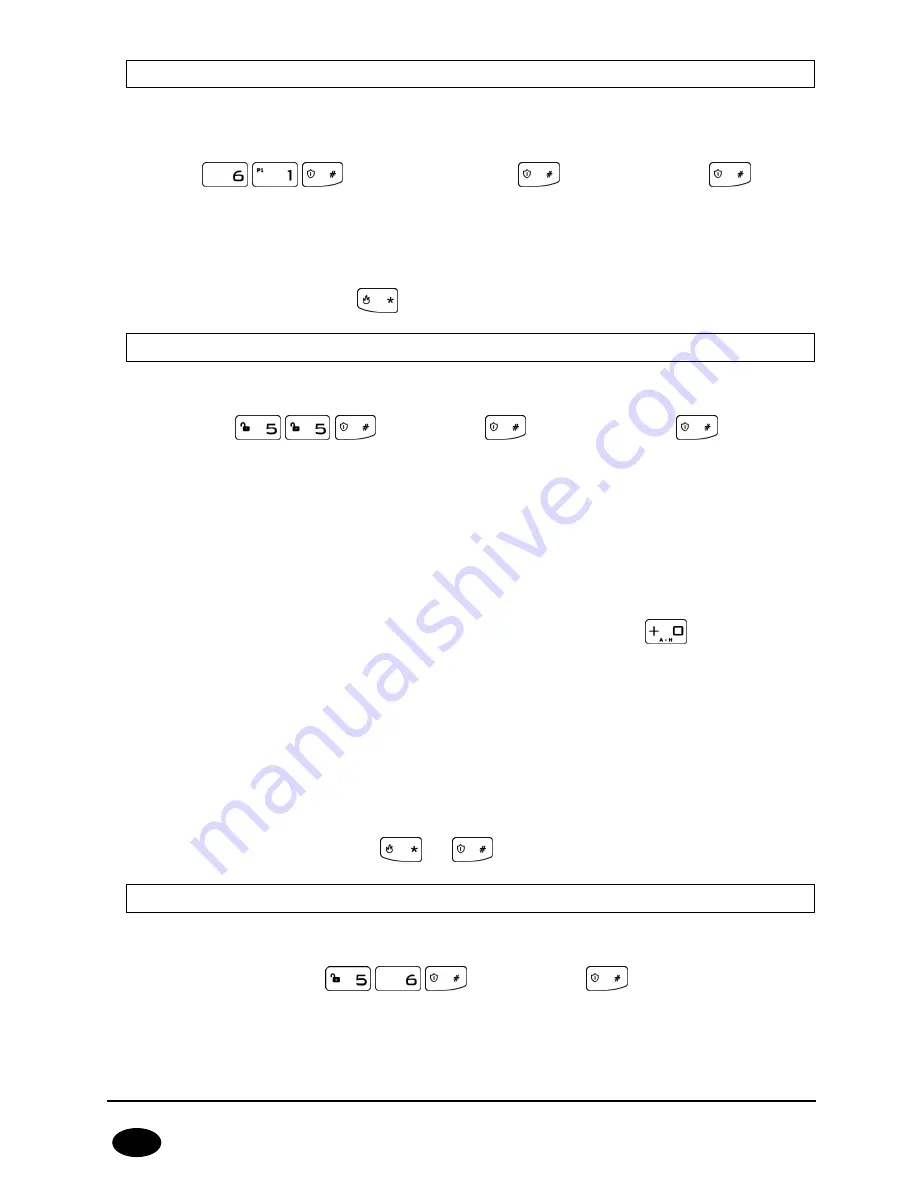
9.11.
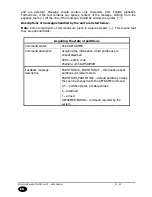
PROGRAMMING DATE
You can change system date here. Date can be changed by the administrator only. 3 beeps
will confirm the successfully entered function. Default admin code: 1111.
<Administrator code>
<YY> <MM> DD>
where:
YY
– Year
MM
– Month
DD
– Day
In any moment you can press
to exit without saving changes.
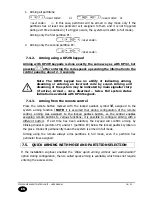
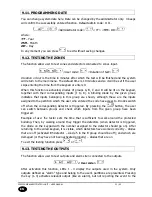
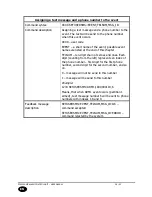
9.12.
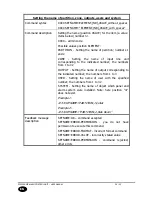
TESTING THE ZONES
The function allow user to test zones and detectors connected to zones input.
<User code>
<Duration of test>
Duration of test
is the time in minutes after which the test will be finished and the system
will return to the main menu. The default time is 10 minutes and so it will be set if the user
skips entering the time from the keypad or enters 0.
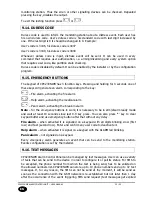
When this function is activated, diodes of groups A, B, C and D will be lit on the keypad,
together with their corresponding inputs (1 to 8). A blinking diode by the given group
indicates that inputs belonging to this group are shown, although these are the inputs
assigned to the partition which the user who entered the code has access to. Diodes switch
off when the corresponding detector is triggered. By pressing the
button, the user
can switch between groups and check which inputs from the given group have been
triggered.
Example of use: the tester sets the time that is sufficient to walk around the protected
building. Then, by walking around they trigger the detectors (when detector is triggered,
the diode on the keypad with the number assigned to the detector should go on). After
returning to the wired keypad, it is visible, which detectors have worked correctly – diodes
that are off (activated B5 detector – diode 5 in the B group should be off); and which are
damaged (or they have not been activated properly) – diodes that are on
To exit the testing function press
or
.
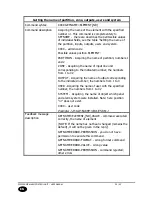
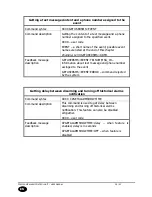
9.13.
TESTING THE OUTPUTS
The function allow user to test outputs and alarm siren connected to the outputs.
< User code >
After activation this function, LEDs 1 - 3 display the outputs used in the system. Only
outputs defined as “alarm” type and belong to the user’s partitions are presented. Pressing
the key (1-3) activates relevant output (like an alarm), but not reporting the event to the


