CPX230NWB ALARM CONTROL UNIT – USER MANUAL
21 / 42
EN
6 – ATS damage
8 – Other damages
Note! Faults in the system do not prevent arming via remote
control, KP2W keypad and via text messages (SMS).
8.
DISARMING THE SYSTEM
Disarming the system can be carried out by those users, whose rights have not been restricted
(administrator, regular user – see chapter 6 User Categories). The so-called unauthorised
users can only arm the system.
8.1.
DISARMING THE SYSTEM
8.1.1.
Disarming using a KP32 keypad
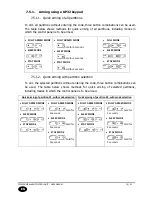
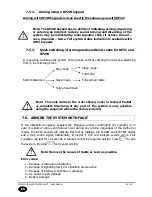
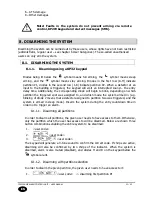
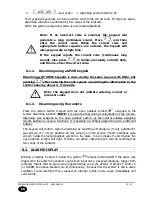
Diodes being lit below the
symbol means full arming, the
symbol means sleep
arming, and the
symbol means stay arming. Diodes in the first row (A-H) indicate
partition P1, diodes in the second row (1-8) indicate partition P2. When a detector at an
input to the building is triggered, the keypad will emit an interrupted sound – the entry
delay time. Additionally, the corresponding diode will begin to blink, depending on which
partition the triggered spot was assigned to, and which mode the system armed in (e.g.
blinking of diode 2 means that a detector assigned to partition two was triggered, and the
system is armed in sleep mode). Disarm the system during the entry countdown time in
order not to trigger an alarm.
8.1.1.1.
Disarming all partitions
In order to disarm all partitions, the given user needs to have access to them. Otherwise,
only the partition which the user has access to will be disarmed. Below are shown three
button combinations enabling the entire system to be disarmed:
1.
<user code>
2.
<user code>
3.
<user code>
The keypad will generate a 3-tone sound to confirm the correct code. If chirps are active,
disarming will also be confirmed by two chirps of the indicator. When the system is
disarmed, alarm is also muted (disabled), and diodes H and 8 on the keypad below the
symbol are lit.
8.1.1.2.
Disarming with partition selection
In order to disarm the given partition, the given user needs to have access to it:
1.
<user code> <- disarming first partition P1

