Mechanical Data
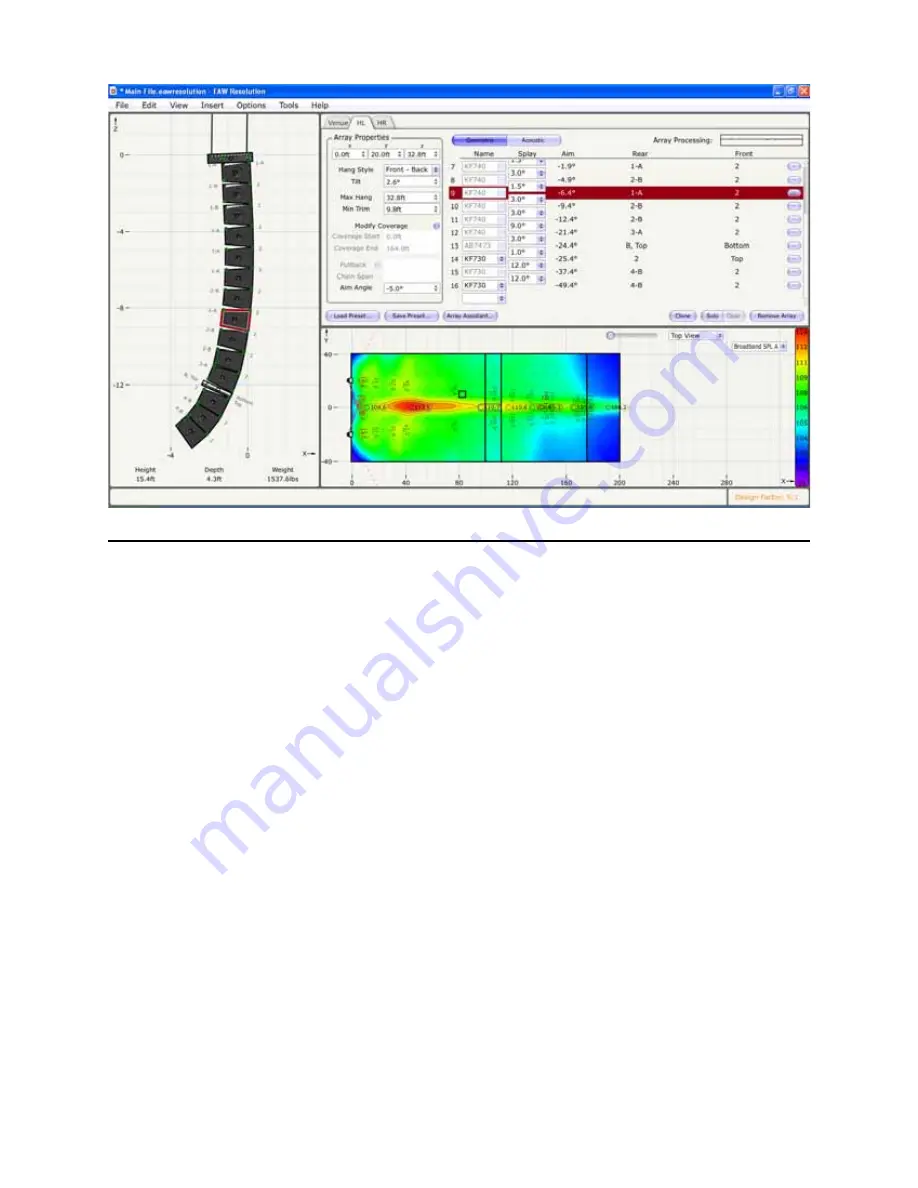
Now we are back to “Top View” so that we can properly place and rotate the arrays into position.
1) Use the dropdown menu in the mapping area to select “Top View”
2) In the Array Properties area, you can separate the arrays in the “Y” cell of the array placement. I
have 20 feet for one array and -20 feet for the other which will yield an overall separation
of the arrays of 40 feet.
3) At the bottom of the Array Properties you will find a cell marked “Aim Angle”. This cell modifies the
azimuth or rotation of the array on its horizontal axis. I rotated one array +5 degrees and the other
-5 degrees to set the overall coverage of the left / right arrays.
You can also see in the Top View the distance each enclosure must throw before it impacts the
listening area.
(Tip- Pressing the shift key and left-click / holding on the array allows free movement of the array
within the model)
If you would like to omit a surface (such as a balcony), you can hide it temporarily by right-clicking
on the surface and selecting “Hide Floor”. Once you have seen what you would like to see, simply
right-click on the area again and select “Show Floor” to restore the surface to the design. Hiding floors
removes it from the calculation. This speeds up the amount of time it takes to display. A time-saving
feature in Resolution.


